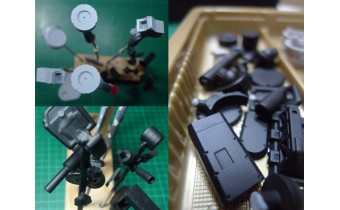
Drone's cuts, frame and head
Precise cutting of shapes for scale model parts production
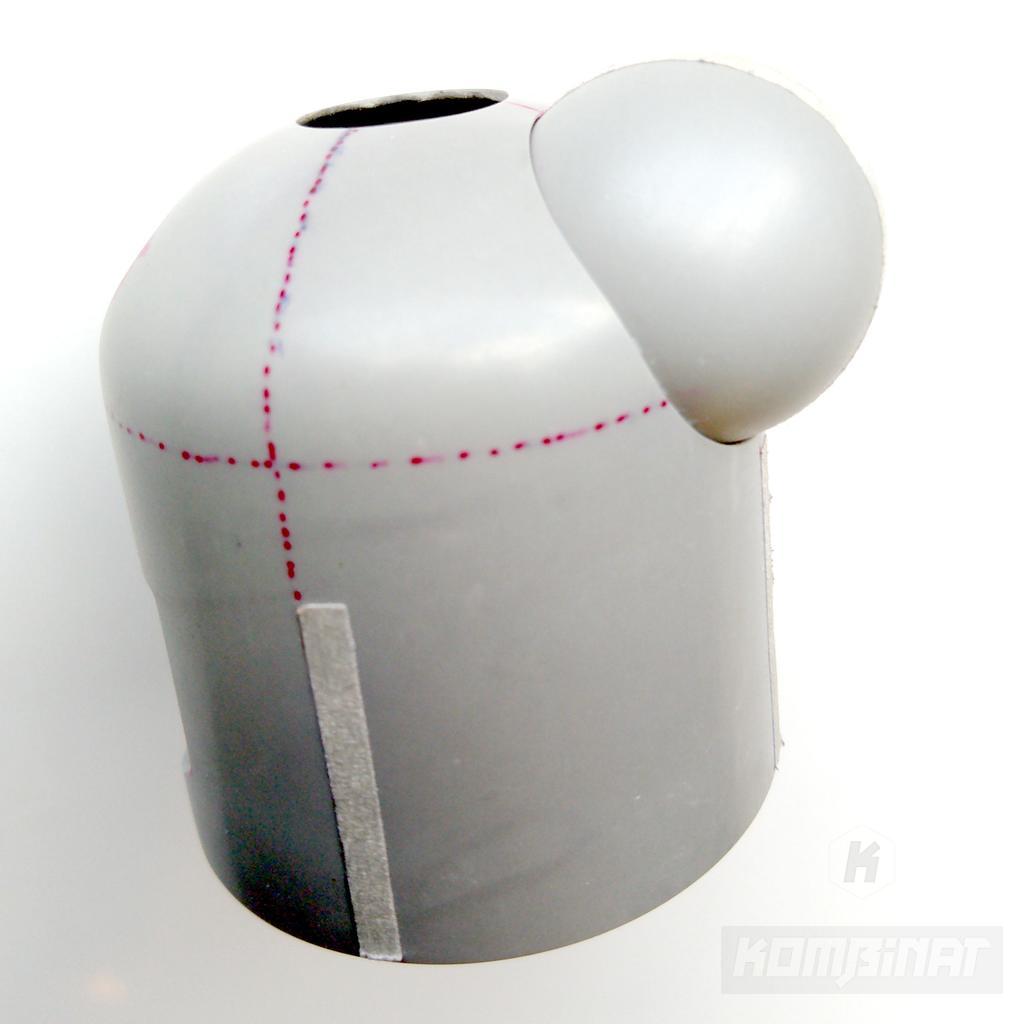
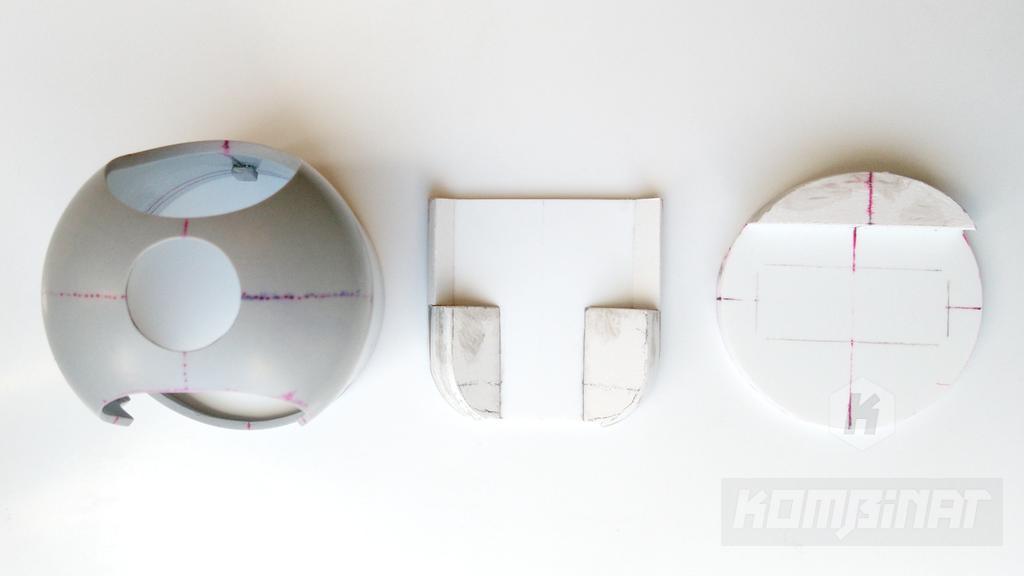
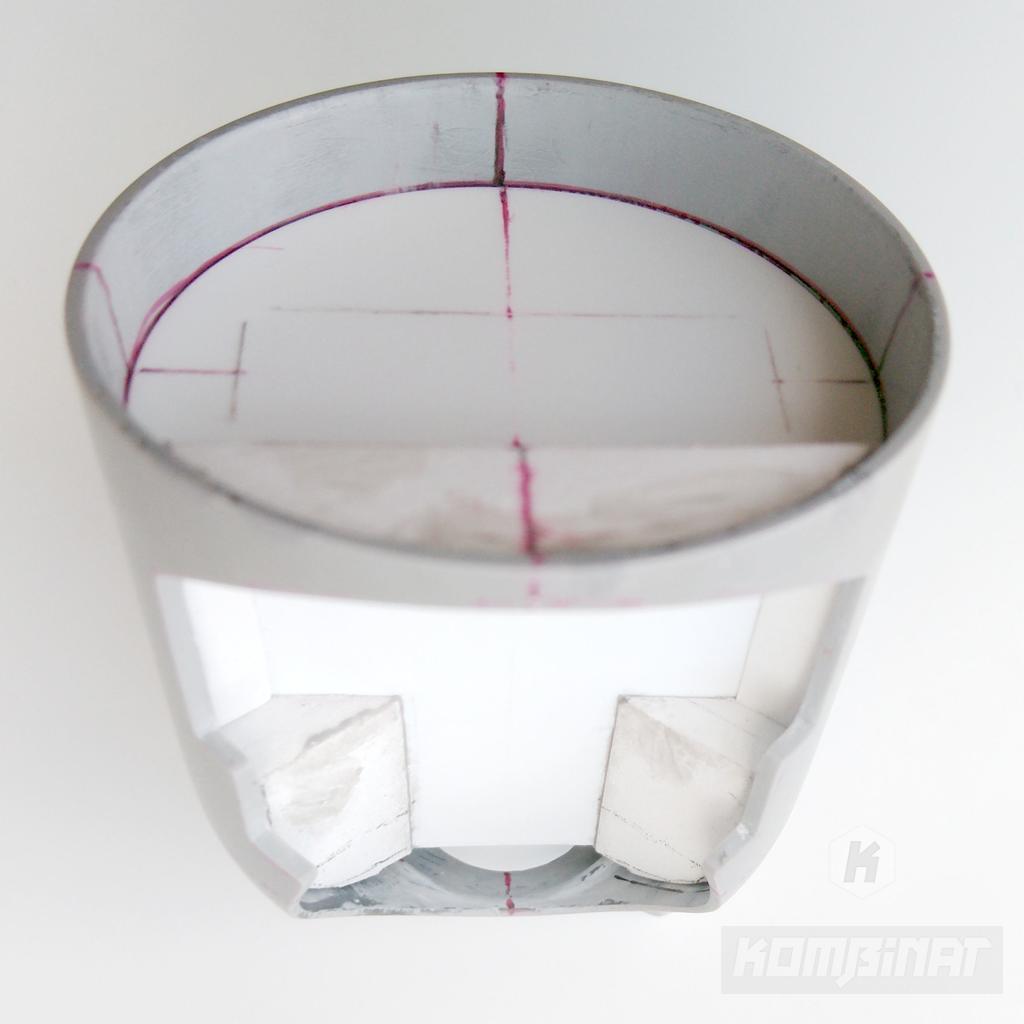
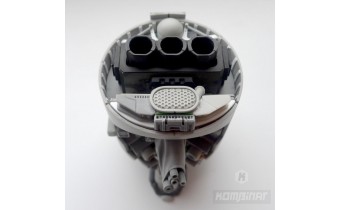
We're back to the sci-fi mecha drone kit design. Like for the airflow intake hole of the drone's fuselage, for the bottom part of the fuselage, I made a 2D template. They are especially useful for cutting this complicated shape.
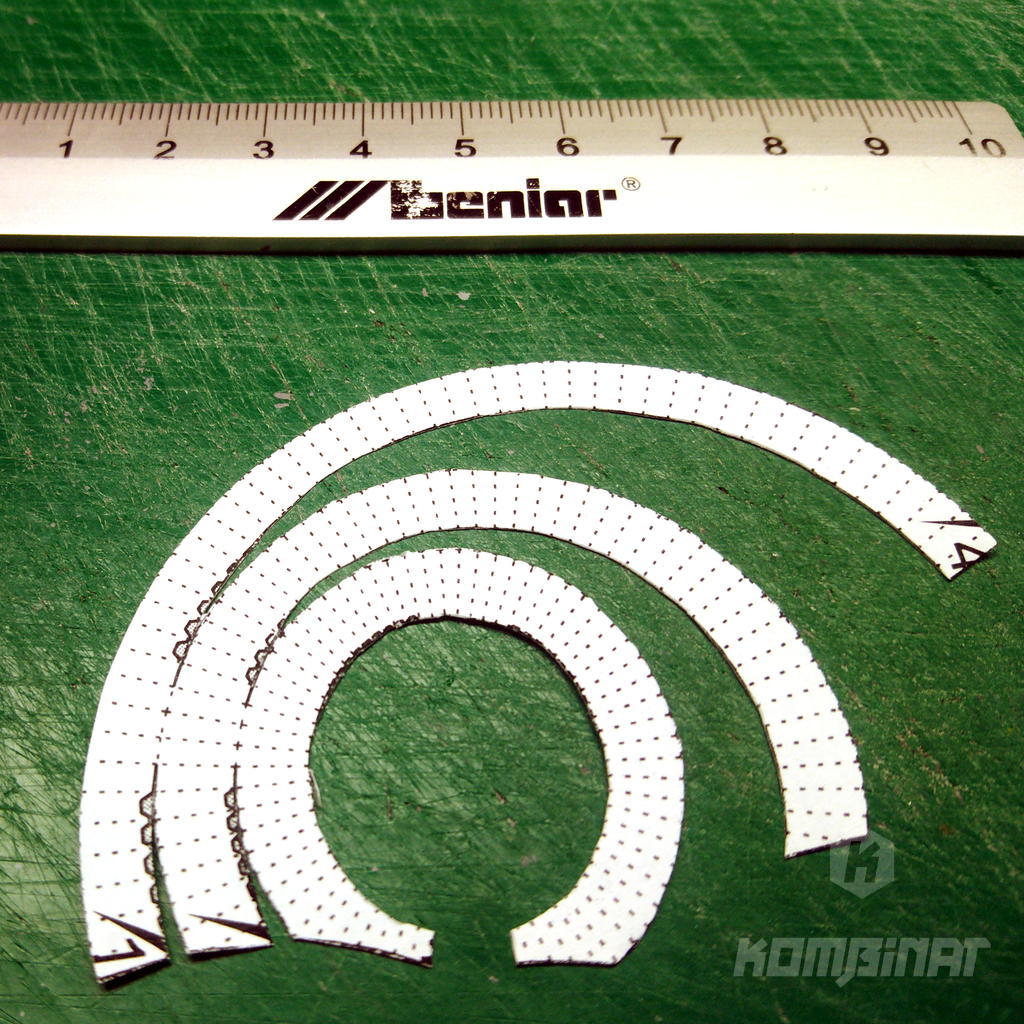
These templates have been unfolded to a 2D vector from my Blender app. Thanks to them being accurate, I can keep designing further details of the model using the 3D app rather, testing various variants for fit and look.

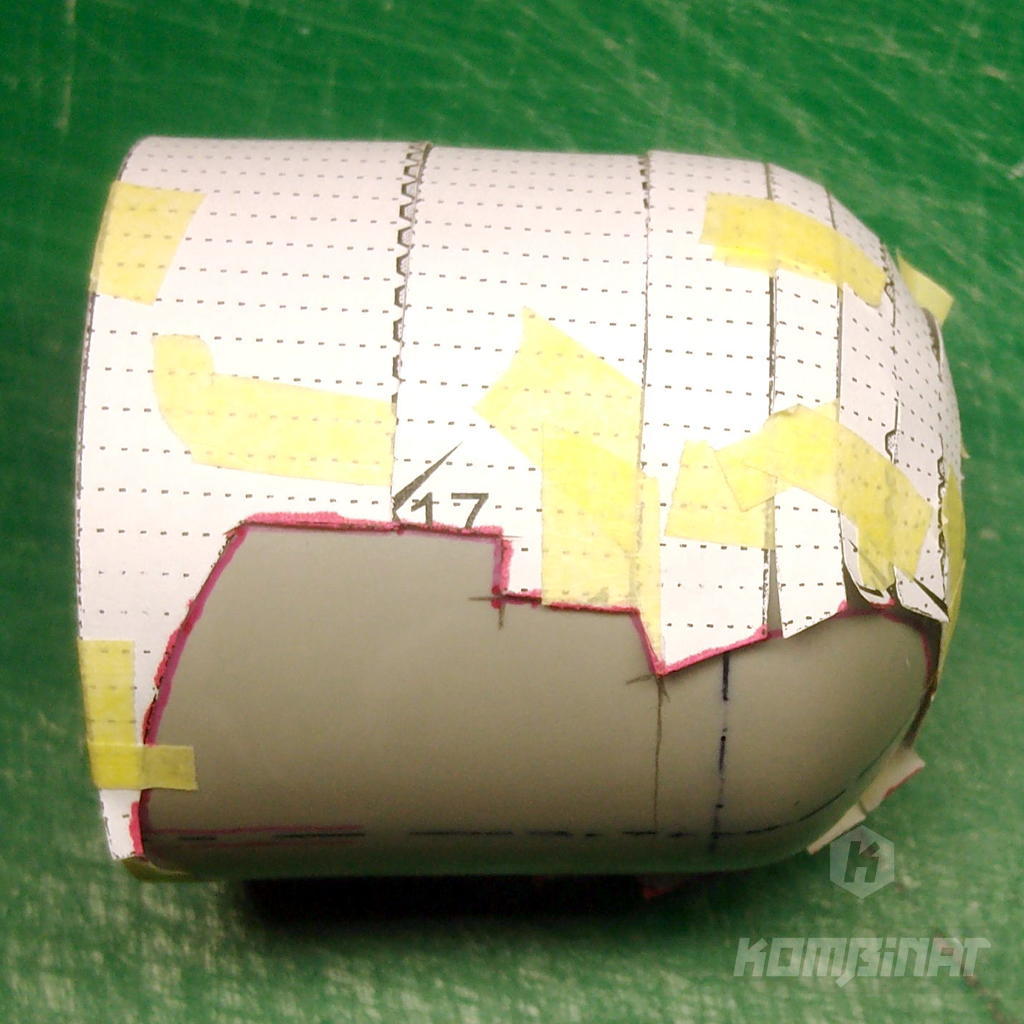
Sand before gluing
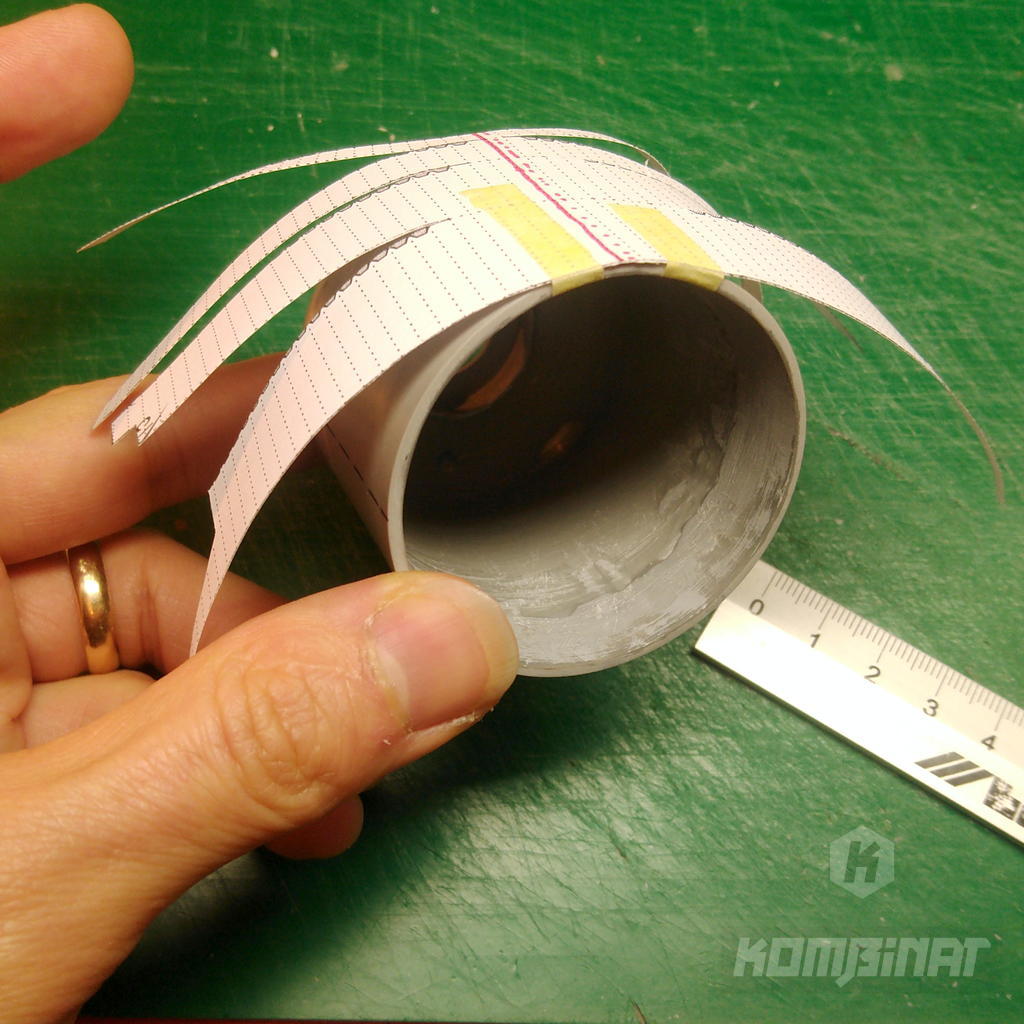
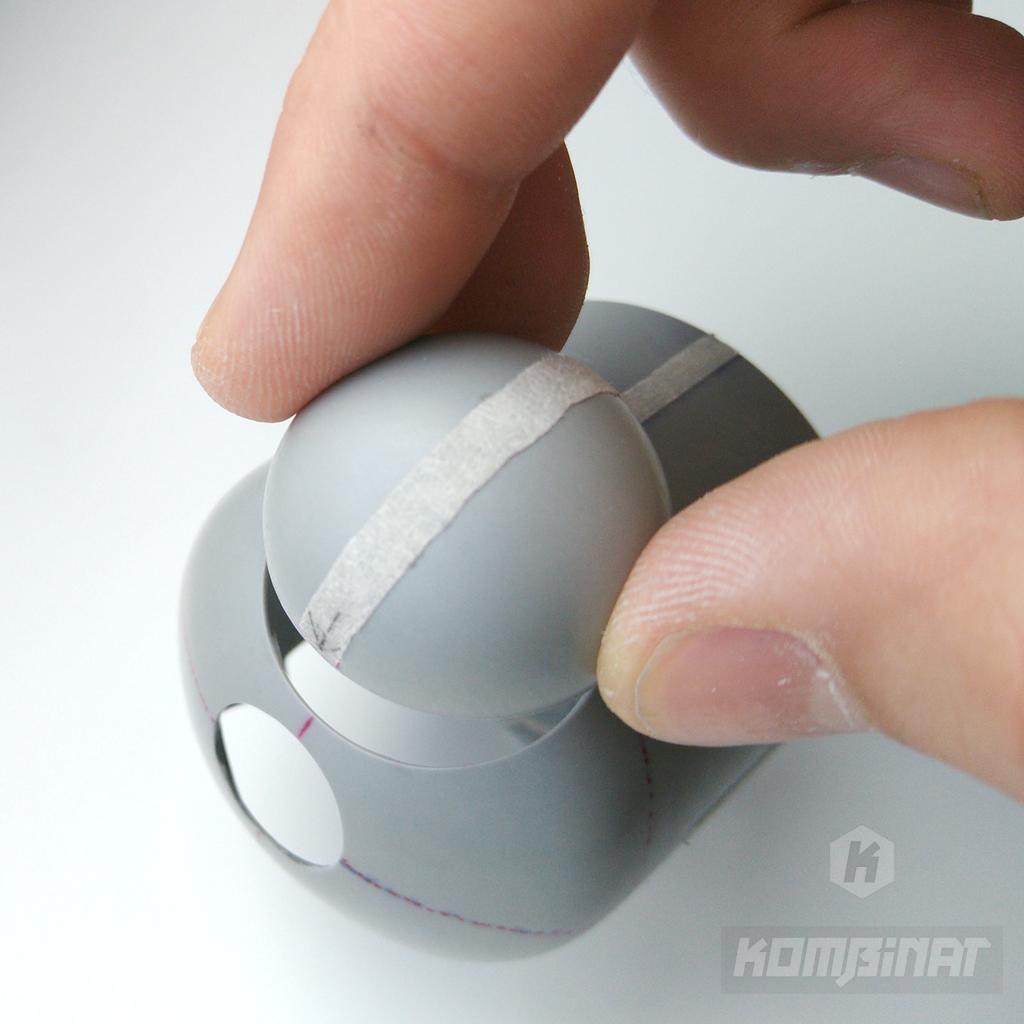
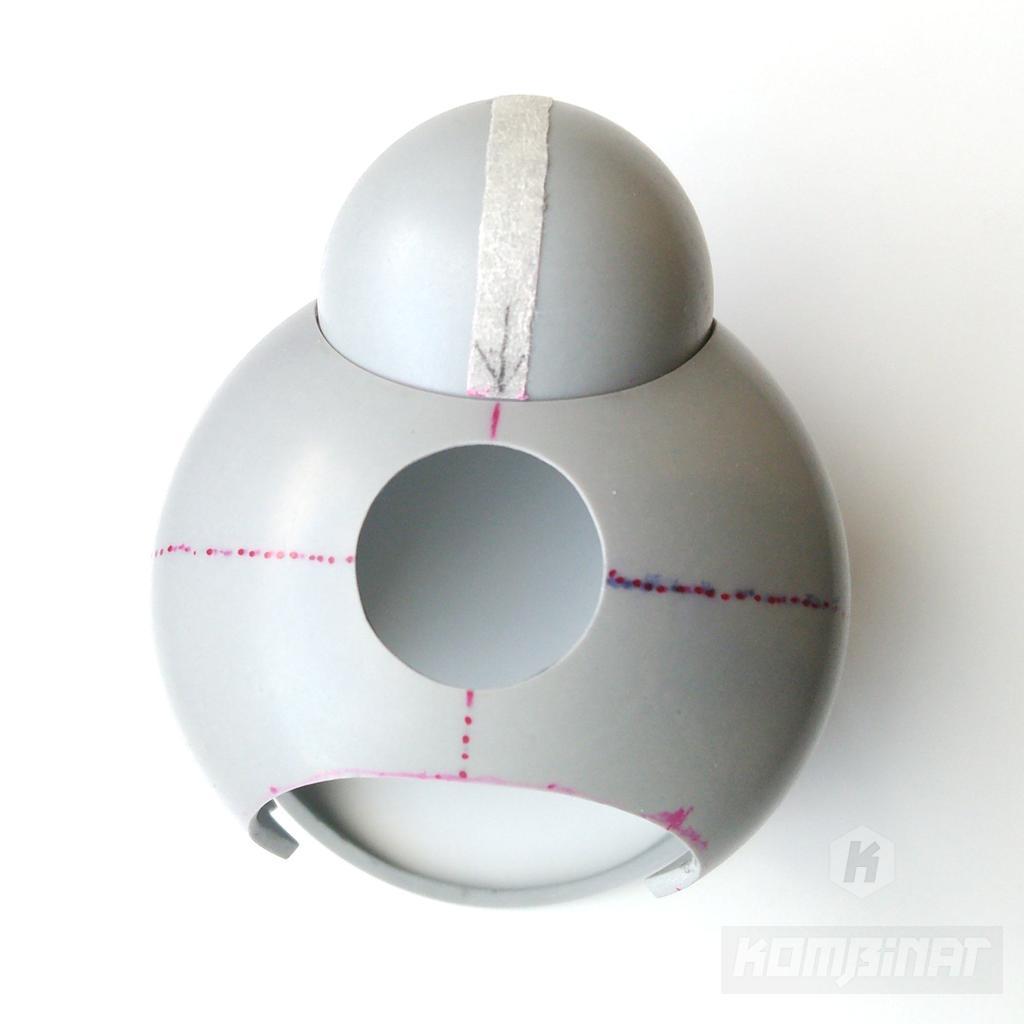
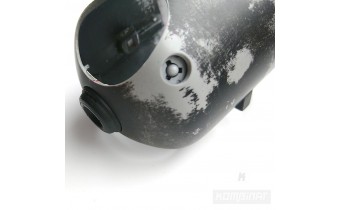
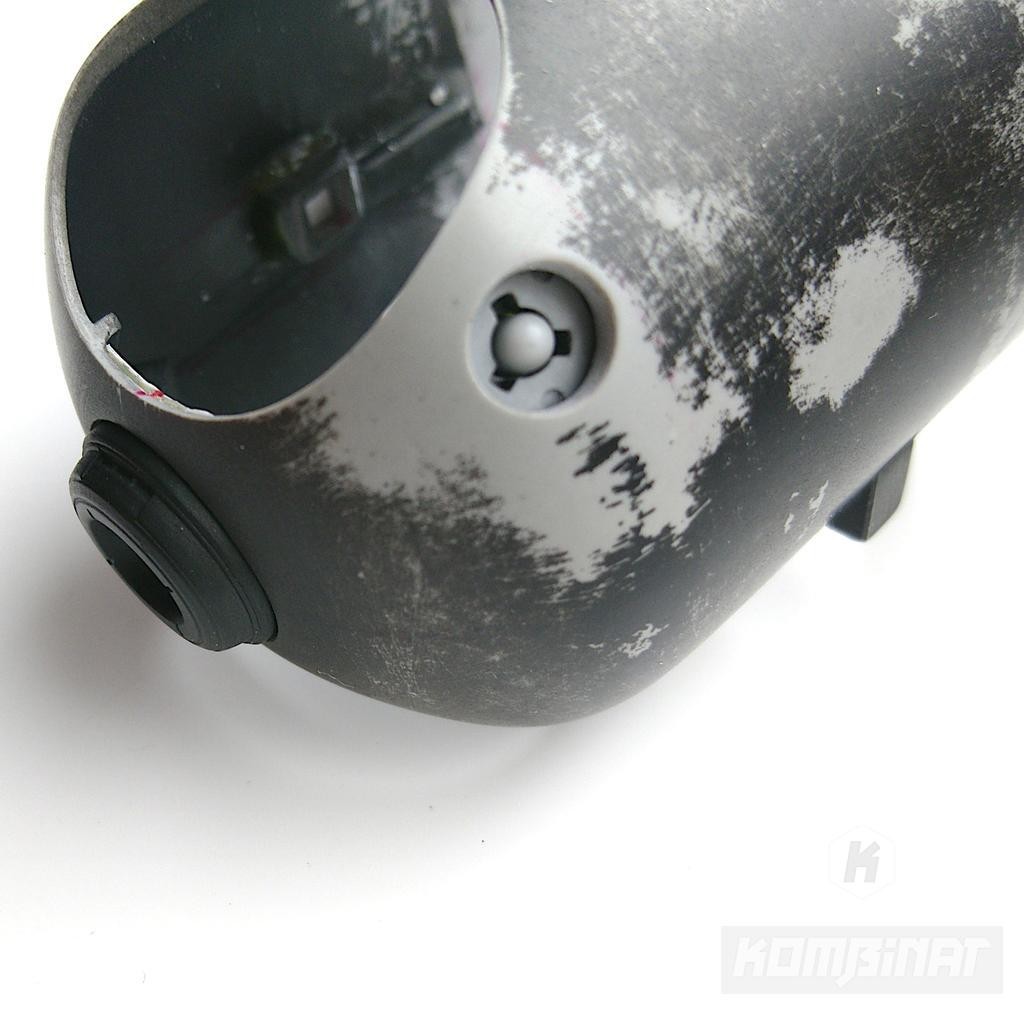
Another hole to cut is a circular shape that will fit a "head" part of the drone mecha model. As you can see having only half of the stripes is enough to draw an accurate shape for cutting.

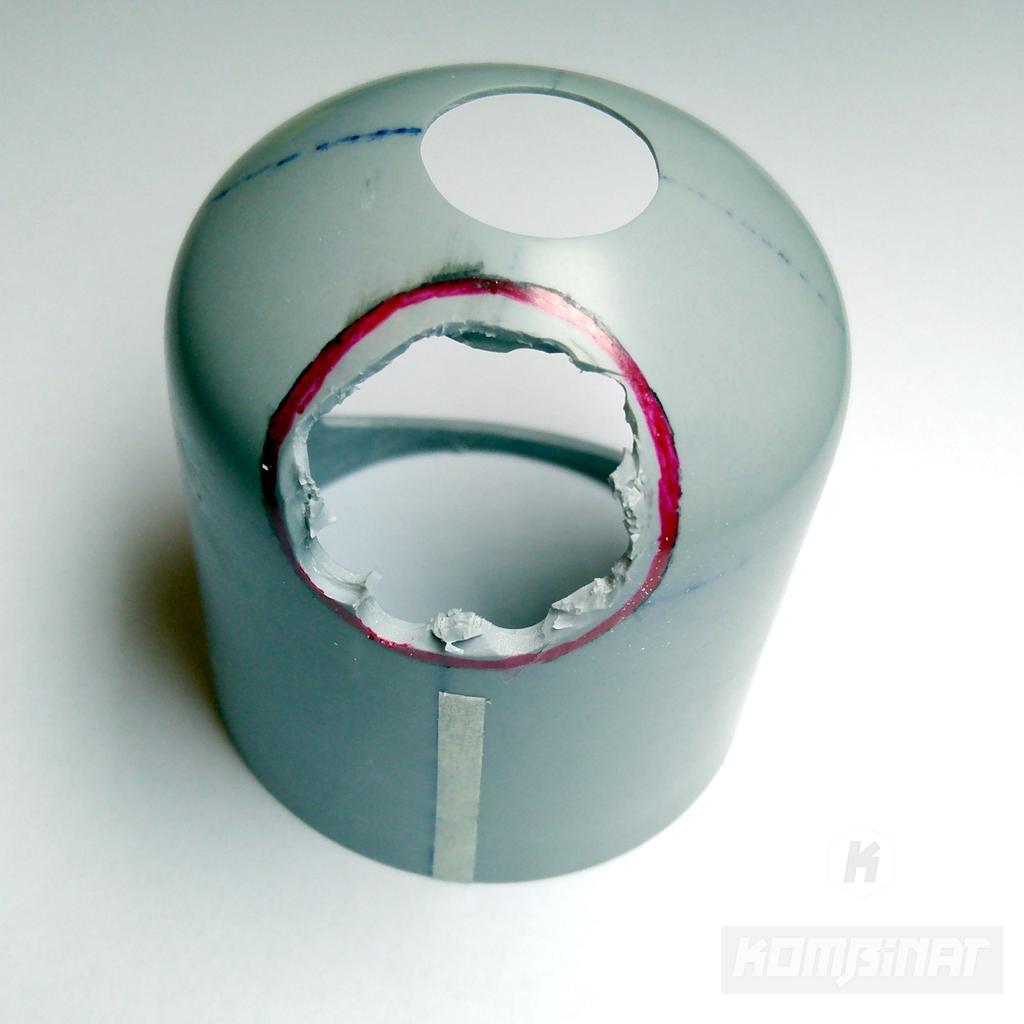
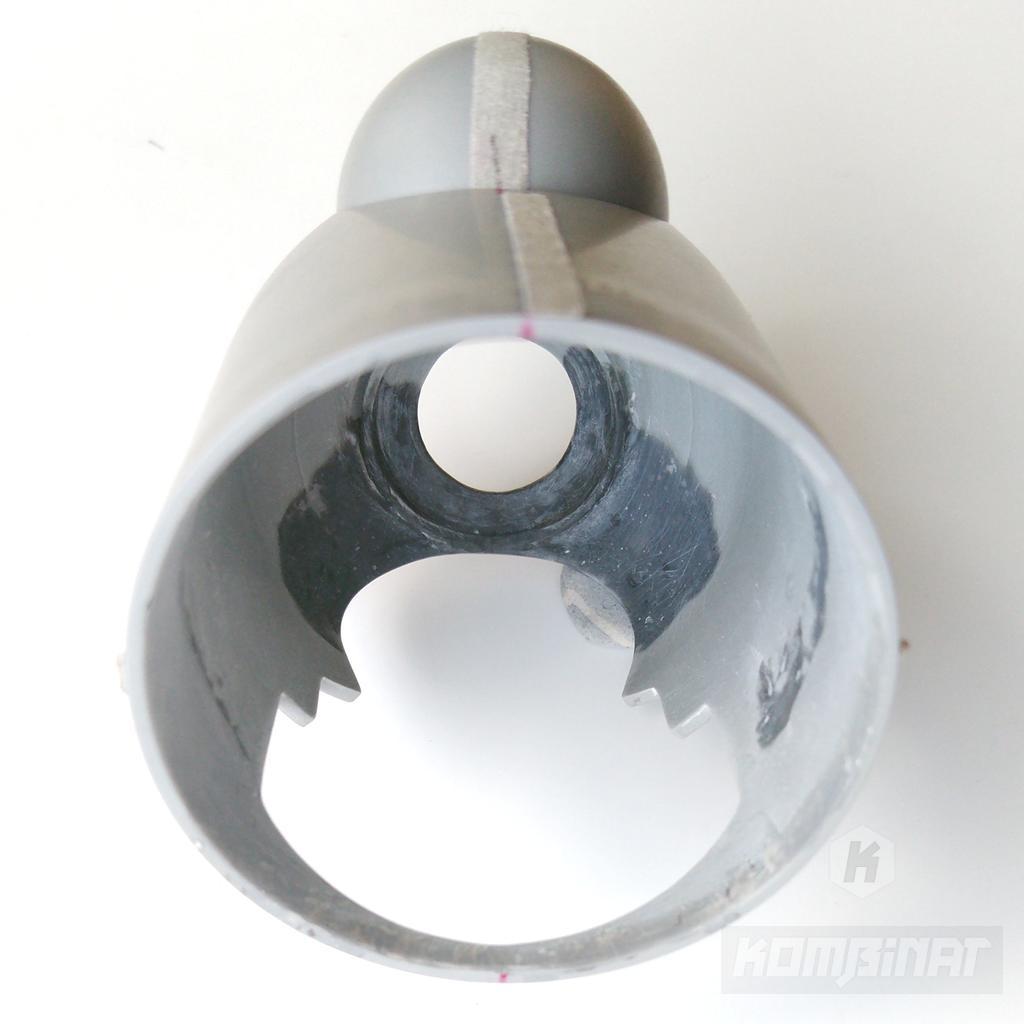
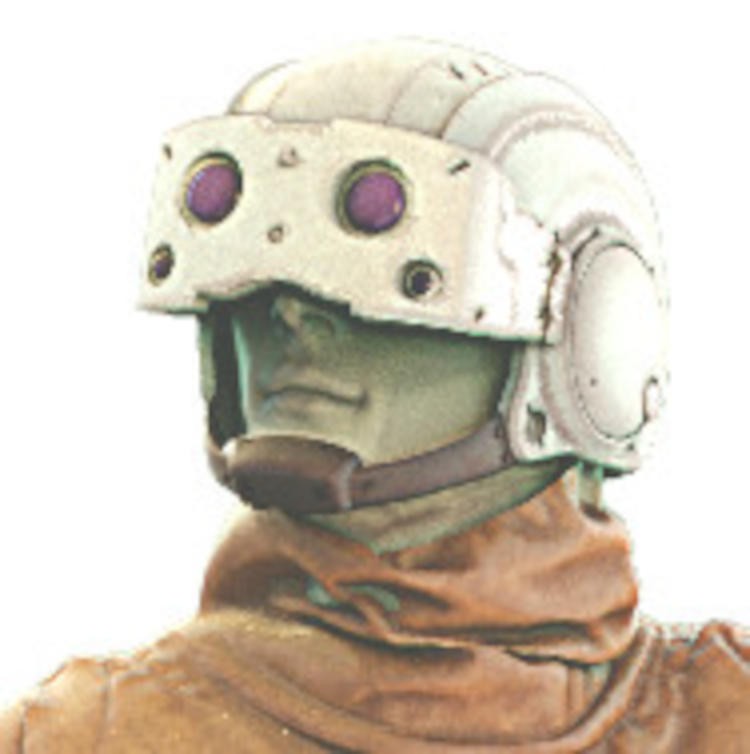
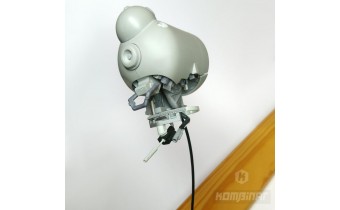
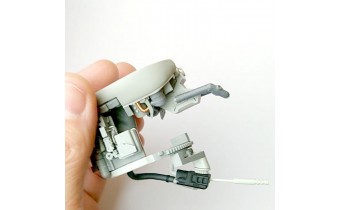
The head is actually made of a perfect sphere I have cast in resin earlier and properly sanded. The fuselage is heavily hollowed so to make it well castable, I cut off unnecessary parts of the sphere. This way the model will be also lighter.
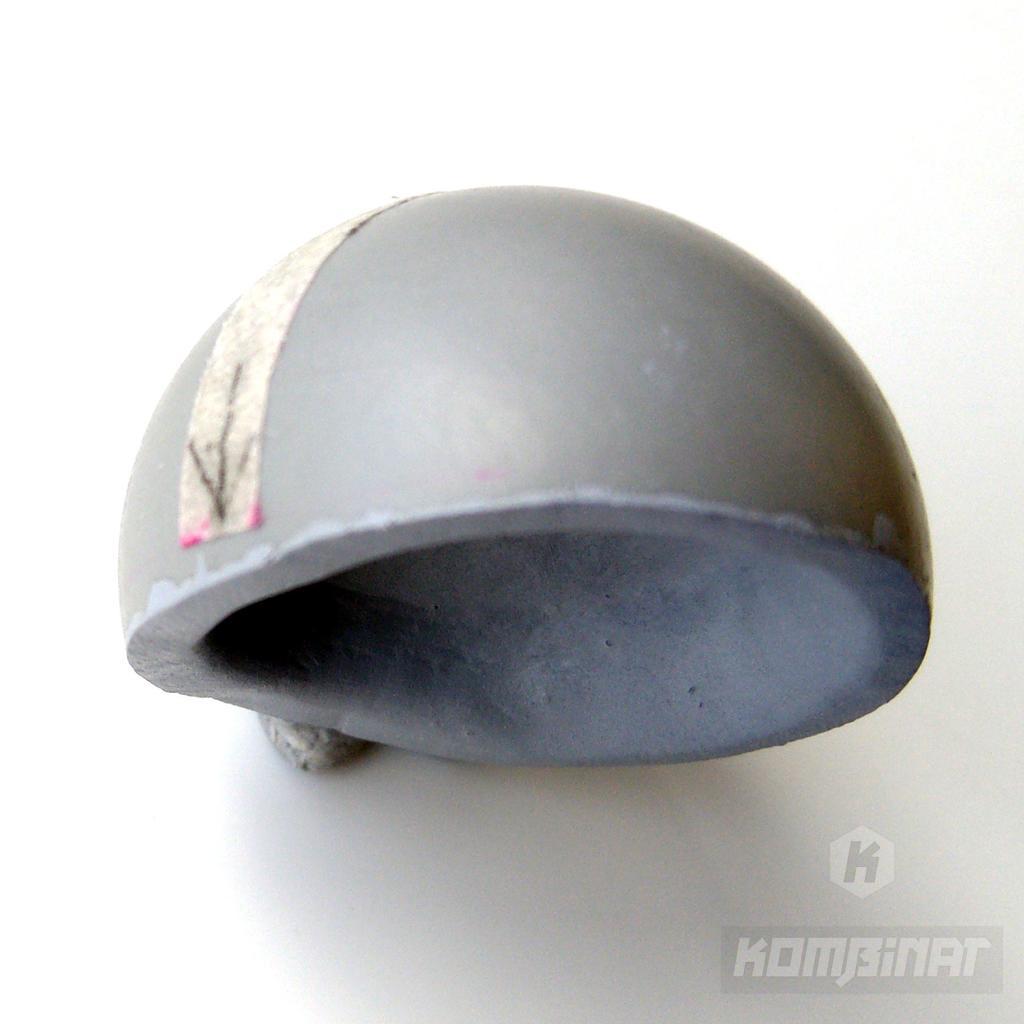

The sphere will be later glued to the fuselage prior to casting.
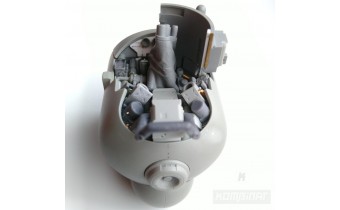
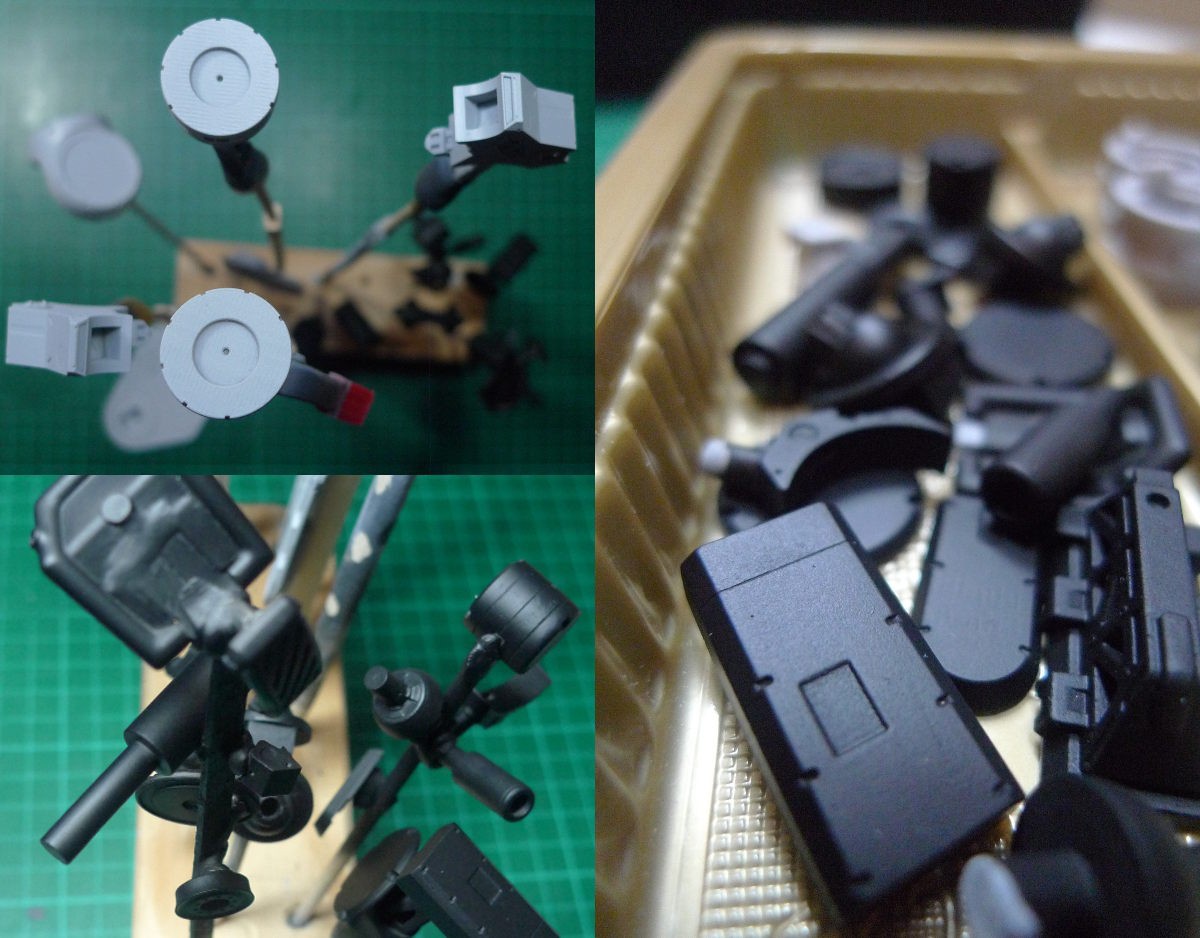
To scratch-build the drone's frame I used a PVC foam and polystyrene. These are two parts, bottom, and back.
Designing assembly of parts for a scale model kit
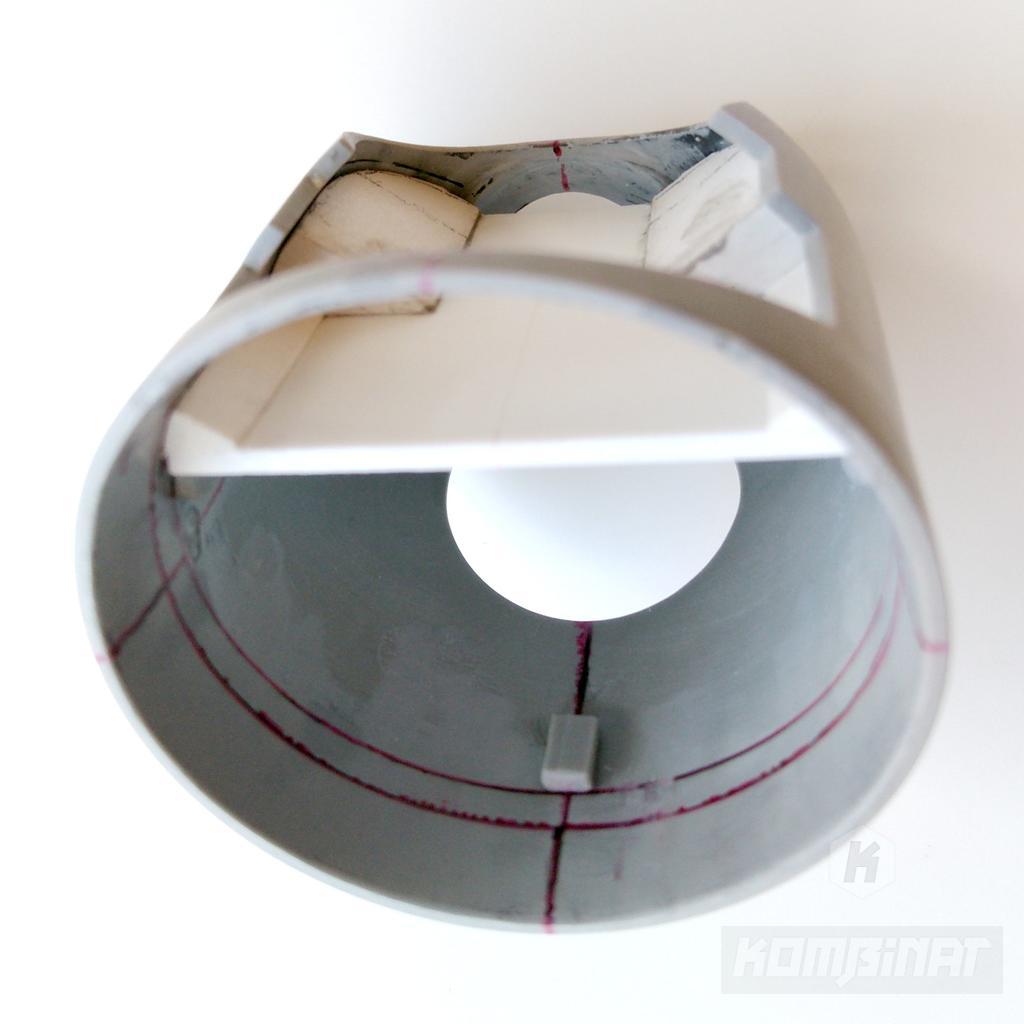
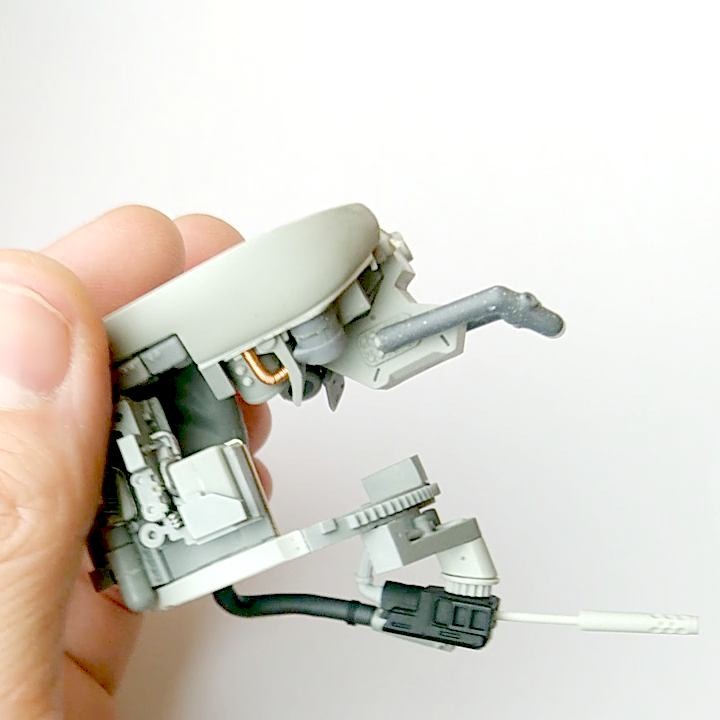
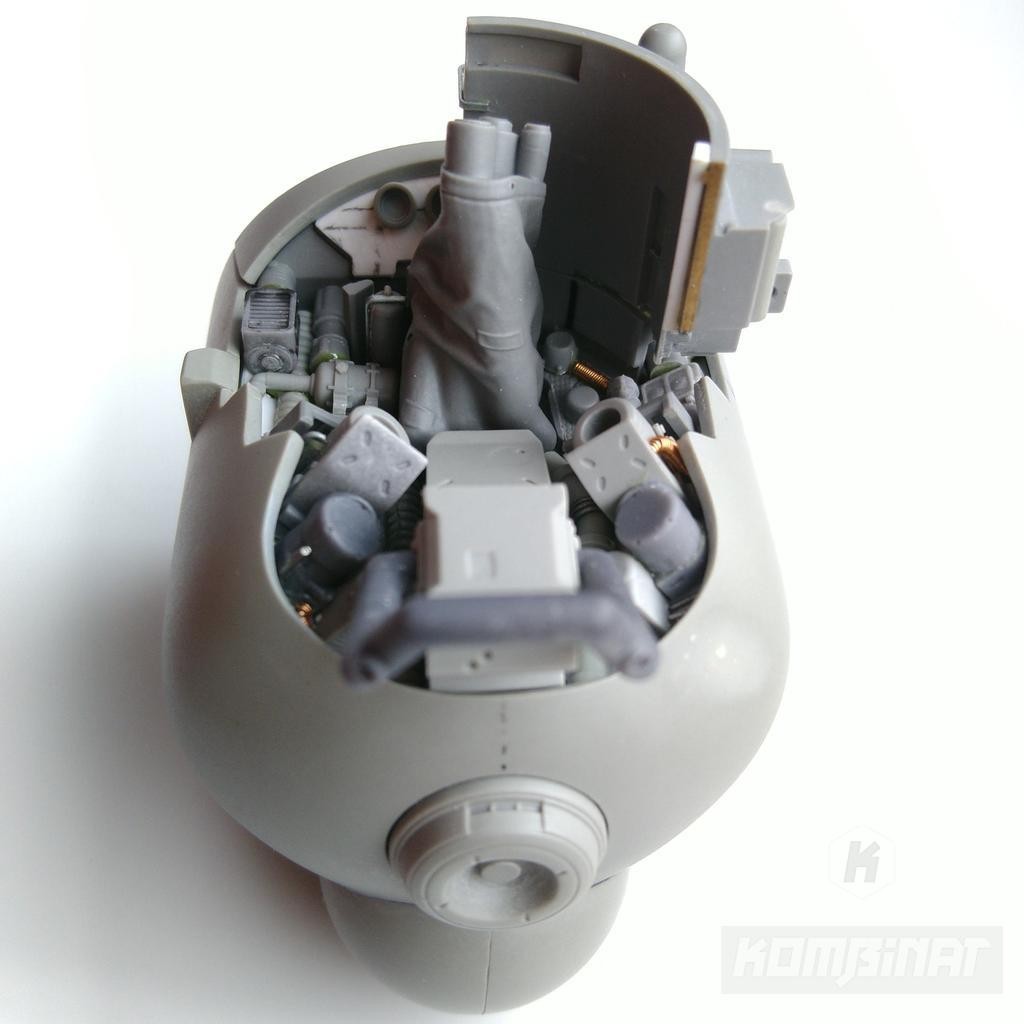
I've added several holders inside of the fuselage to facilitate the accurate placing of the frame by the modelers.
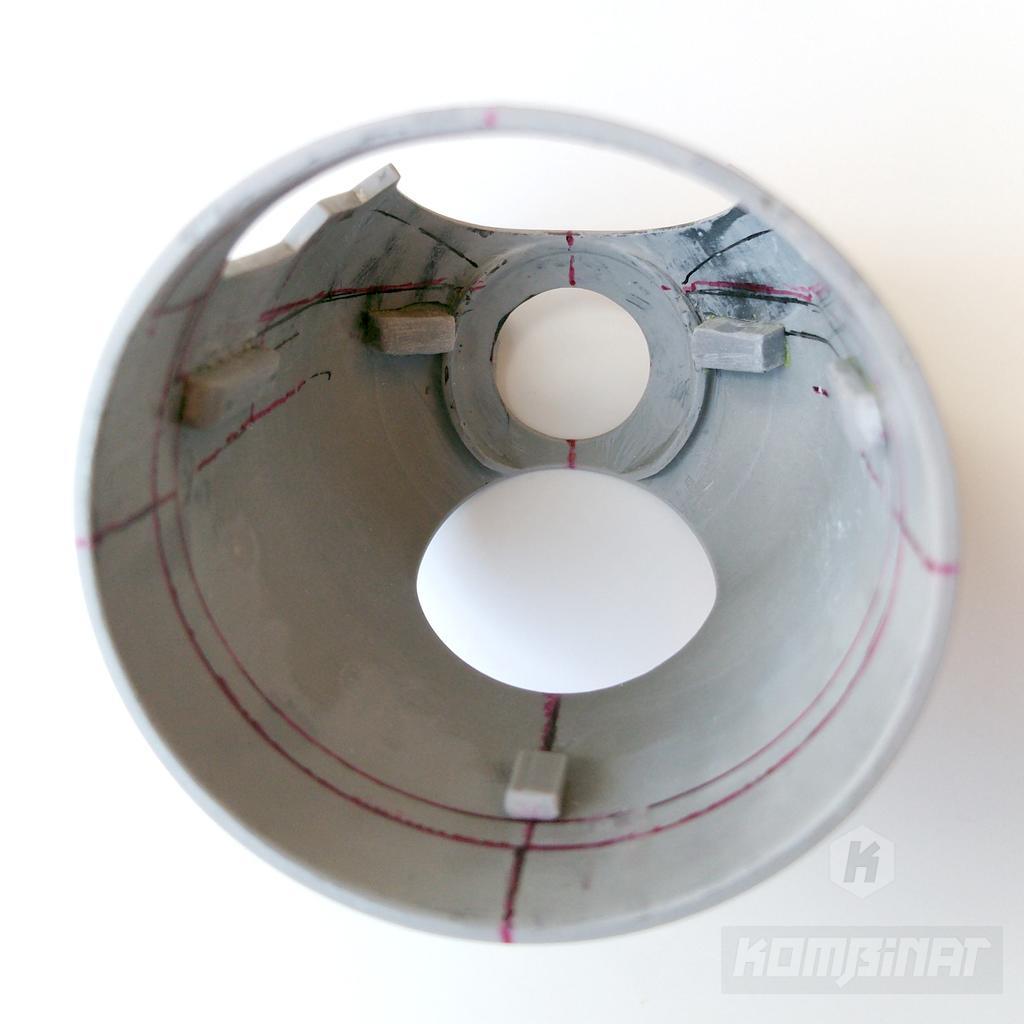
These frame parts will be cast separately for two reasons. One is casting limitations. The second is that the frame will support small parts of the machine such as pipes, actuators, or pumps, that shall be easily accessible for painting before they are mounted.
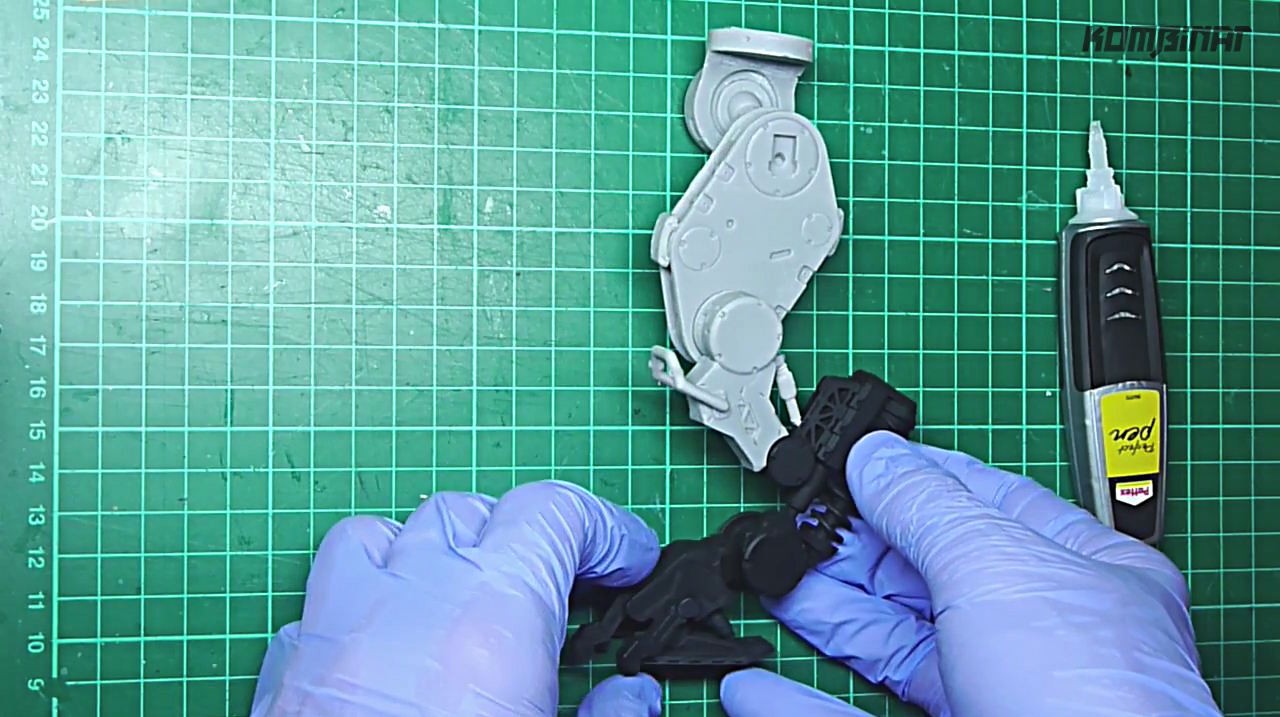
Summary of a mecha kit production: scratch-building versus 3D printing
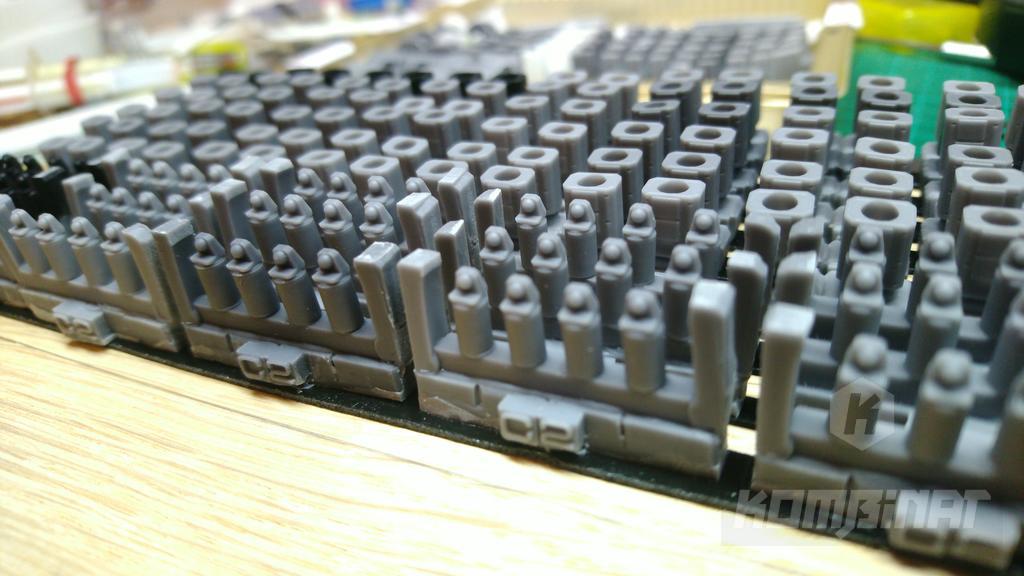
There are pros and cons of each approach while building a sci-fi mecha kit. Scratch building requires some extra manual skills, such as precision, planning outside of the computer, proper assembly techniques, tools, and materials. On the other hand, 3D printing won't make you forget about such skills either, because postprocessing is always needed if you aim for the professional quality of the final parts.
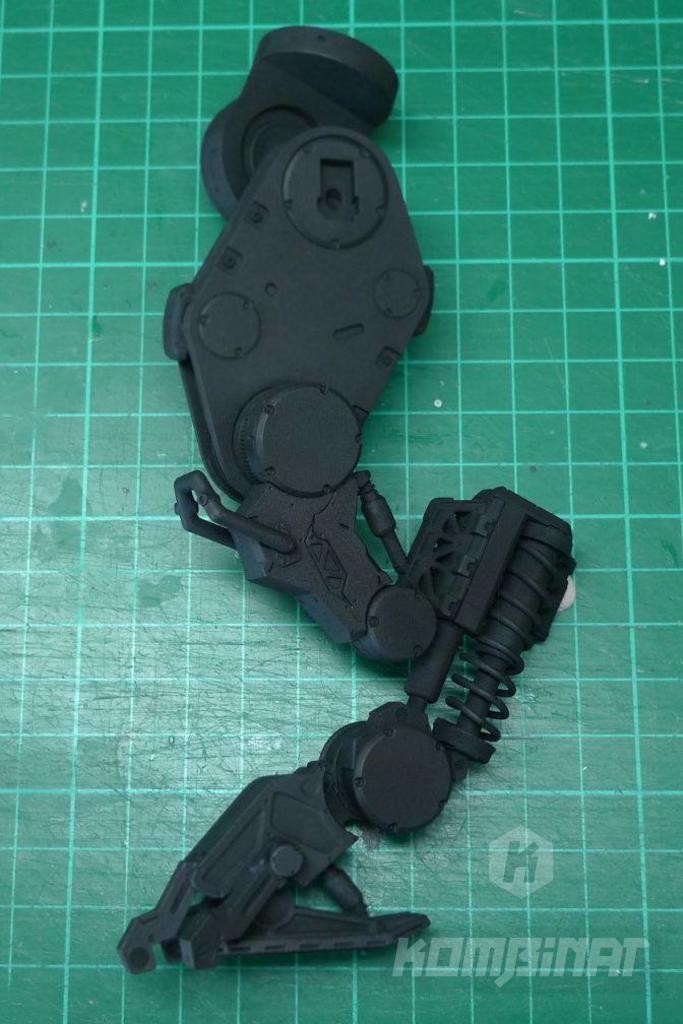
Postprocessing in model kit parts is always needed
Such postprocessing can be sometimes harder if you choose to print too complicated, entire submodule. Imagine that if you printed a part containing rivets or screws, for example, a fuselage, chances are that you would not be able to sand and polish the surface accurately without losing those tiny details.
Kombinat's combined approach to the model parts building
In this design of the Drone, I've combined a computer-aided overall design with the advantages of scratch building. The latter lets the scale model kit producer verify the quality of parts fit and the ease of assembly.
Support services from Kombinat
Companies that face this type of challenge, order the postprocessing or assembly services from Kombinat to achieve accurate results and avoid the cost of repetitive production of prototypes. Often, decisions must be made early at design time while working with a computer 3D app.
What challenges do you face while designing your scale model parts? Please share in the comments section below. If you're planning to produce model kits or parts you can contact me for support.
Related Products
Related Posts
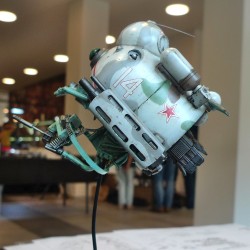
Mounting proposal of the MILVUS-62 sci-fi drone model kit to the base with a steel rod and rubber tubing.
This time layers and layers of juicy details around the exhaust and rear of the flying vehicle.
Lots of new parts and design decisions for our assault drone: equipment & horizontal stabilizer.
Step by step designing the militia mecha drone resin kit's arm, sensor and more.


