Soviet drone's equipment & horizontal stabilizer
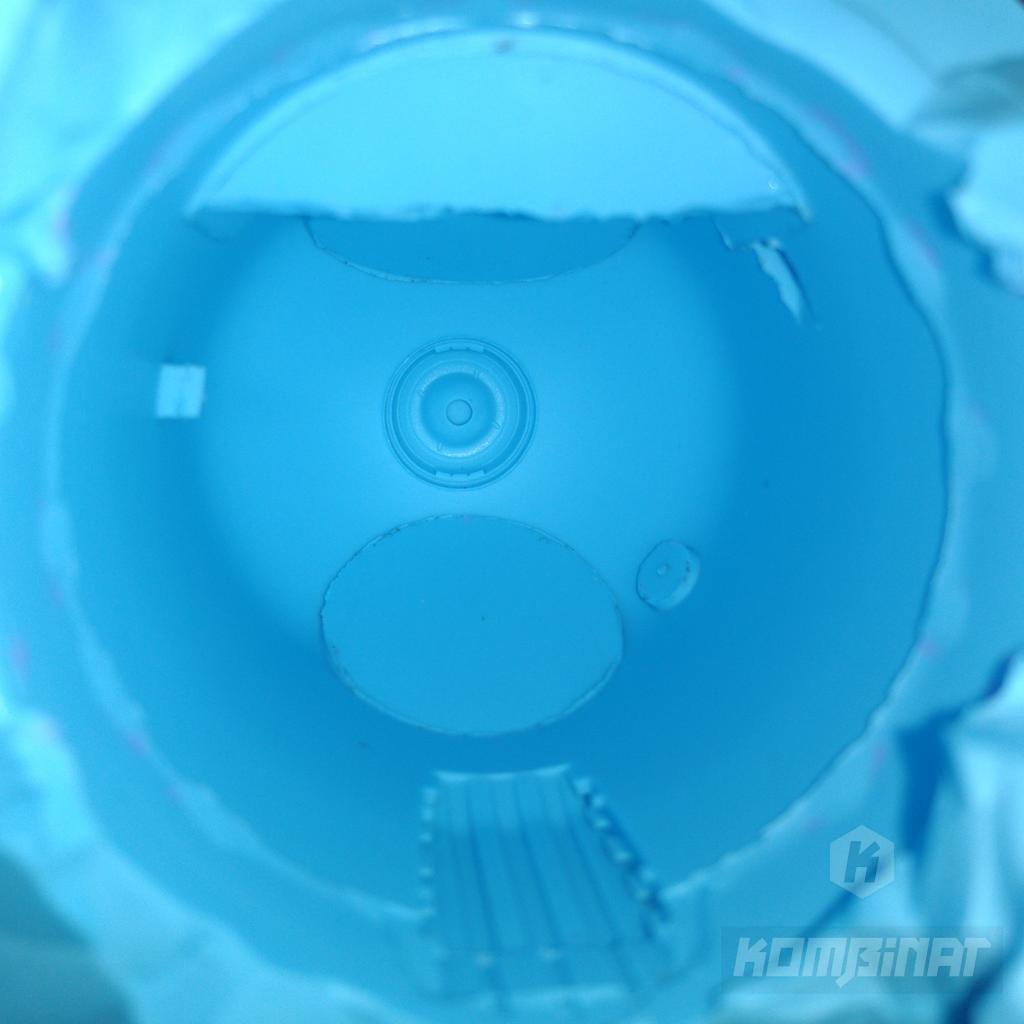
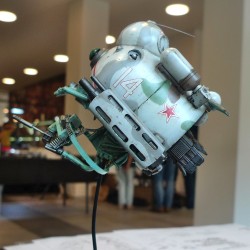
The fuselage of the MILVUS-62 drone built in previous blog entries has been cast again using a new mold. This gives a chance to go back and produce another cast in case of unforeseen damage.
Extending the mecha drone's fuselage
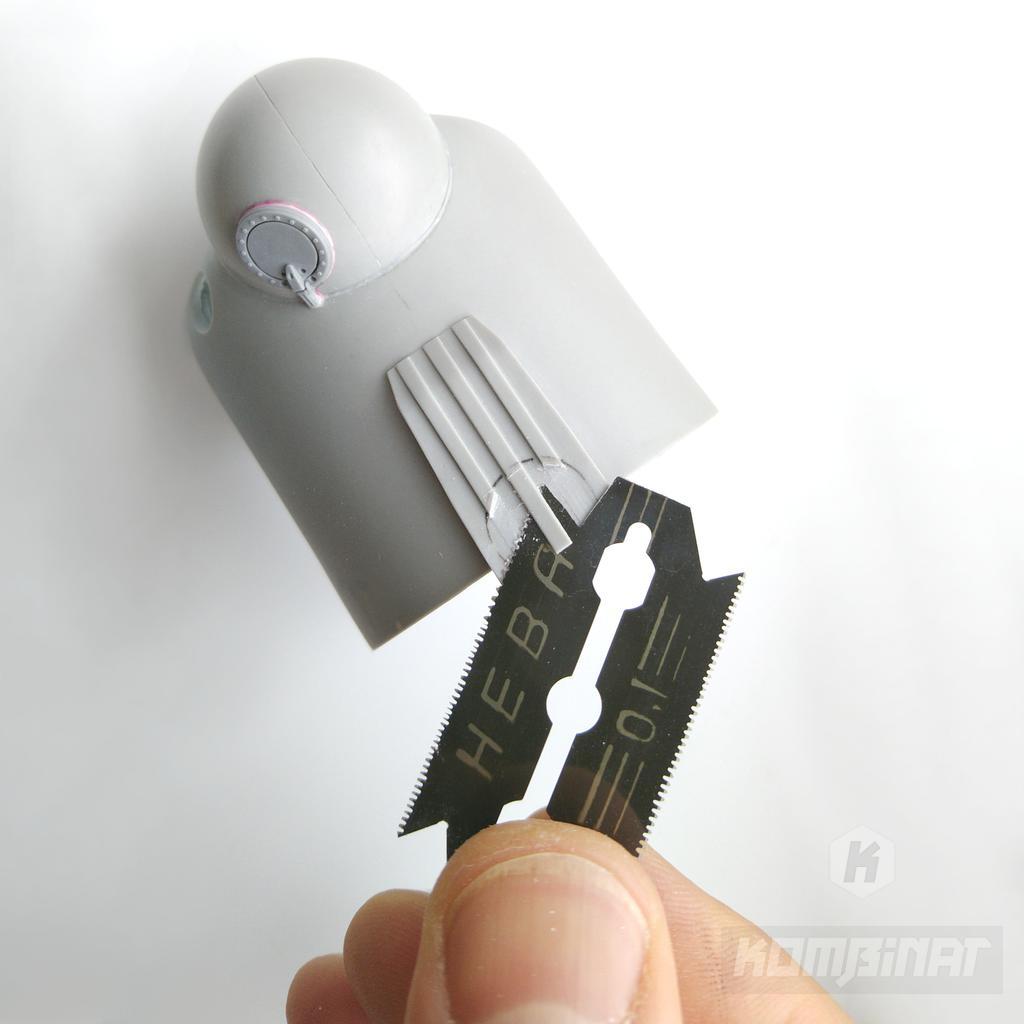
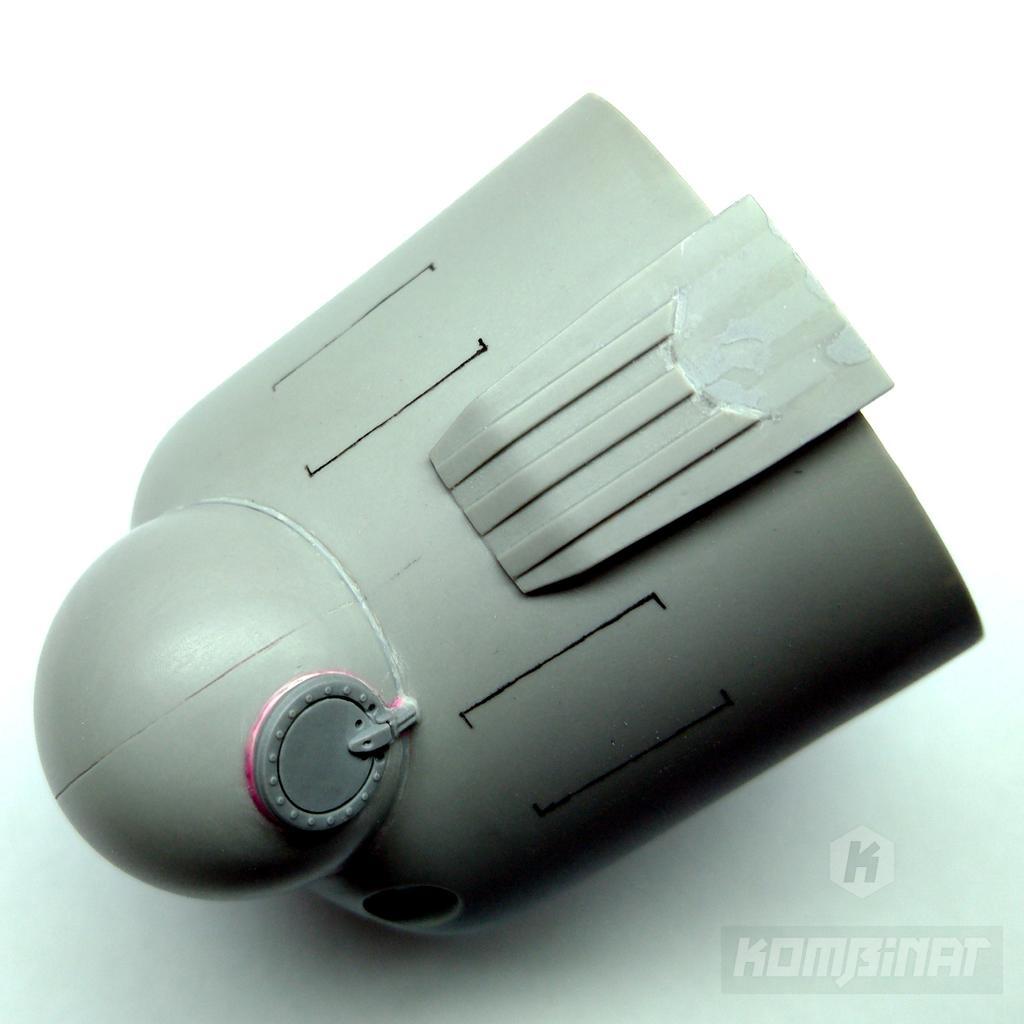
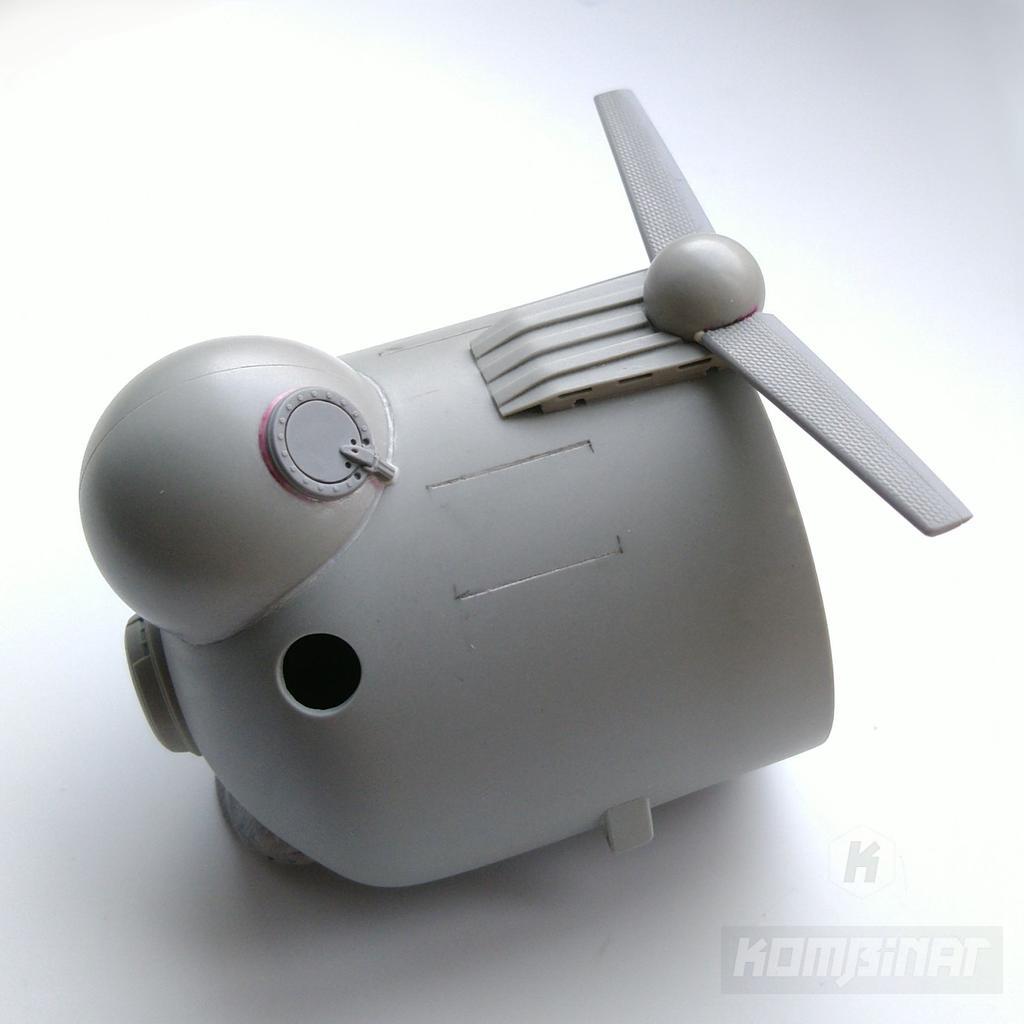
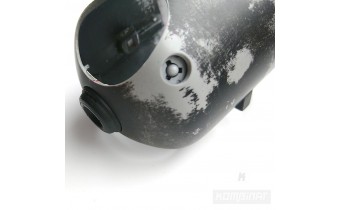
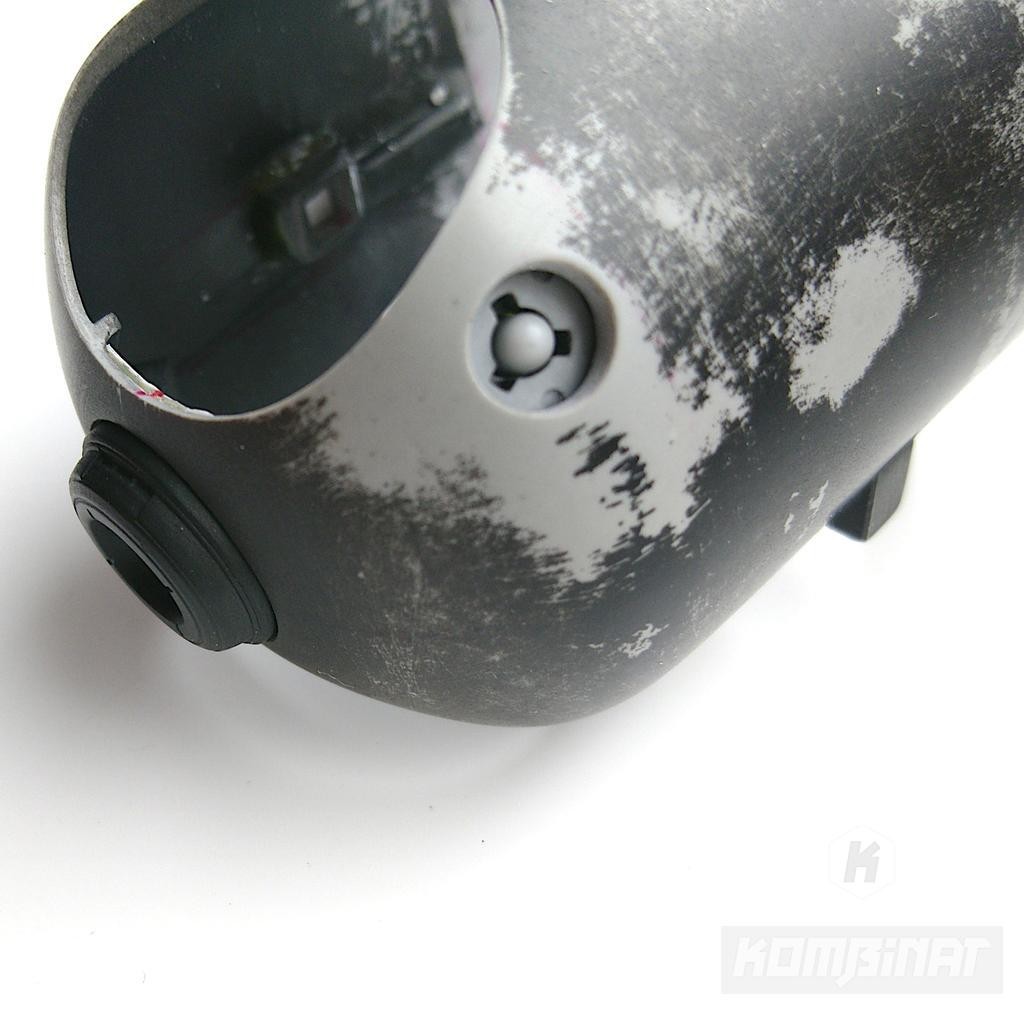
Today we start by making further modifications to the fuselage. Among other things, we have permanently glued the spherical head. Next time it will be cast as one piece with the fuselage. A solid round inspection doors with a hinge has also been glued. This required precise carving to fit the parts.

Adding drone's horizontal stabilizer
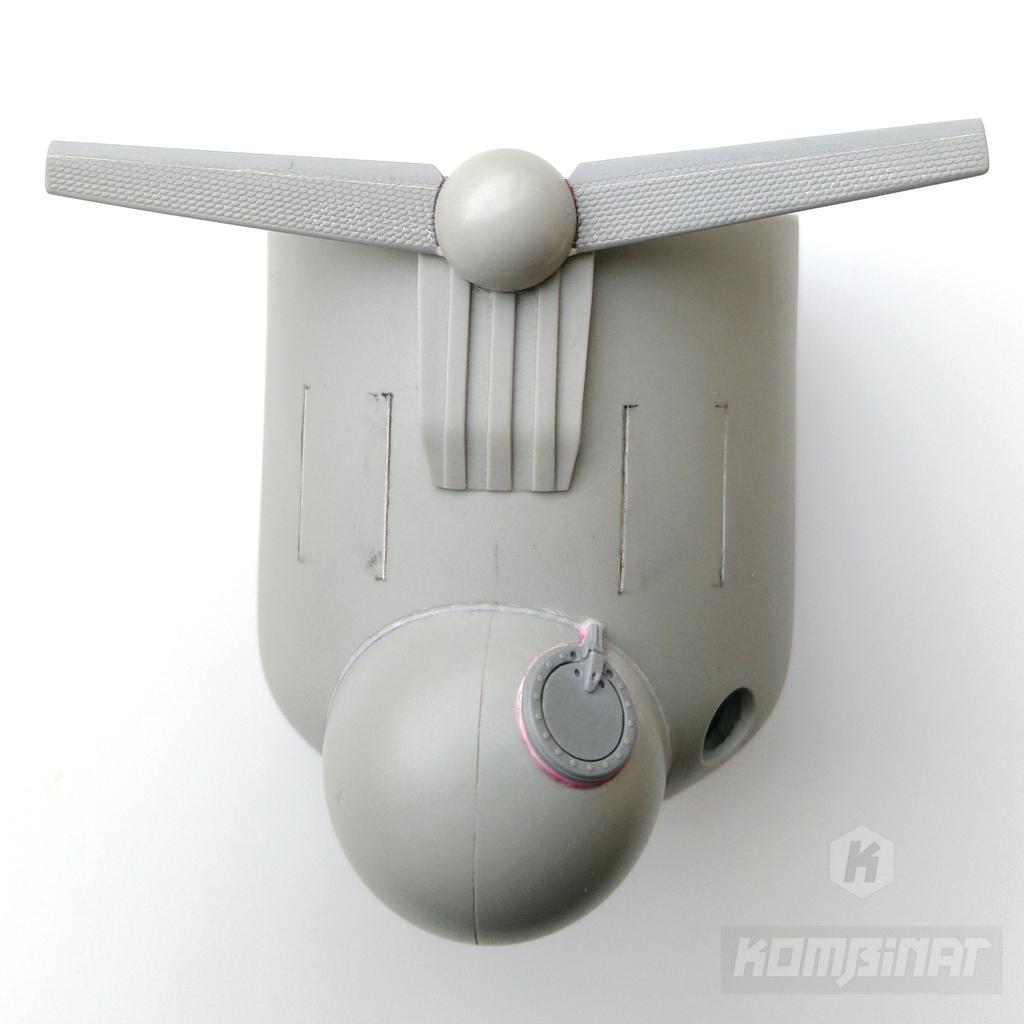
Now we will deal with the horizontal stabilizer. It is modeled on the aesthetics of a Soviet ekranoplan, such as the Caspian Sea Monster.
The horizontal stabilizer is assembled from a material that has an interesting texture on one side. I built a base (white plastic in the photo, designed in the Blender 3D app) on which I placed the stabilizer and assembled it with glue.
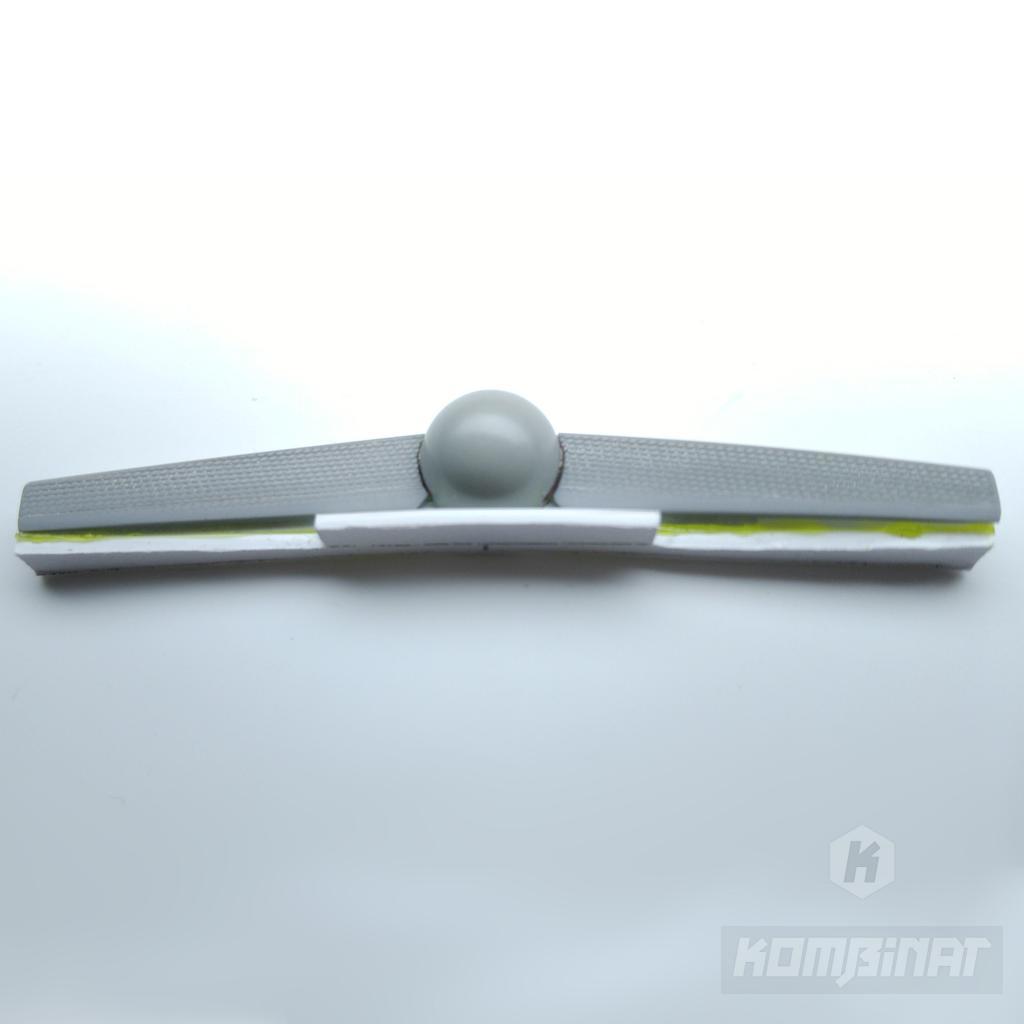
The gluing may be flimsy, but it will hold up to a pour of silicone. The master part will no doubt disintegrate when pulled out of the mold. That's irrelevant, as the copies will be strong enough thanks to the durable resin I use in this project.
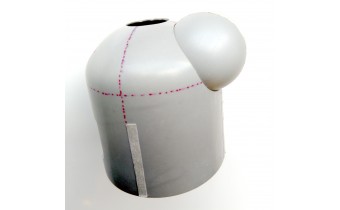
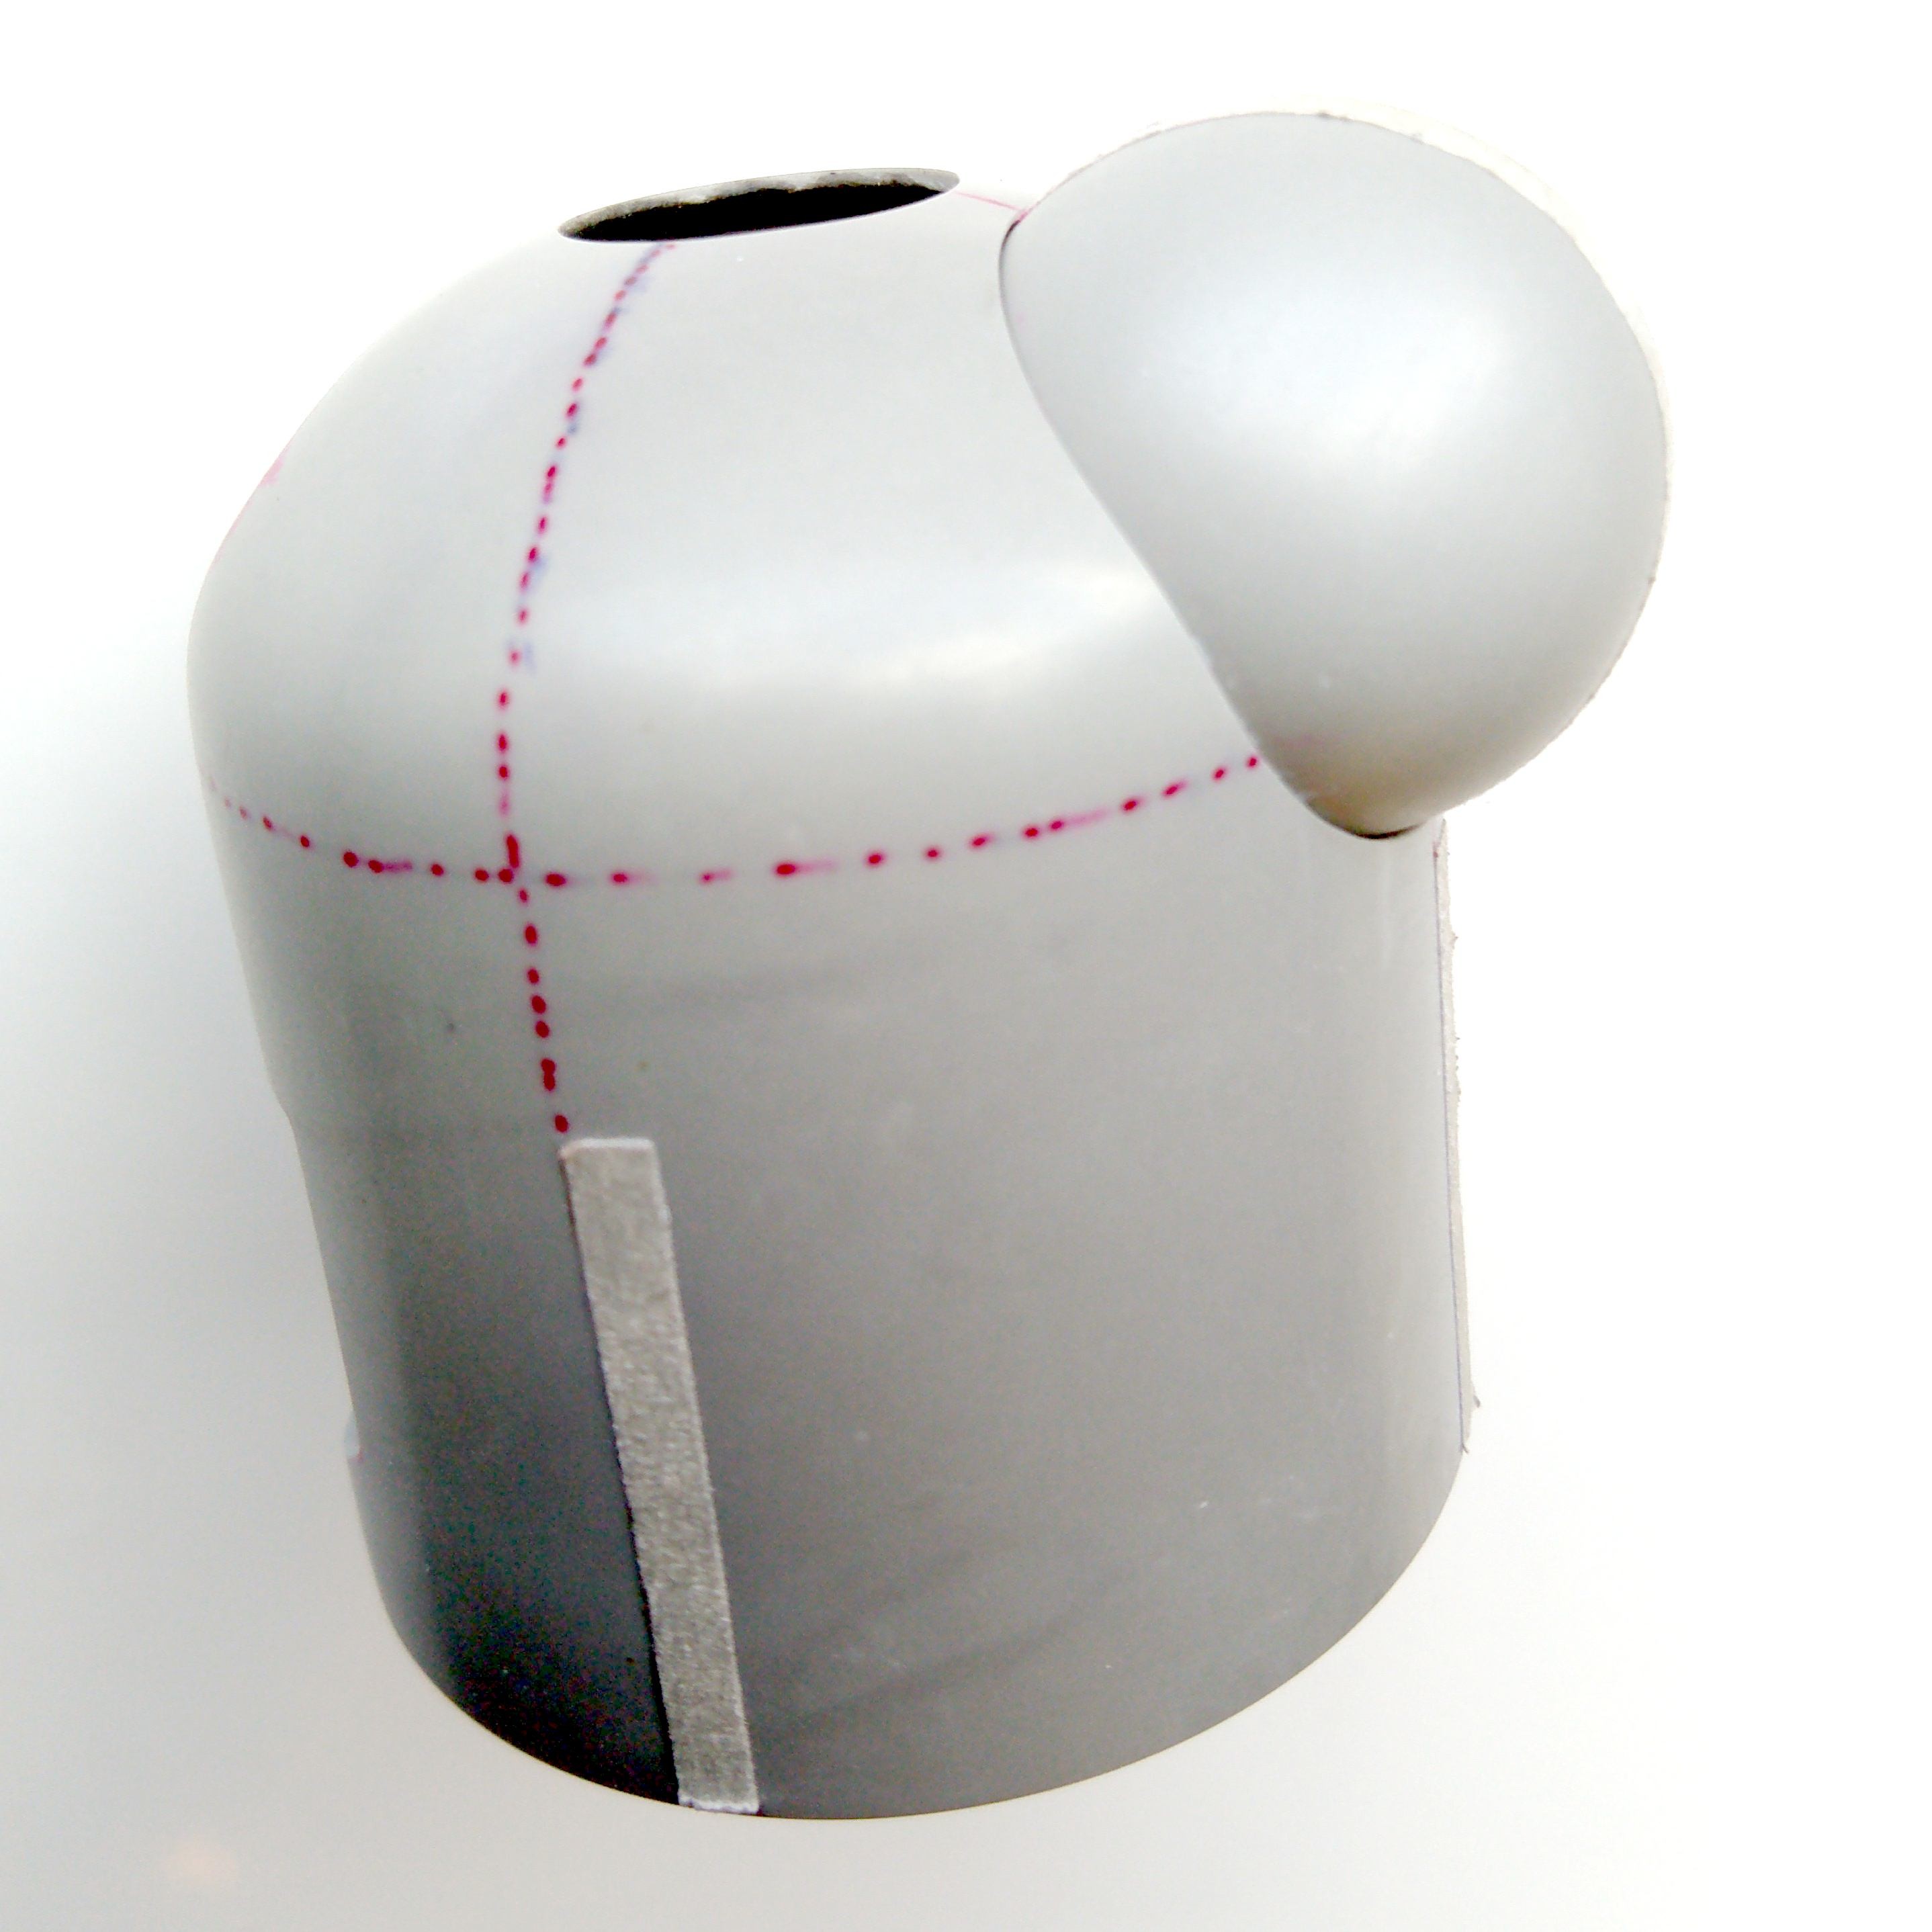
The final position of the horizontal stabilizer relative to the fuselage is as follows:
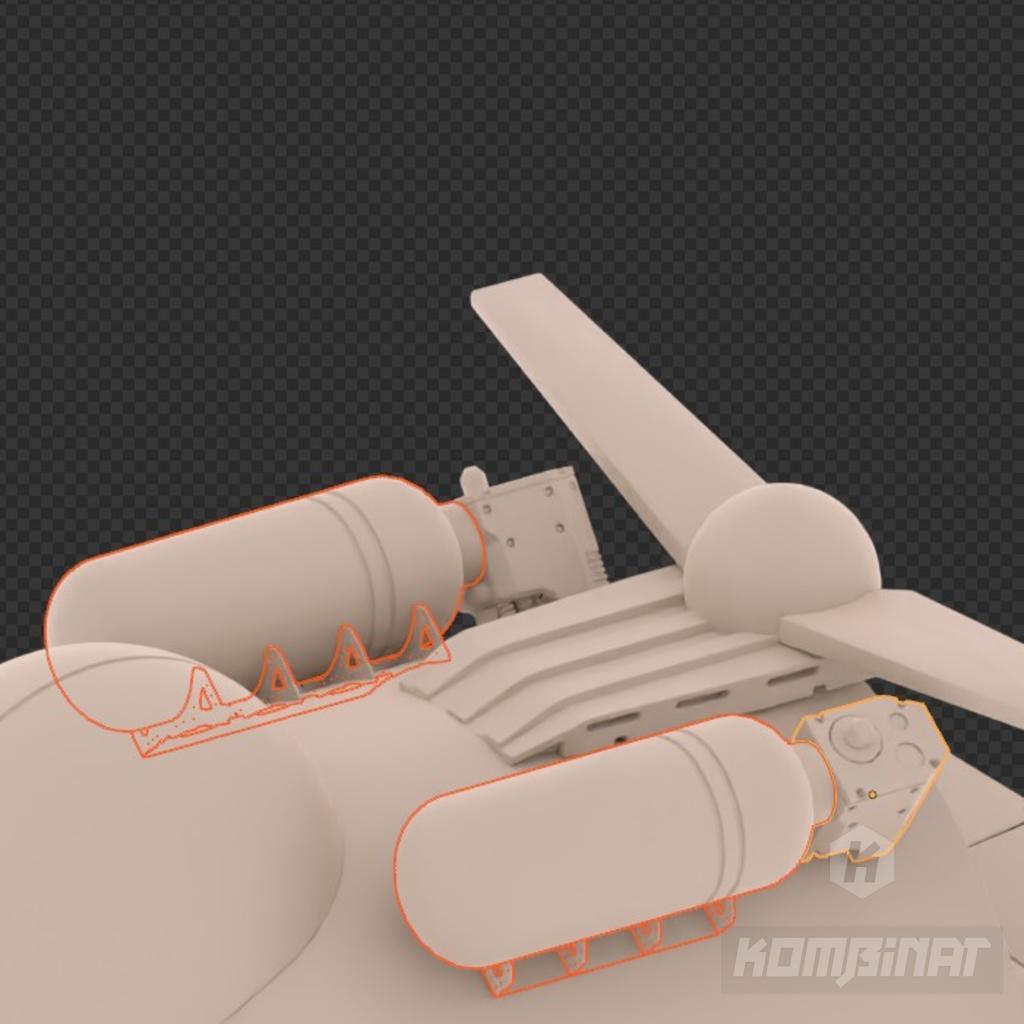
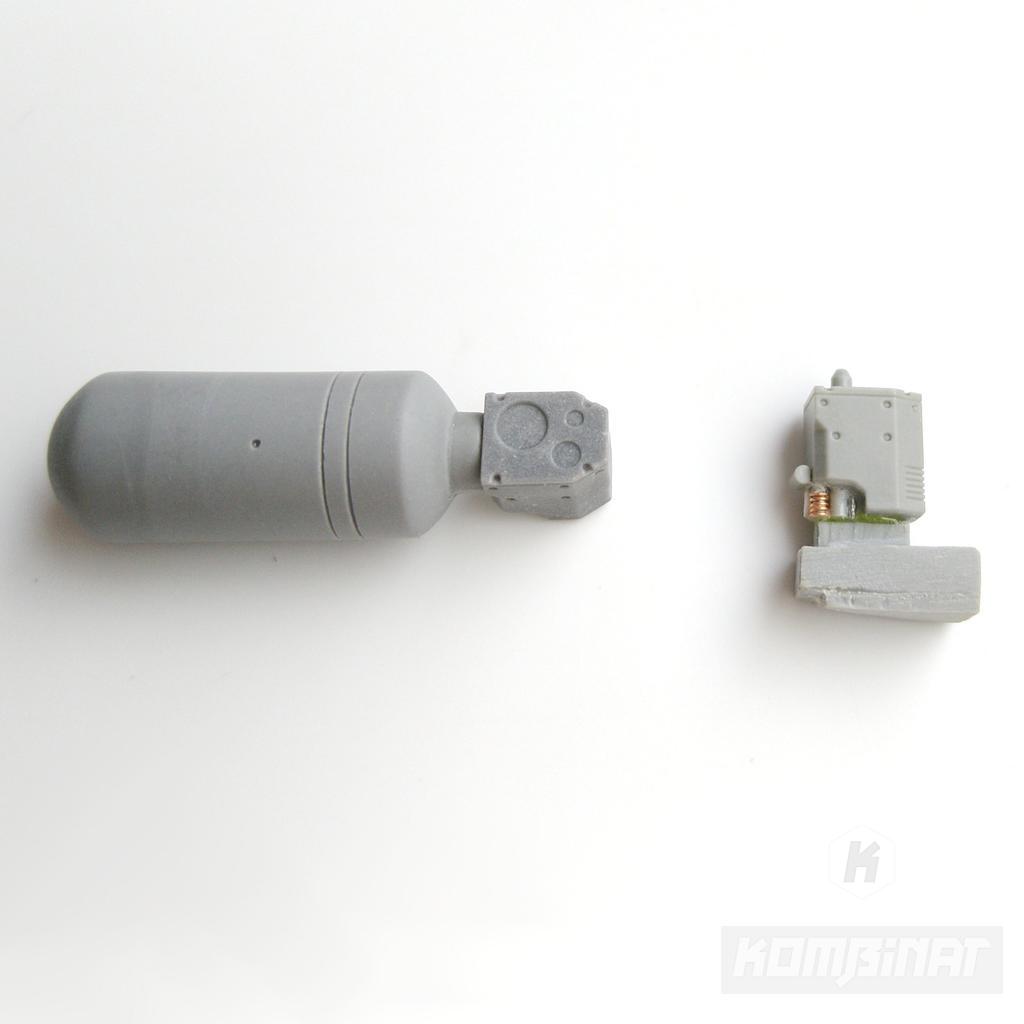
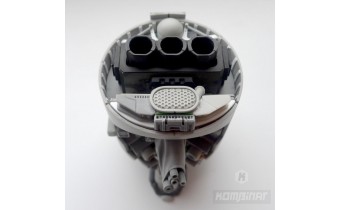
Adding drone's tanks
Two tanks and their equipment are placed on top of the fuselage. Their bases will be made of photo-etched metal parts. I hope that it will not be difficult to assemble them for an intermediate modeler. In the previous photos, you can see the places for these bases marked on the fuselage.
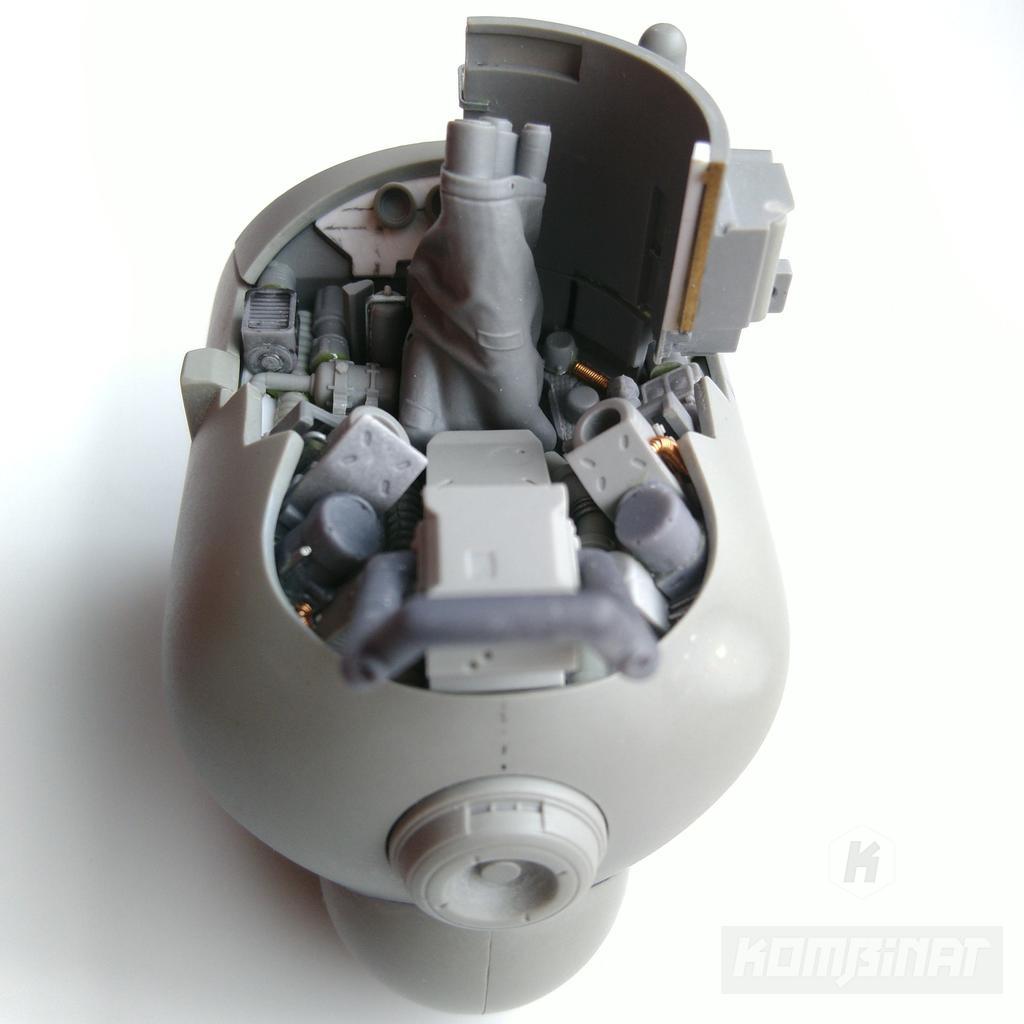
The drone's bottom equipment
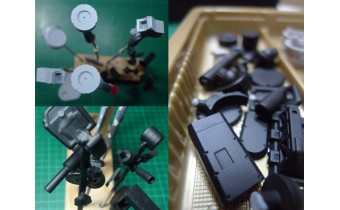
It is time to build master parts of equipment on the underside of the machine. The bottom surface is cast vertically as one quite large piece. I decided to cast the equipment separately in five sections and glue them to the surfaces.
This will help in several ways. Firstly it may be easier for the modeler to clean and paint these parts before gluing. Secondly, if several small elements come from separate, not too deep, molds, it will be easier to avoid bubbles during the resin casting. Thirdly, the condition of such molds deteriorates less when it is easier to pull the cast parts out of them.
Here is the base of the first section, made of 1 mm white styrene:

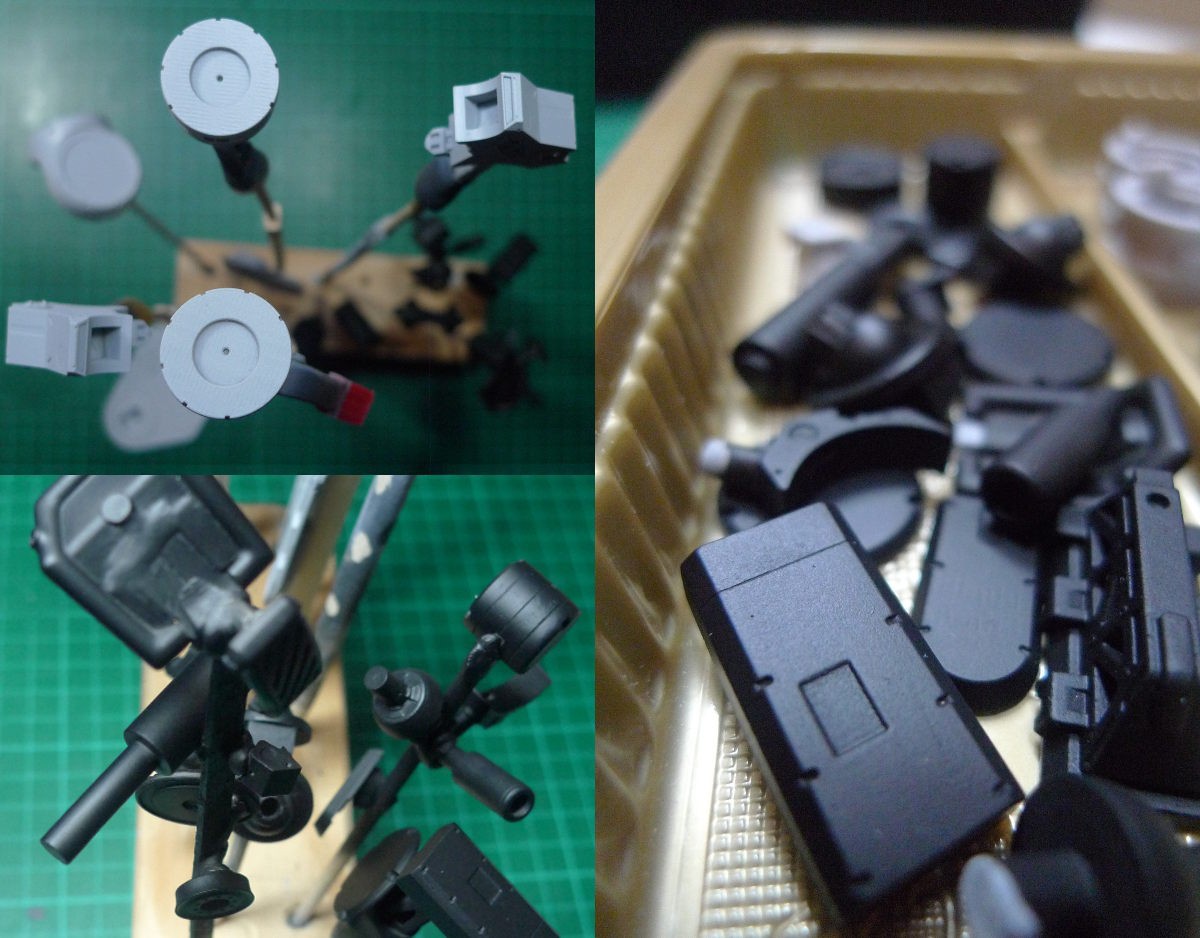
And these are the first two sections of the bottom equipment (the model is pictured bottom-up here).
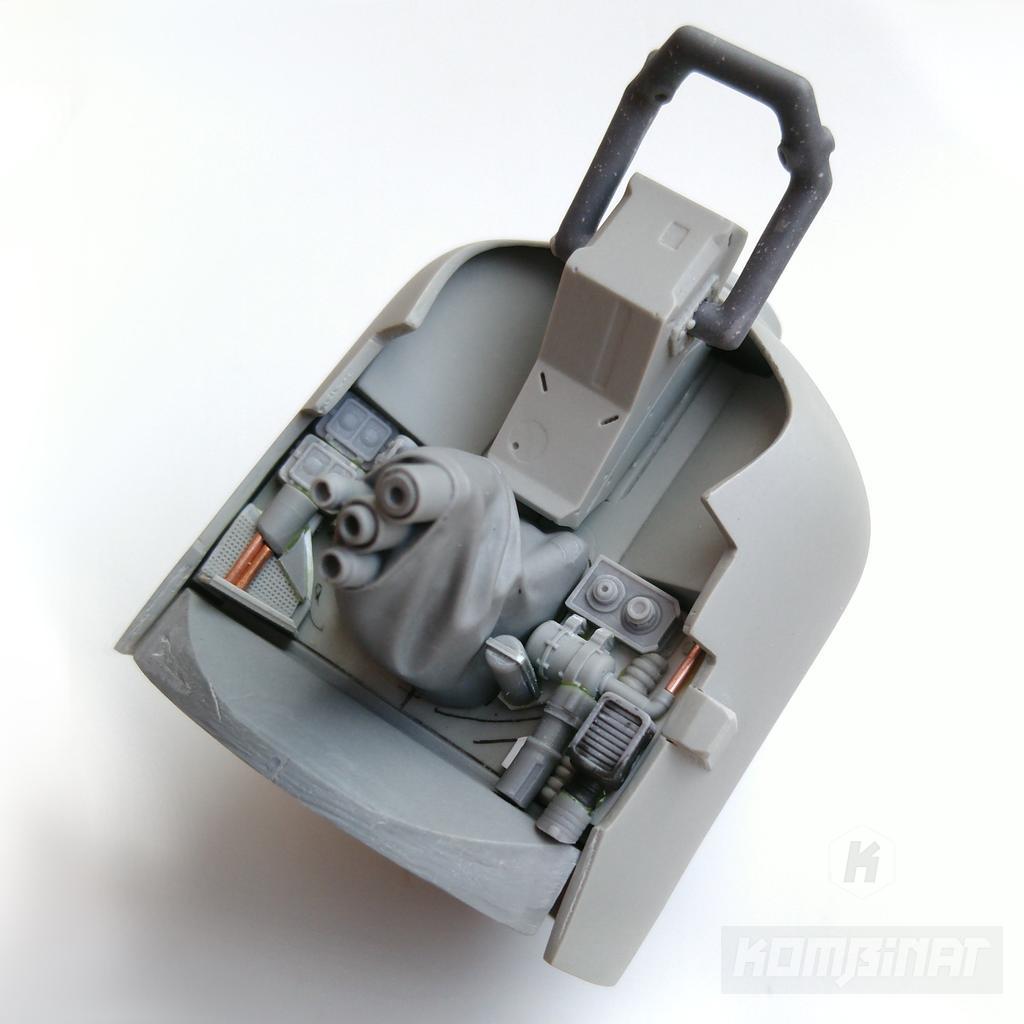
Here and in the following photos, you can observe that I cut off the lower elongated (crossbar) section of the fuselage. This adds an additional curved part that the modeler can glue to the fuselage and the rear wall of the vehicle.
The primary advantages of this are technical. Casting will be somewhat simplified, especially removing from the mold and venting. The modeler will also not be as likely to break this delicate part of the fuselage.
These are all four sections of the bottom equipment:
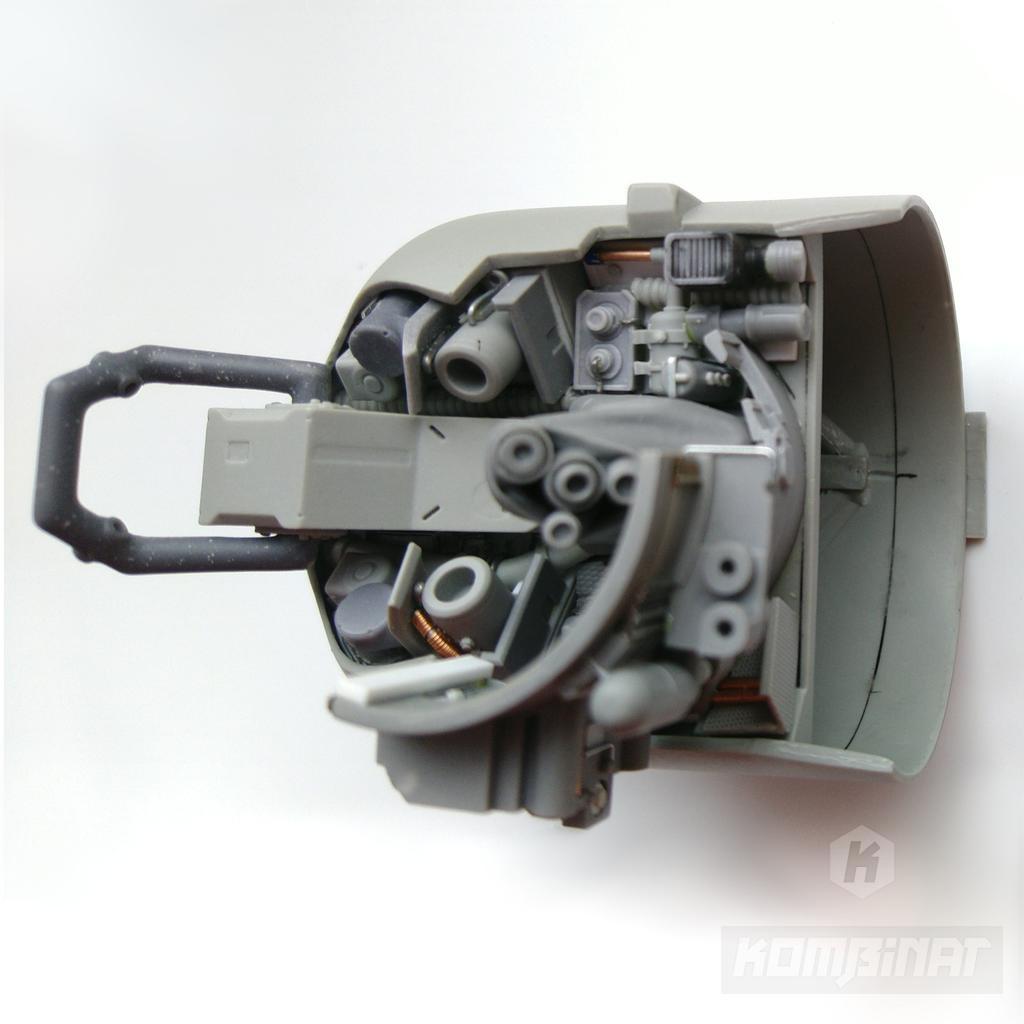
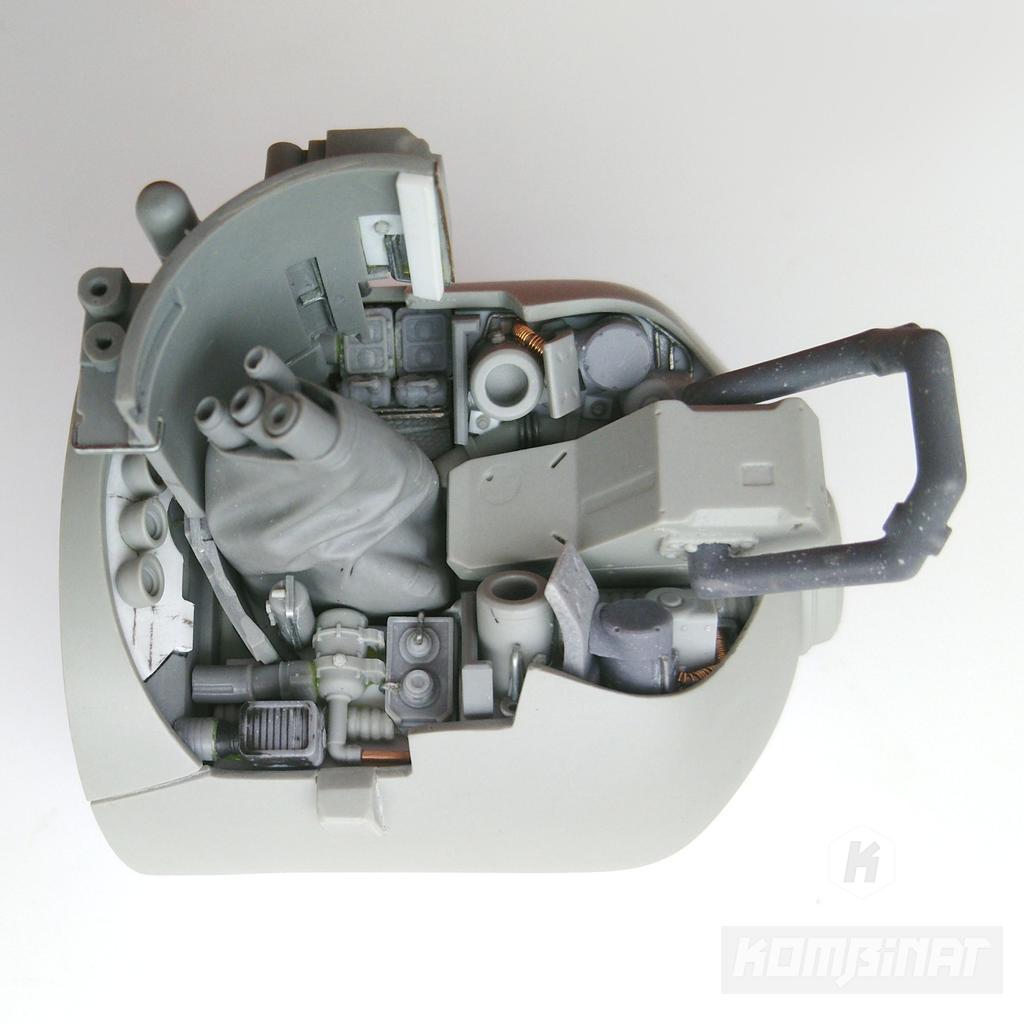
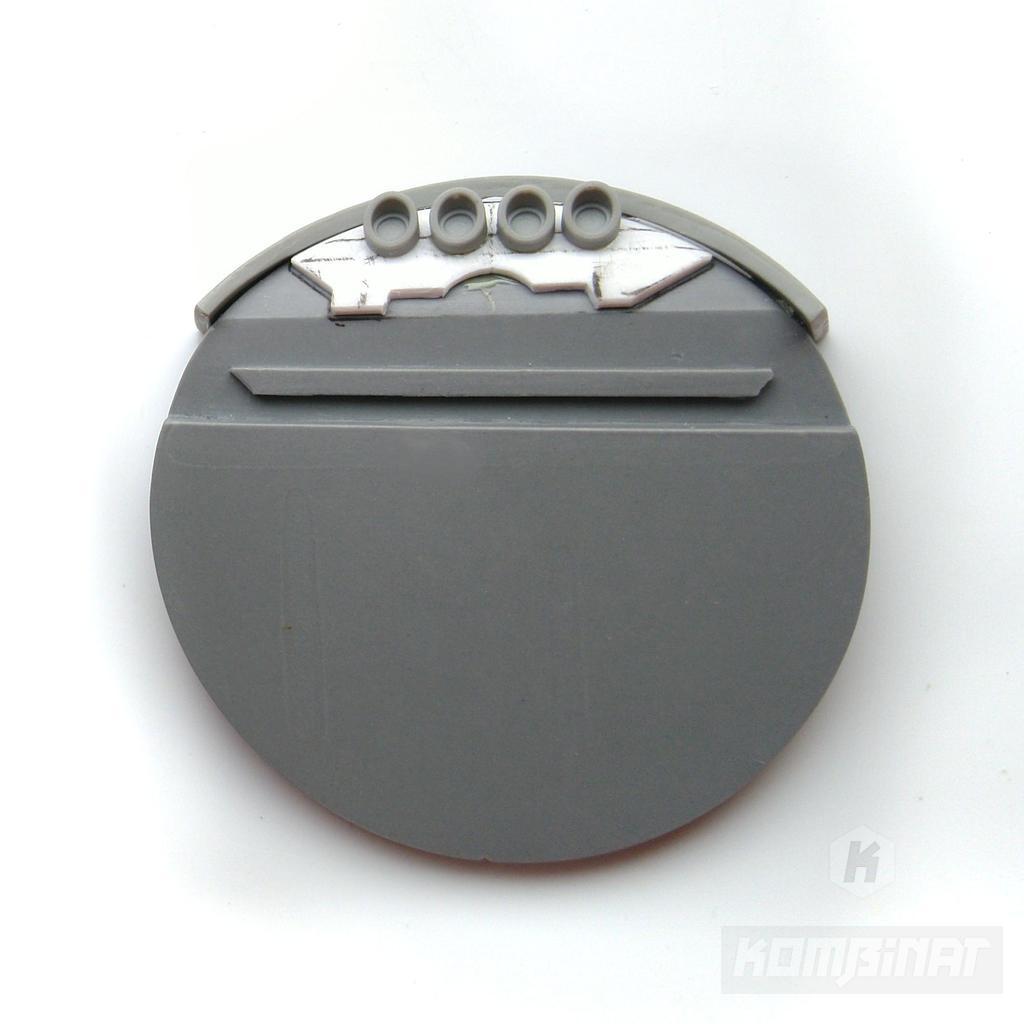
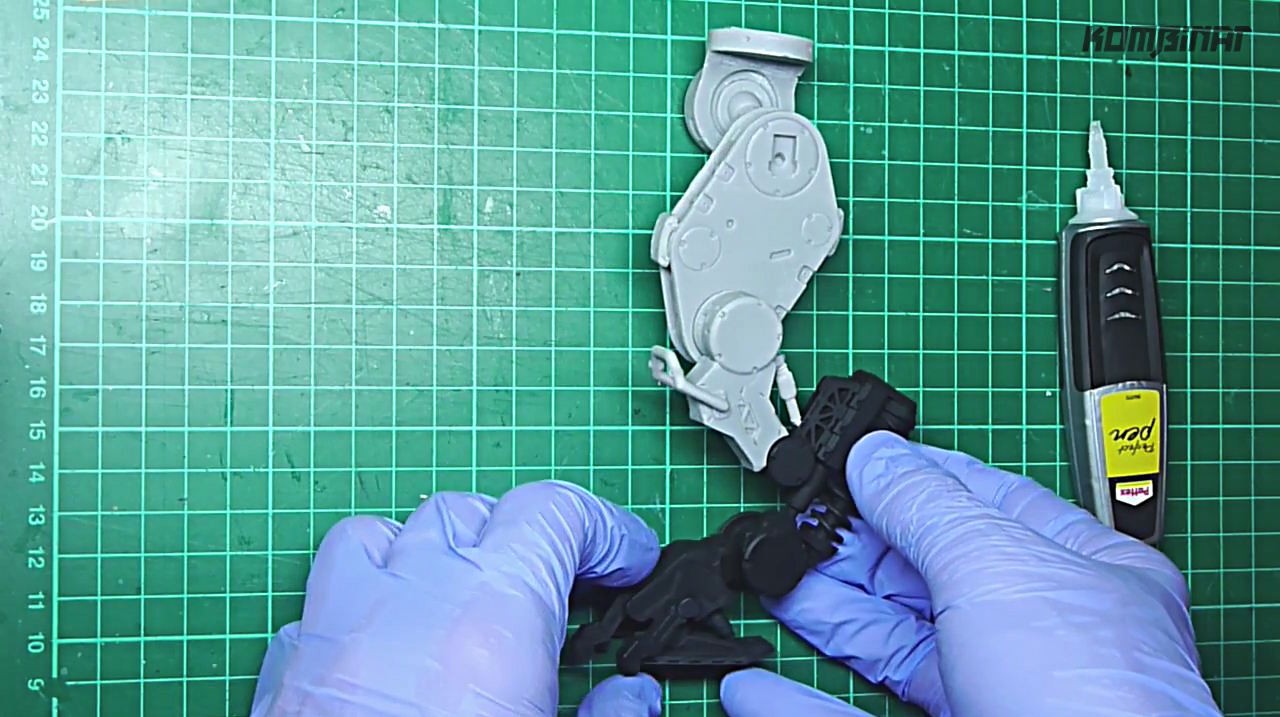
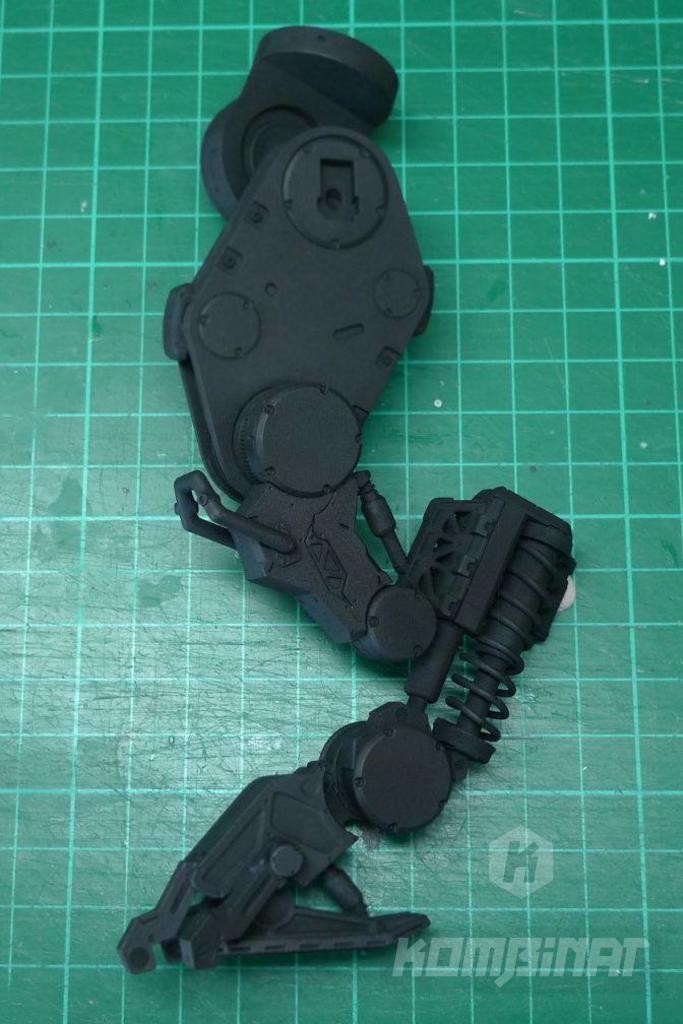
Here you can see the mentioned extra curved section test glued to the fuselage. It seems to look even more interesting than before it was cut off.
In addition, the semicircular rotating armament base is already test glued (the model is pictured bottom-up here).
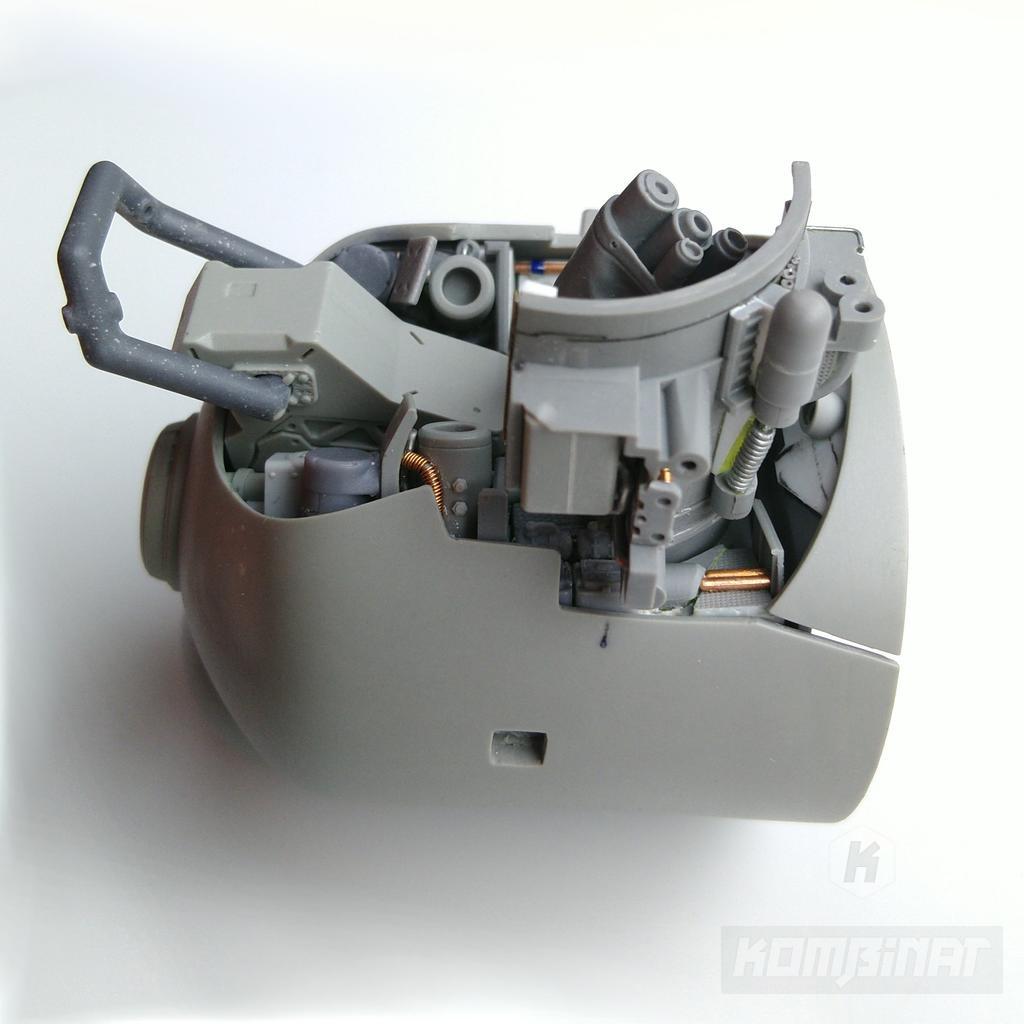
A preliminary version of the fifth piece of the equipment attached to the rear wall:
Summary for the model kit design
I used a 10-minute two-component epoxy adhesive in the above work. It can be used precisely and gives a strong bond. Yet, it allows the parts to be easily peeled off for test assemblies or after possible errors, without any risk of damage to the valuable elements. The cost here is the longer working time, but this is worth accepting.
The parts used in the above steps are high-quality castings of my own designs. The originals of many of these were printed to a precision of at least 15 um on a professional 3D printer. I have them all in multiple copies, so there is no stress when a part gets damaged or after my assembly concept changes. I also used quite a lot of metal parts, in particular fine wires. It would no doubt be impossible to 3D print entire components of this type and post-process them later.
Next time we will deal with the rear part of the mecha drone, which includes the exhaust and its equipment.
Priority access to the MILVUS-62 drone model kit
If you're fresh here and curious to see where this project is going, this won't be a single copy of the model but an entire boxed resin model kit.
Before the price of the kit jumps to the official level, which due to the interest, can be quite soon, I have made it possible for you to preorder it. For details, click on the product link in the "Related Products" area below.
Design, molding, and casting services from Kombinat
If you're planning to produce high-quality model kits or parts, you can contact me for support.
Related Products
Related Posts
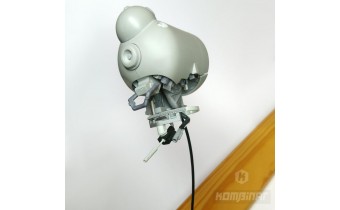
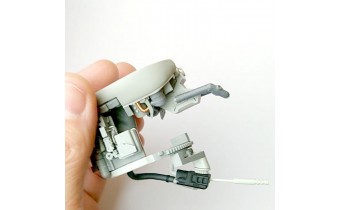
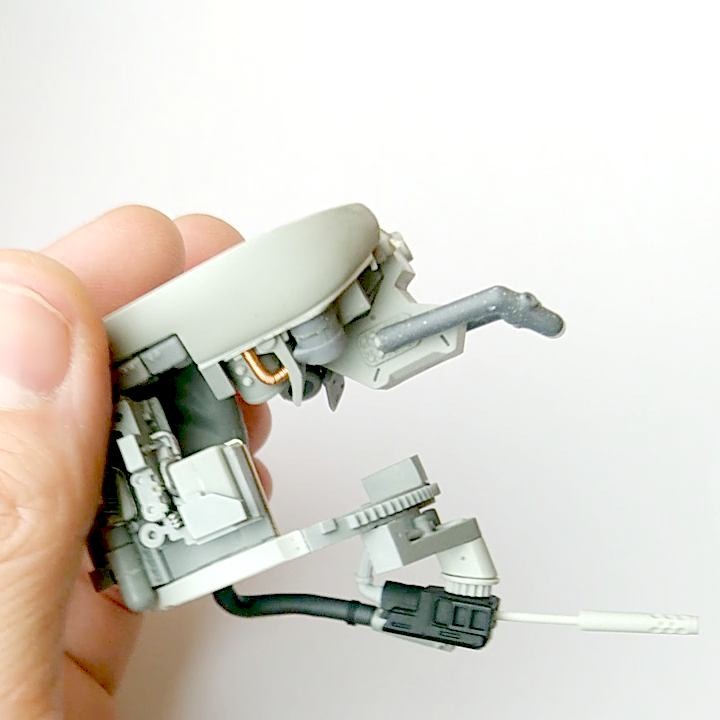
Mounting proposal of the MILVUS-62 sci-fi drone model kit to the base with a steel rod and rubber tubing.
This time layers and layers of juicy details around the exhaust and rear of the flying vehicle.
Step by step designing the militia mecha drone resin kit's arm, sensor and more.


