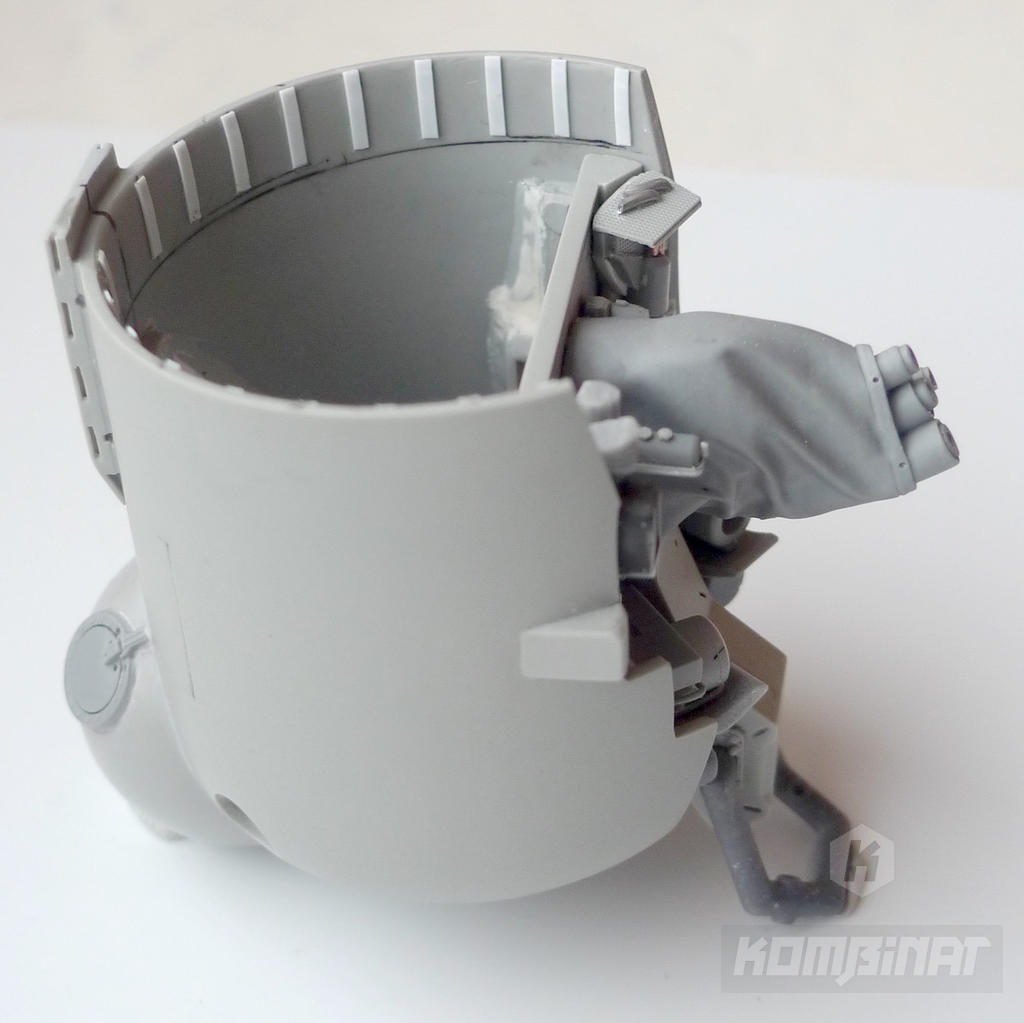
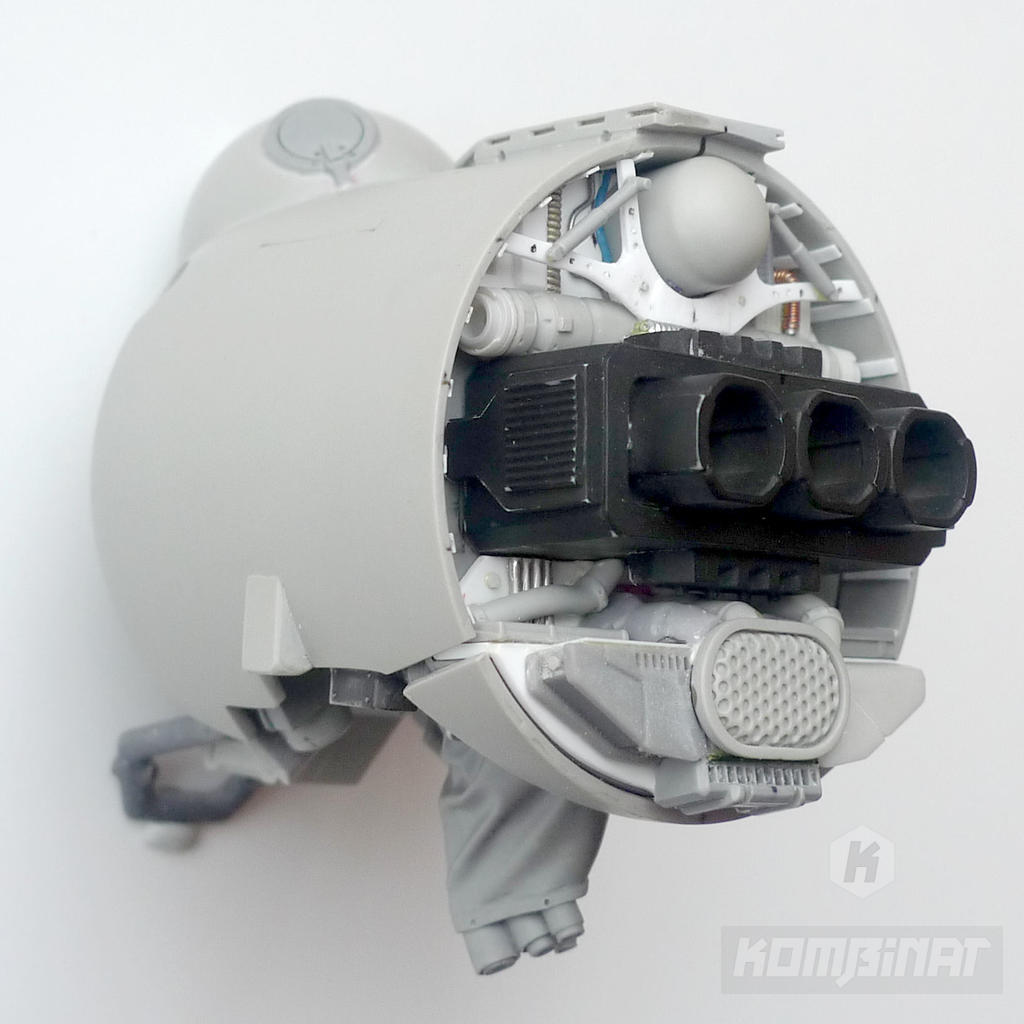
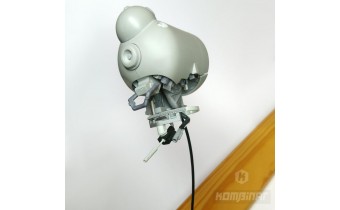
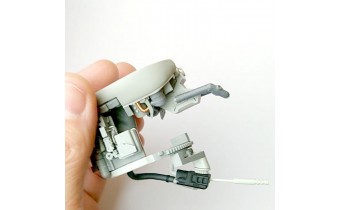
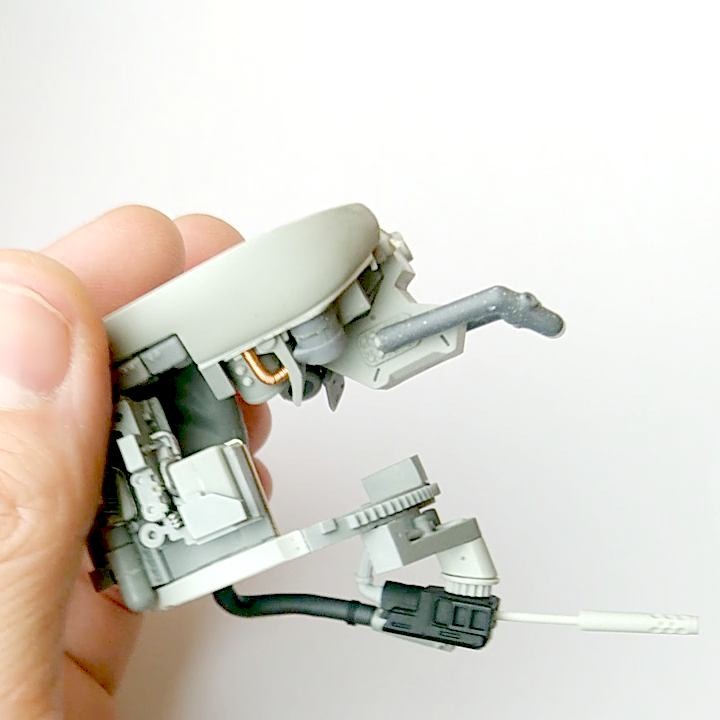
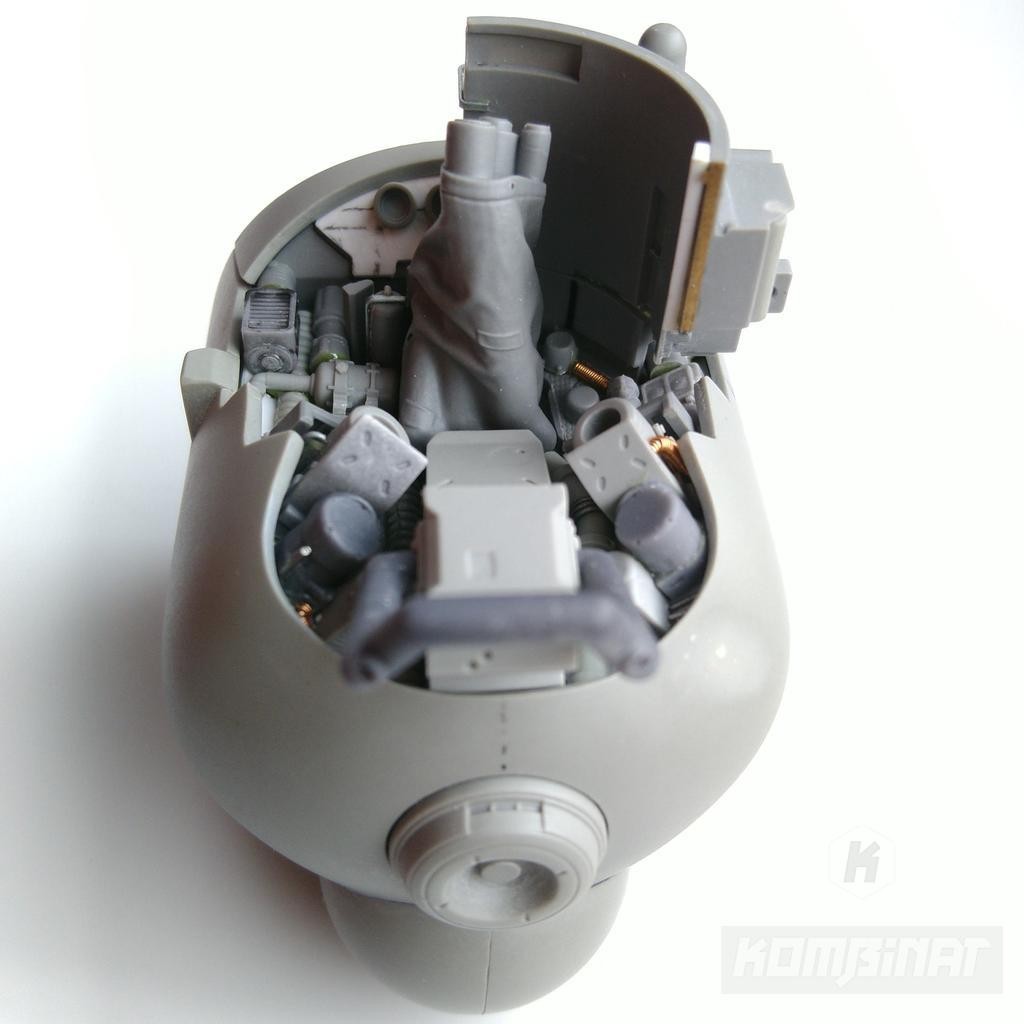
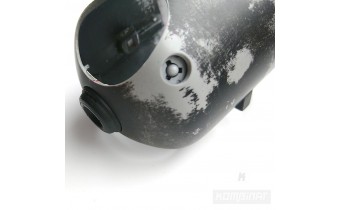
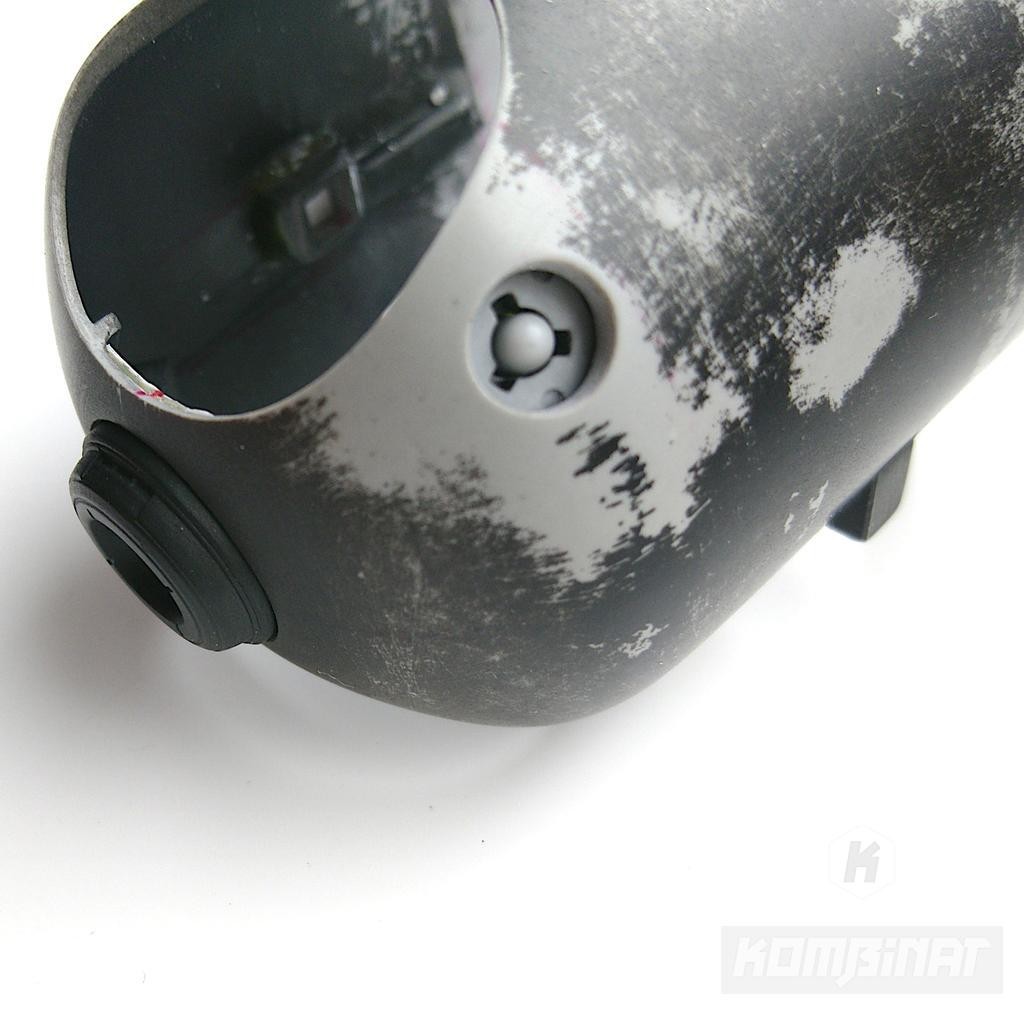
MILVUS-62 drone's exhaust
We don't make it easy on ourselves. This time layers and layers of juicy details around the exhaust and rear of the flying vehicle will be added.
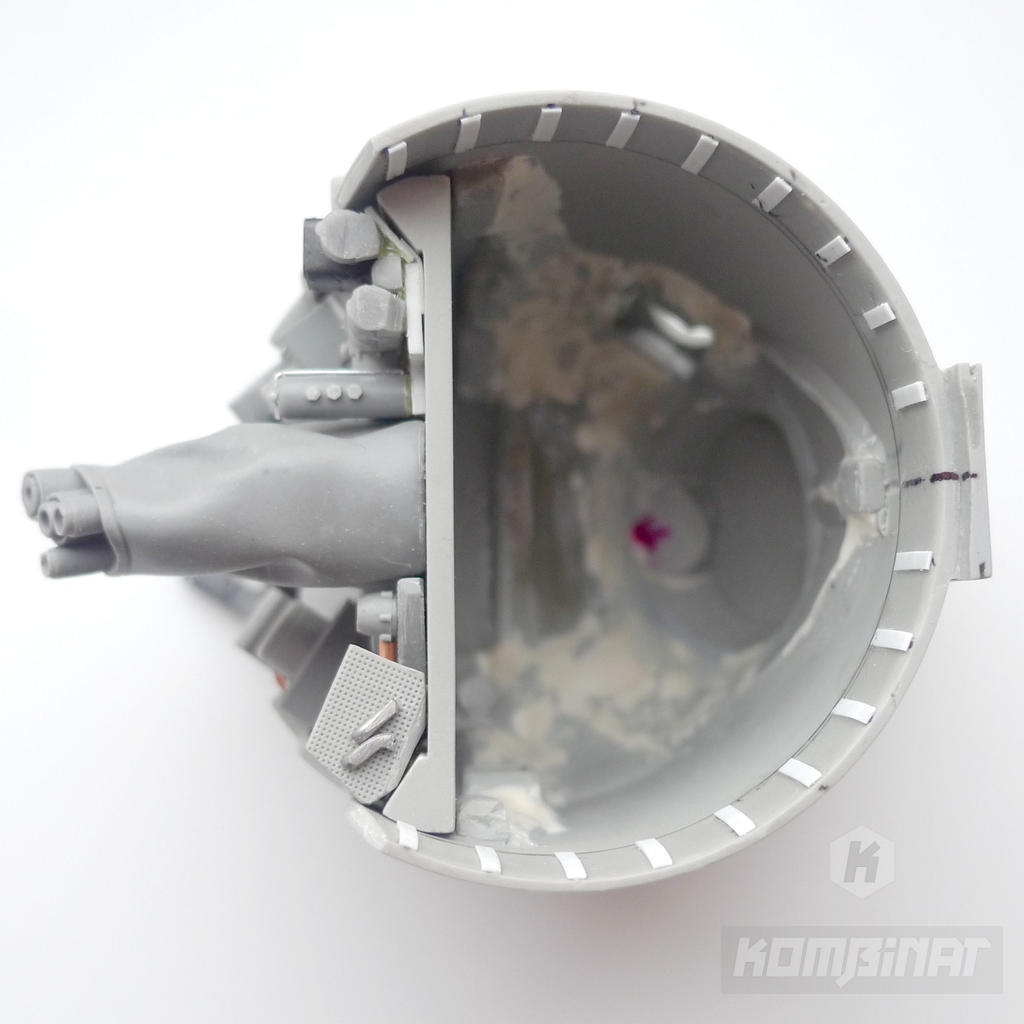
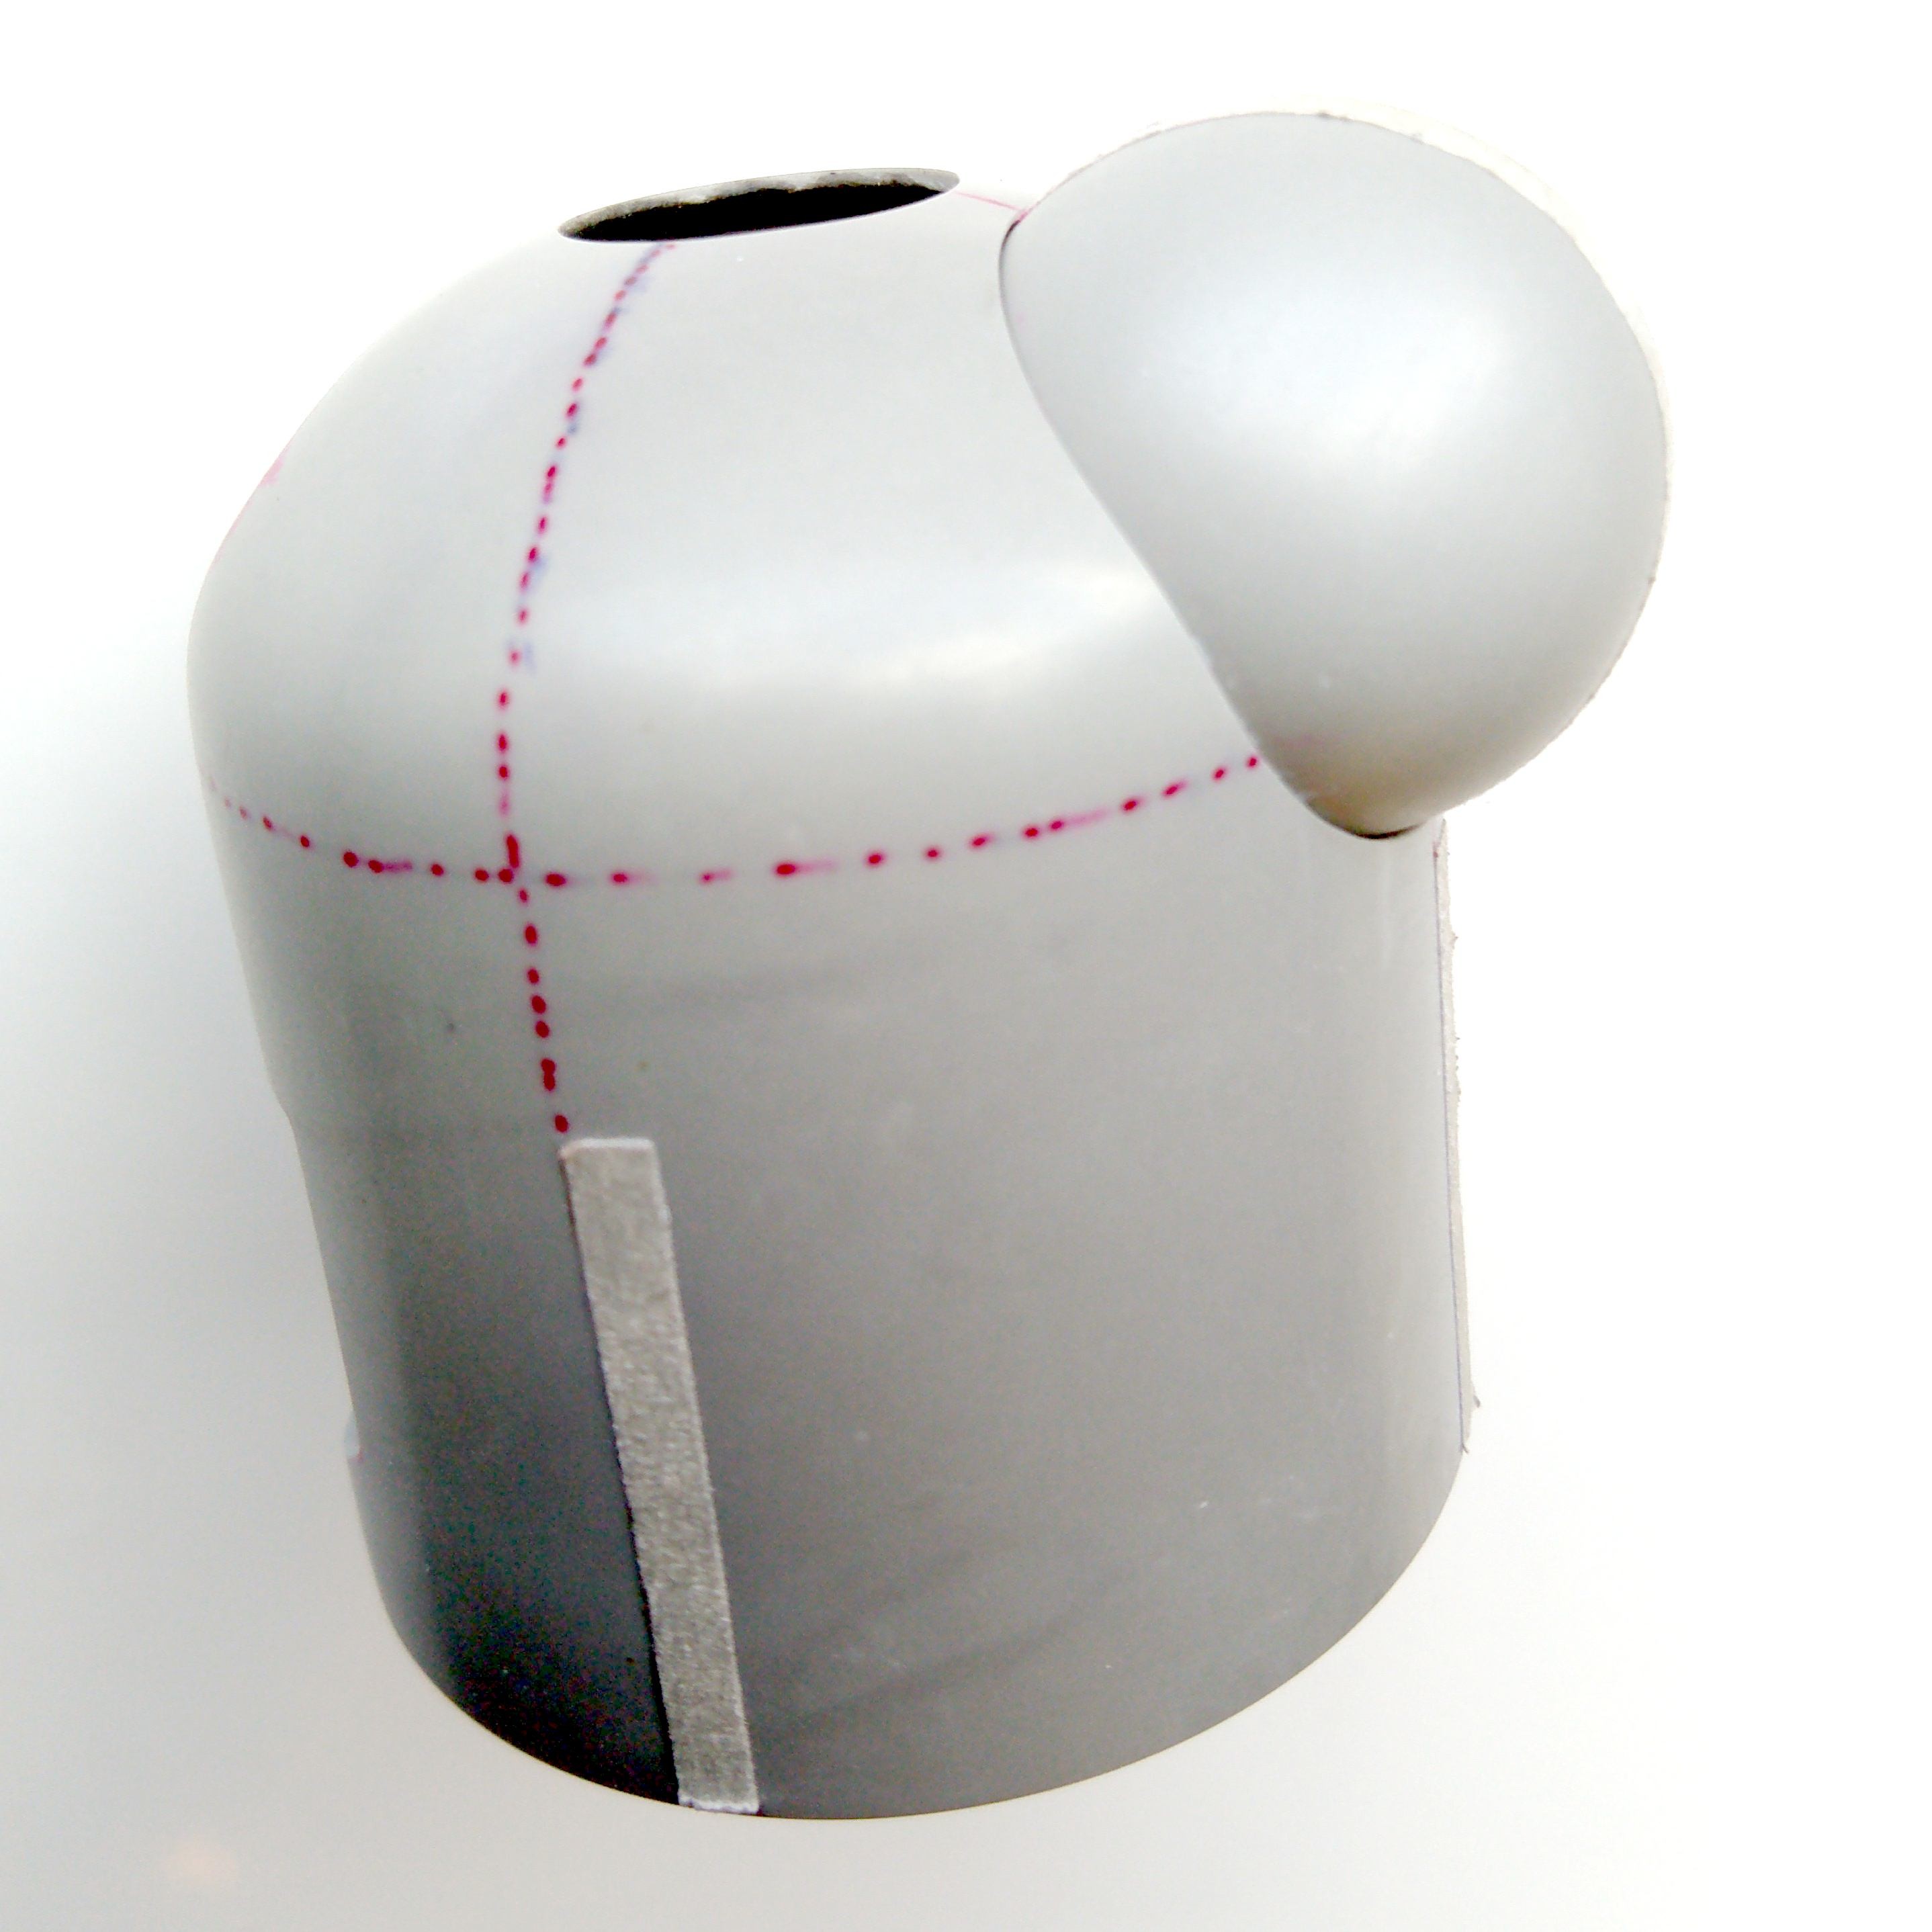
Note that most of the parts are not even primed yet. This way, actual steps of production are presented.
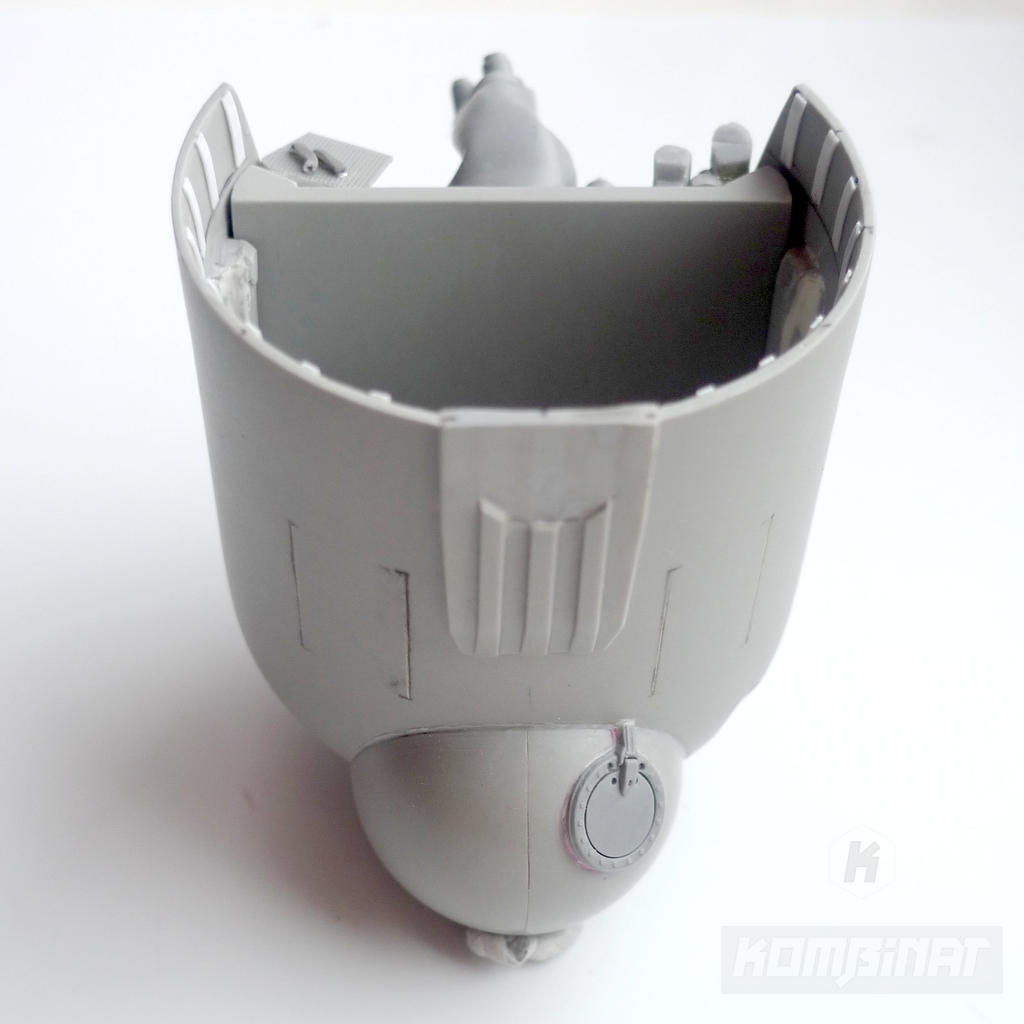
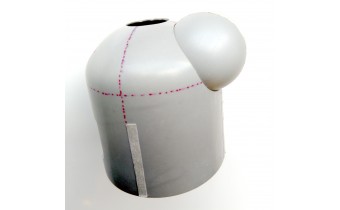
MILVUS-62 heavy drone resin kit: adding the ribs
The fuselage was enriched with ribs:
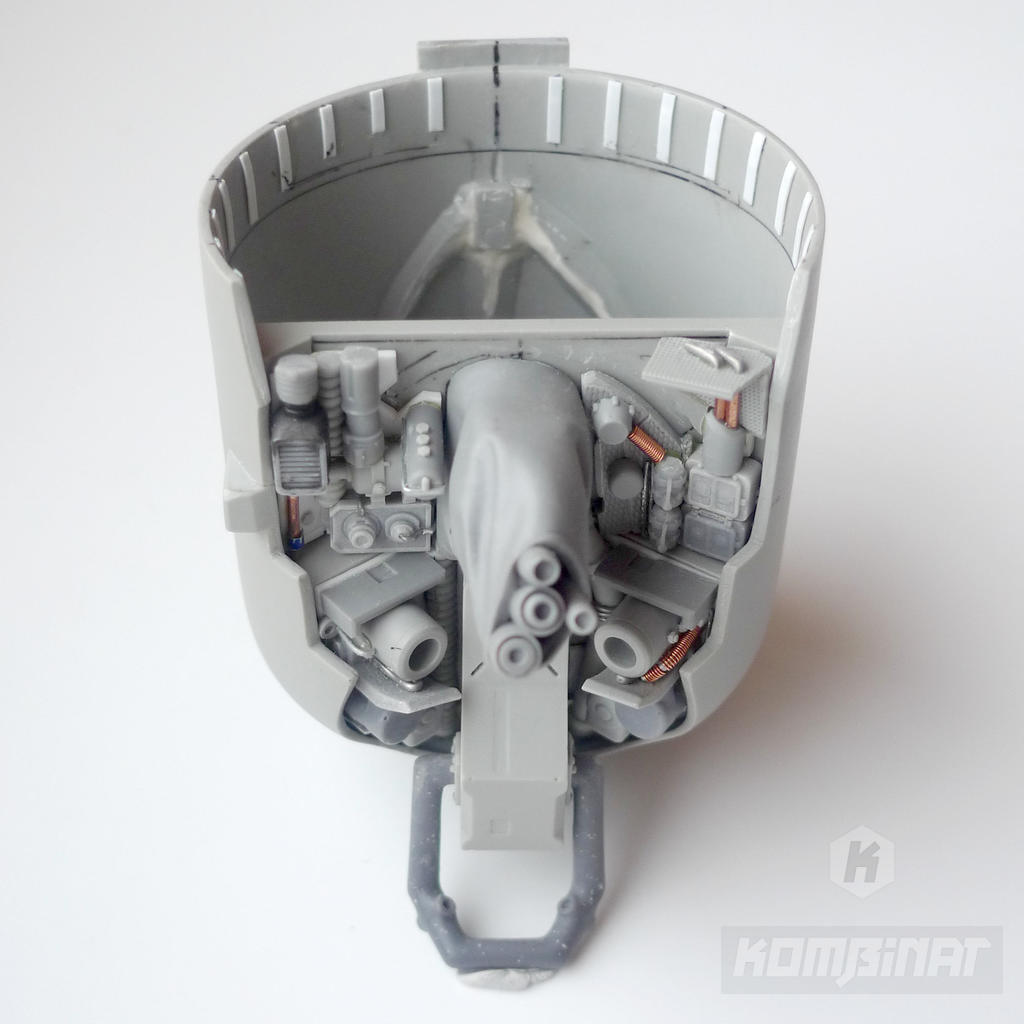
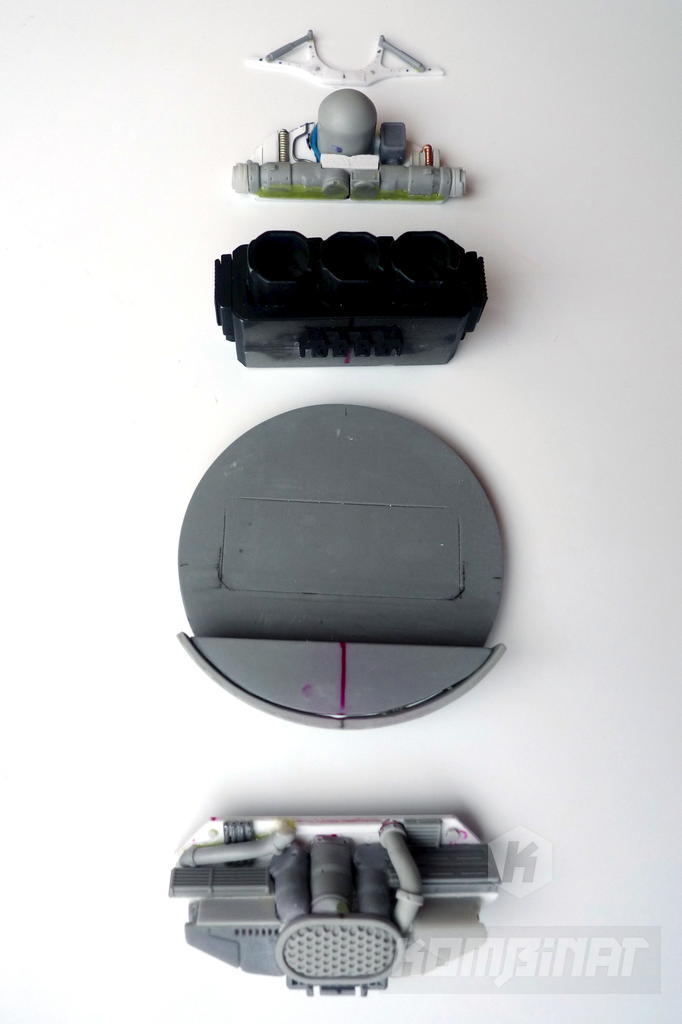
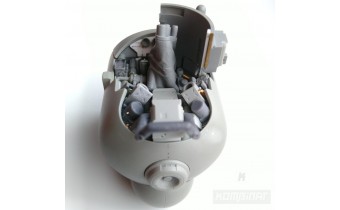
MILVUS-62 heavy drone resin kit: exhaust and rear equipment
The black exhaust is the center of the rear part of the vehicle. The top and bottom areas are occupied by a rich array of equipment. Some resin and metal parts were used for the scratch building. Surfaces are made of 0.25 and 1 mm styrene sheets.
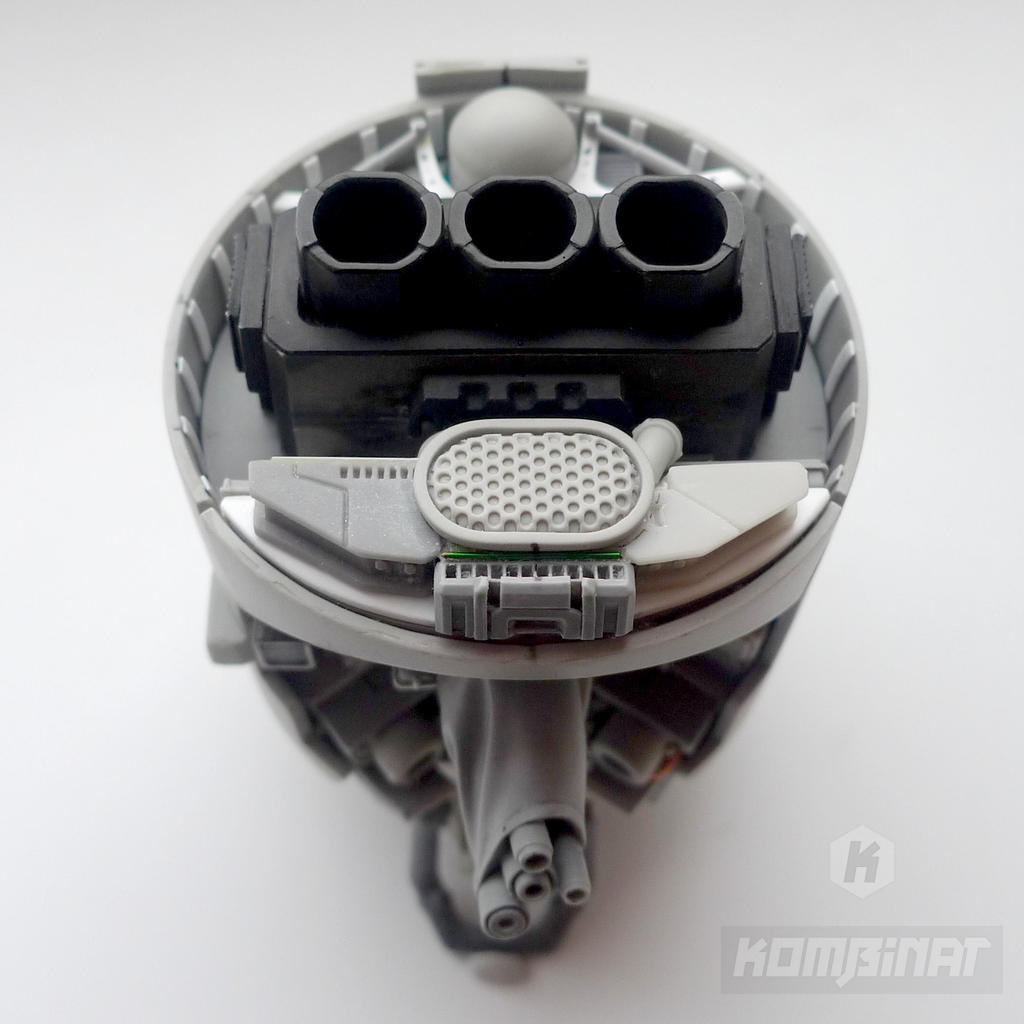
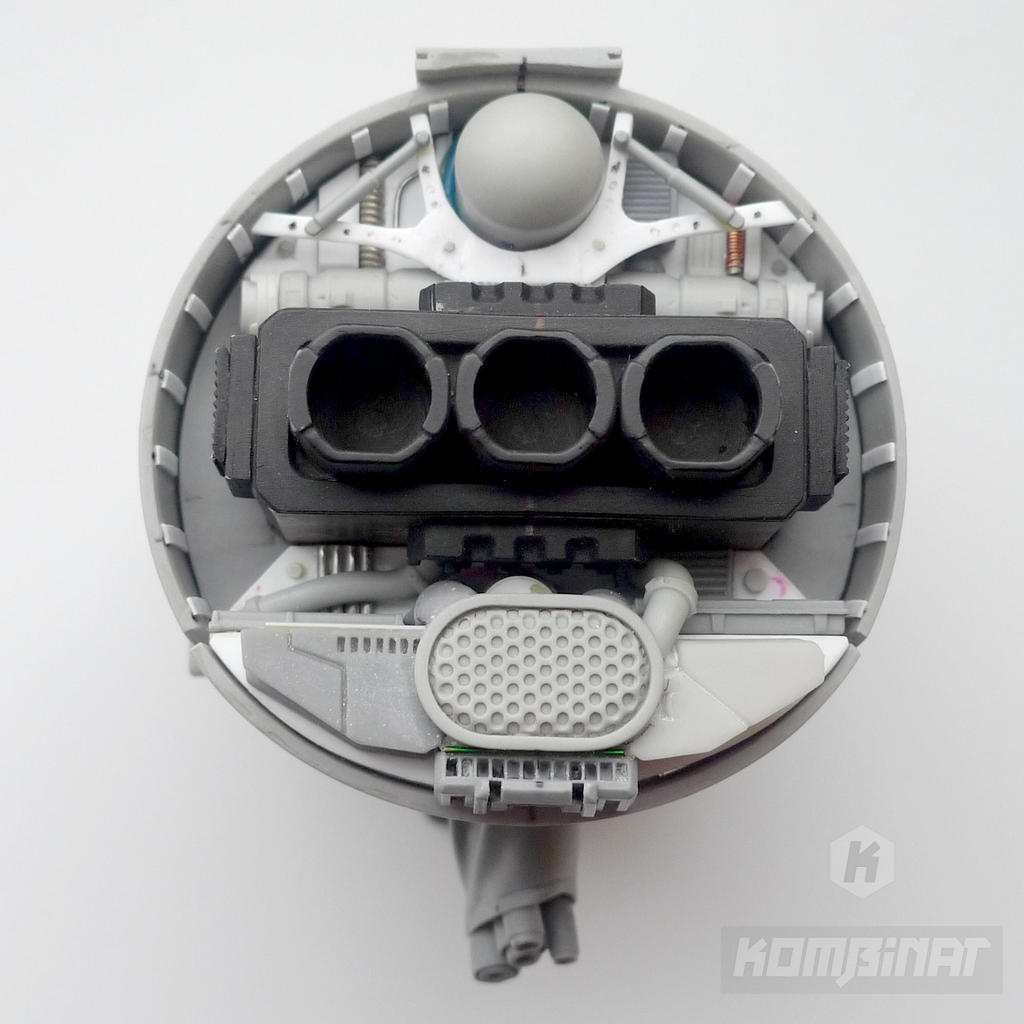
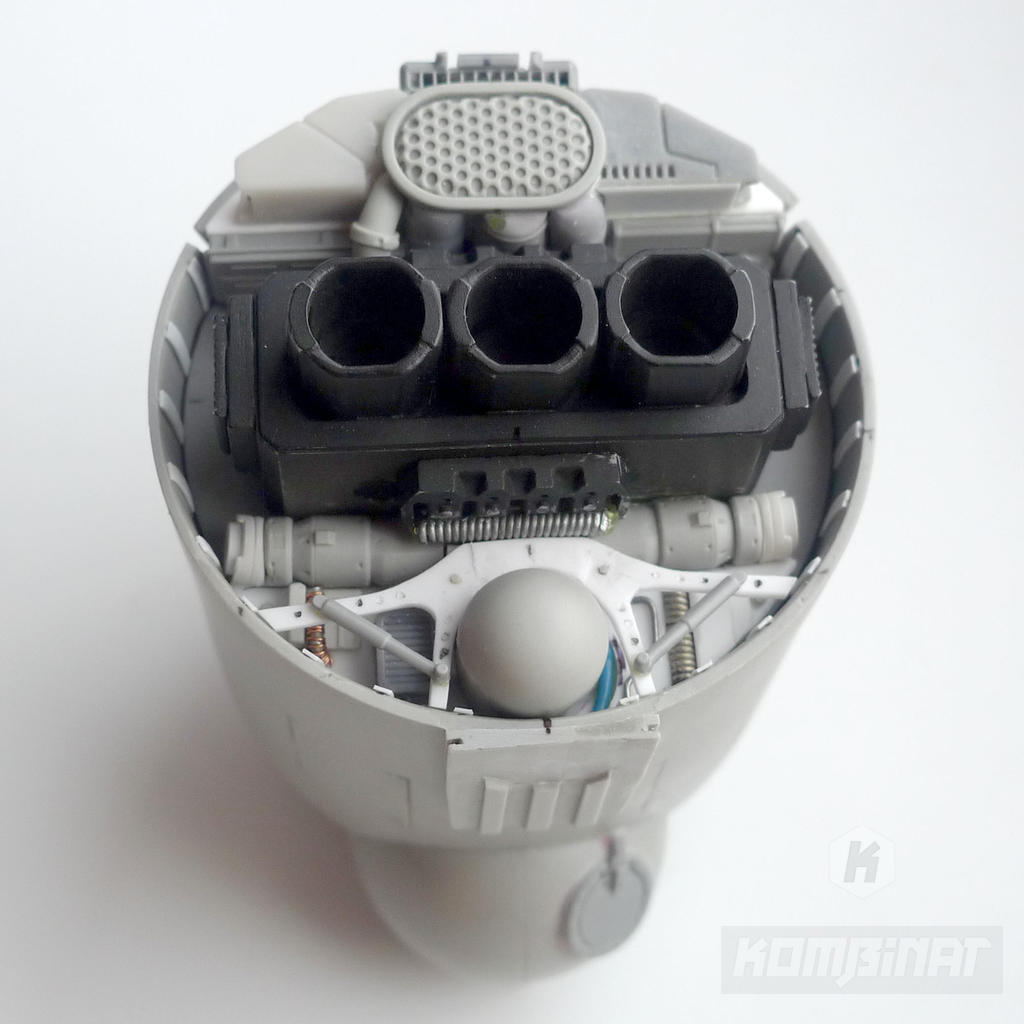
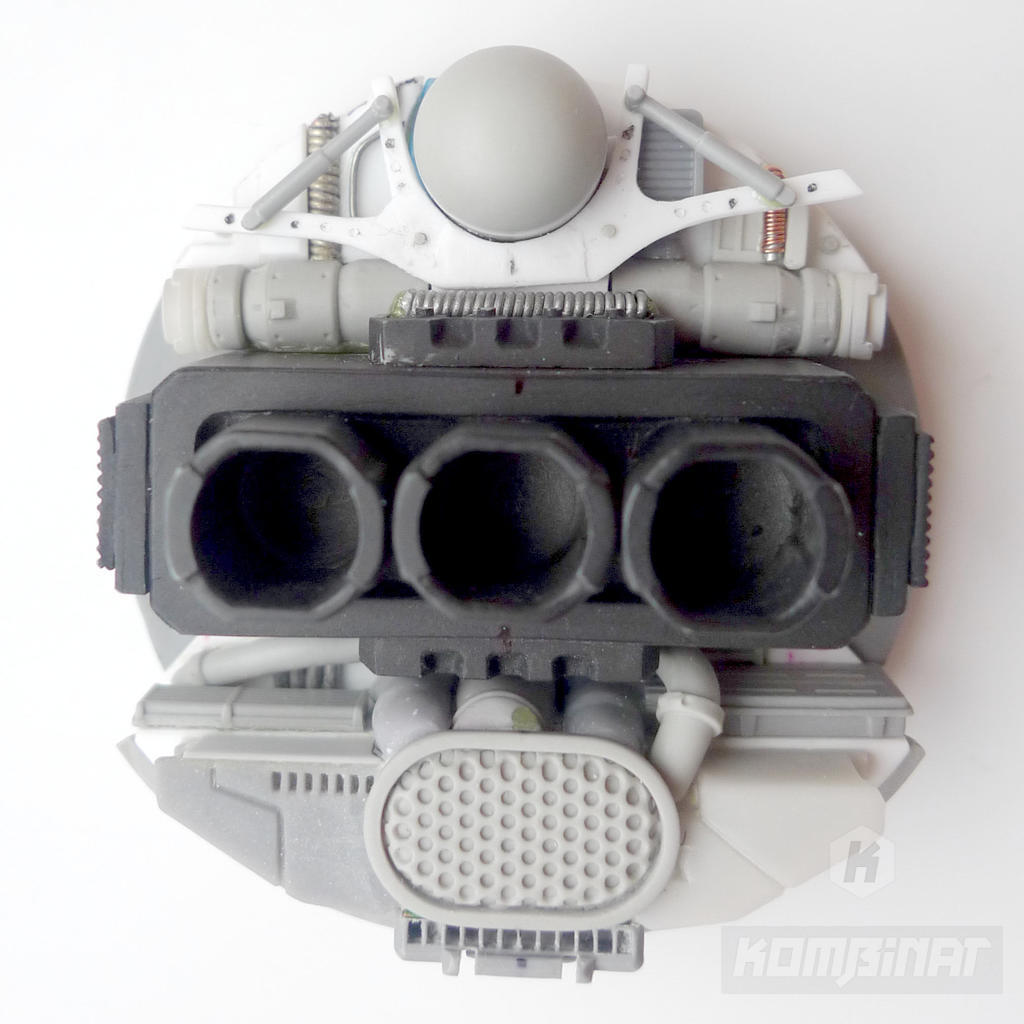
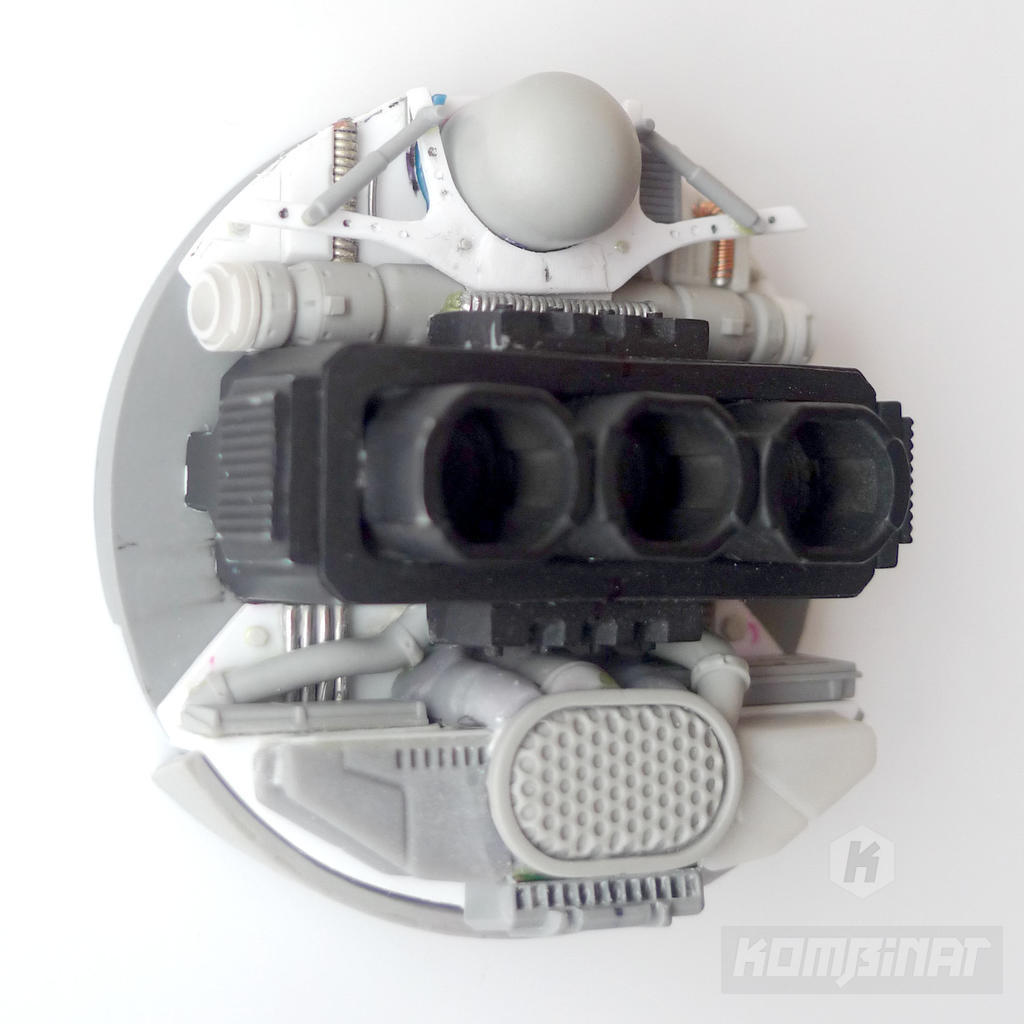
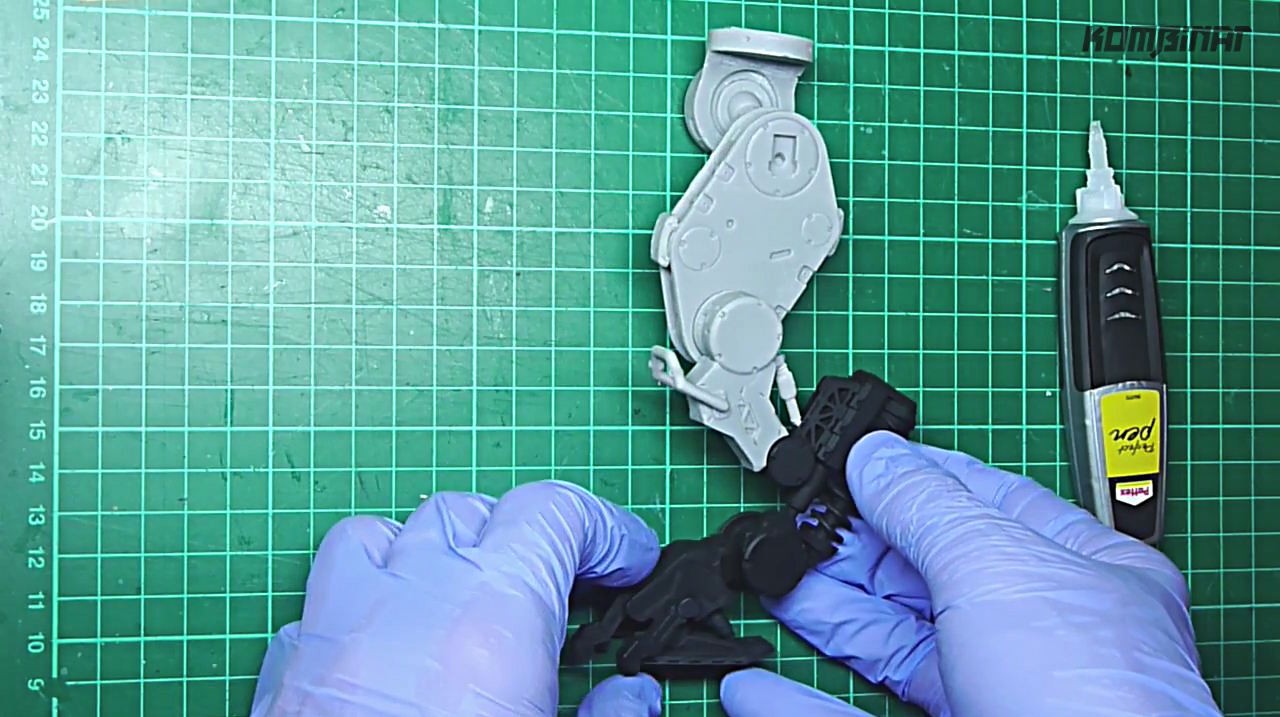
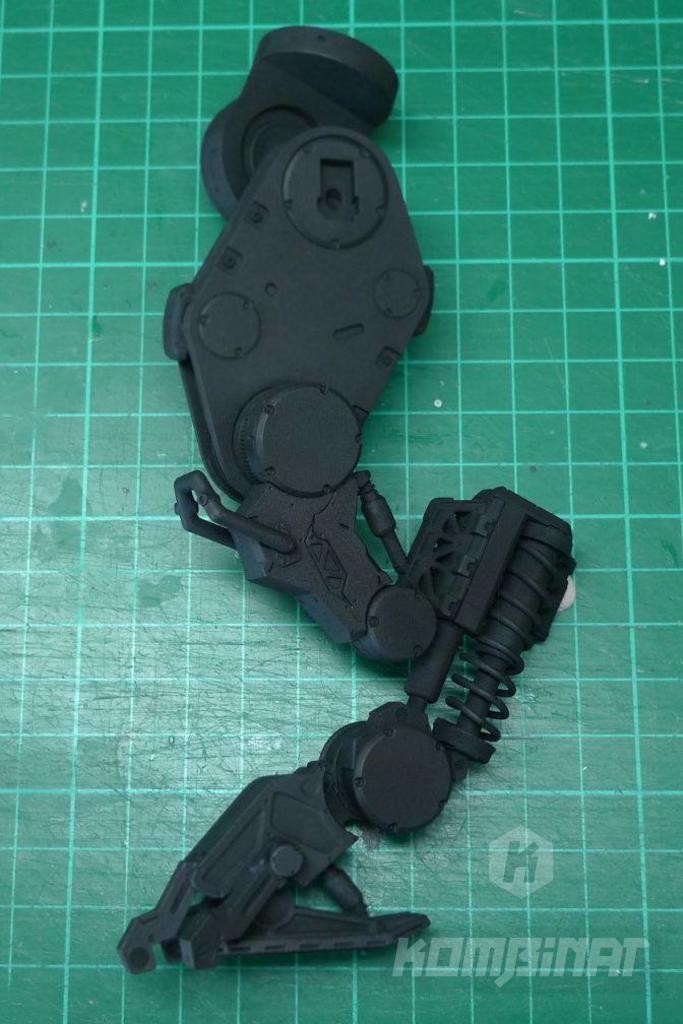
Individual parts will be cast separately for high quality. In addition, it will make it easier for modelers to paint the small details they find here.
Thanks for following the manufacturing process of our drone and hope you have a little fun. Stay tuned.
Related Products
Related Posts
Mounting proposal of the MILVUS-62 sci-fi drone model kit to the base with a steel rod and rubber tubing.
Lots of new parts and design decisions for our assault drone: equipment & horizontal stabilizer.
Step by step designing the militia mecha drone resin kit's arm, sensor and more.


