
Mounting of the MILVUS-62 drone to the base
Today I will present a mounting proposal of the MILVUS-62 sci-fi drone model kit to the base with a 160mm spring steel rod and rubber tubing.
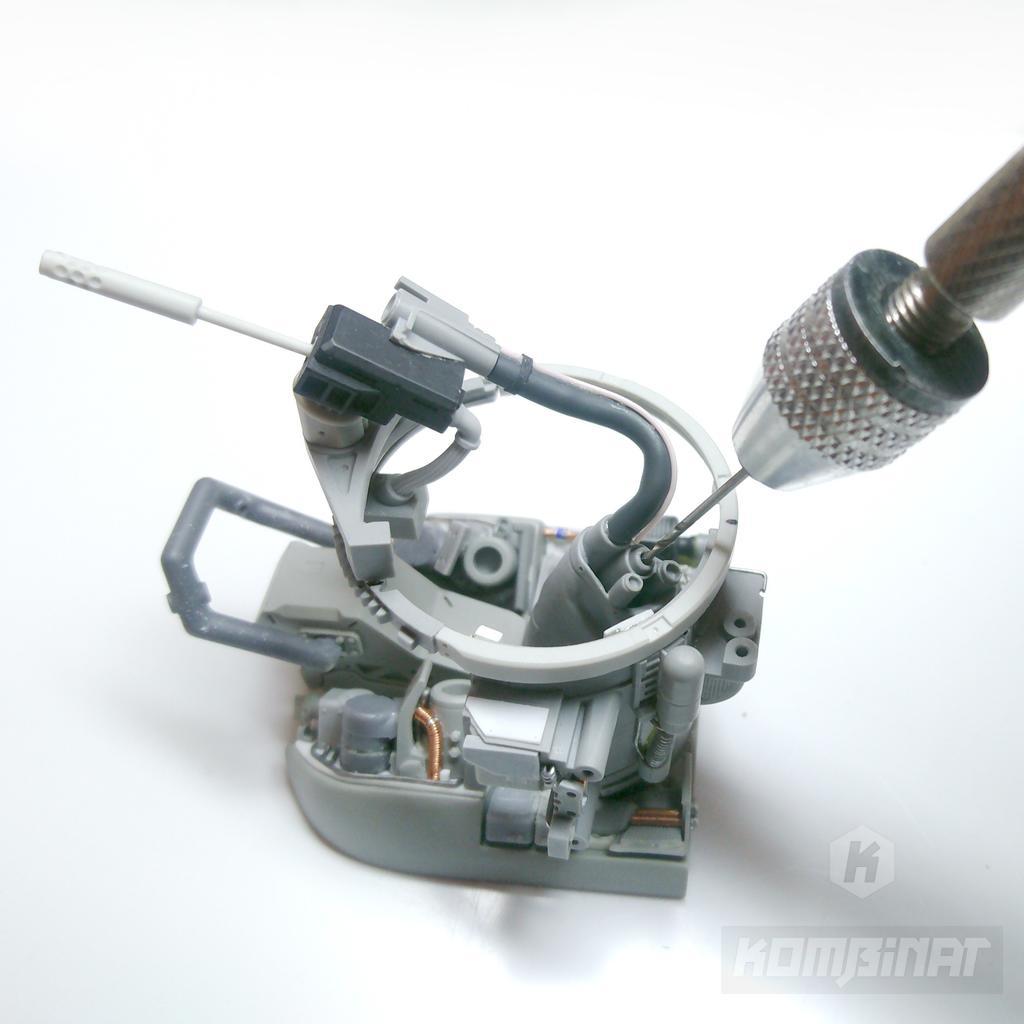
I decided that the default mounting for the MILVUS-62 will be a 1.2mm spring steel rod. Tools you will need are pliers to shape and possibly shorten the rod and a drill with a 1mm drill bit.
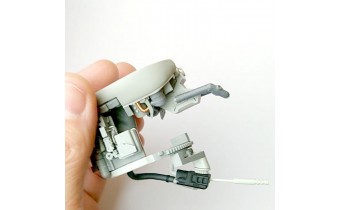
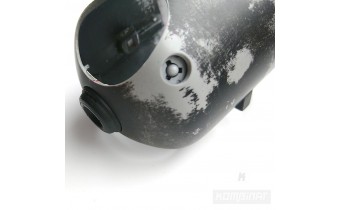
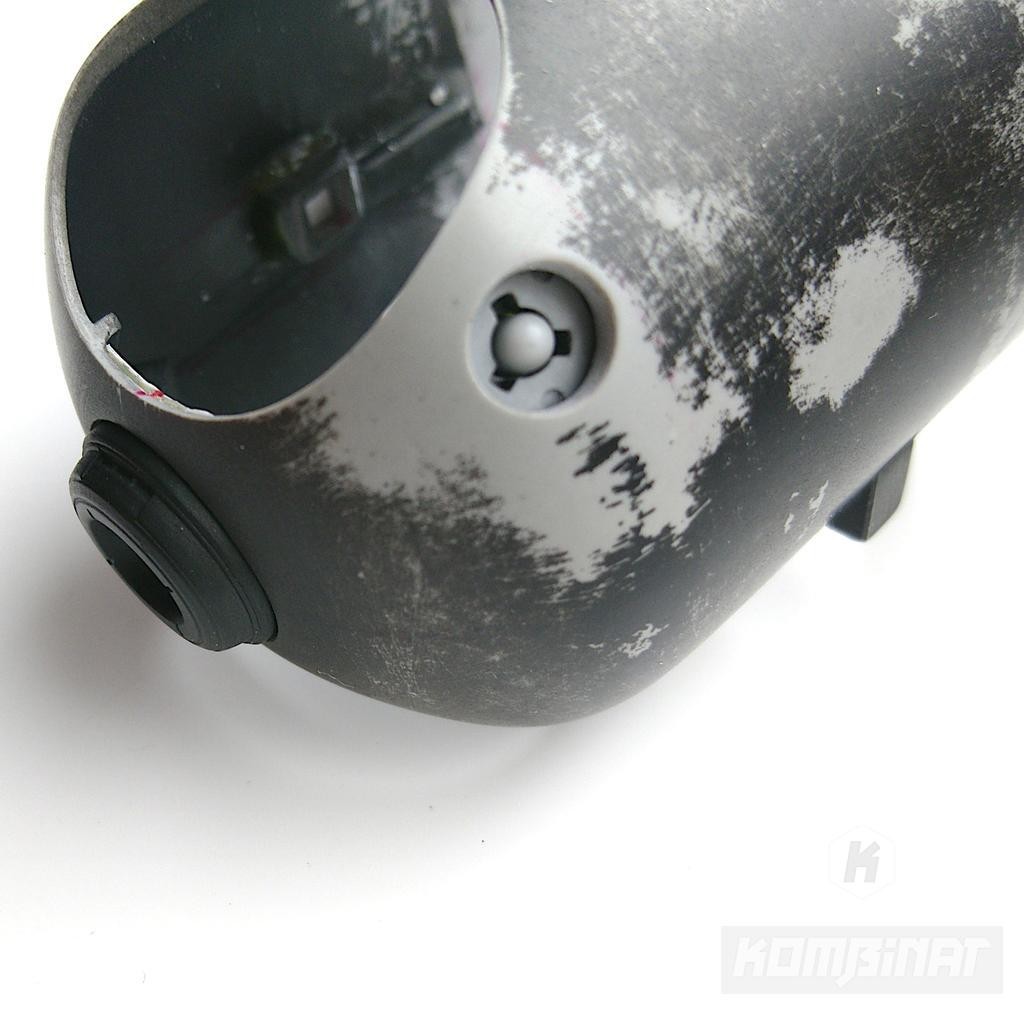
First, drill a fairly deep hole at the correct angle in part #10. 12mm depth would be great.
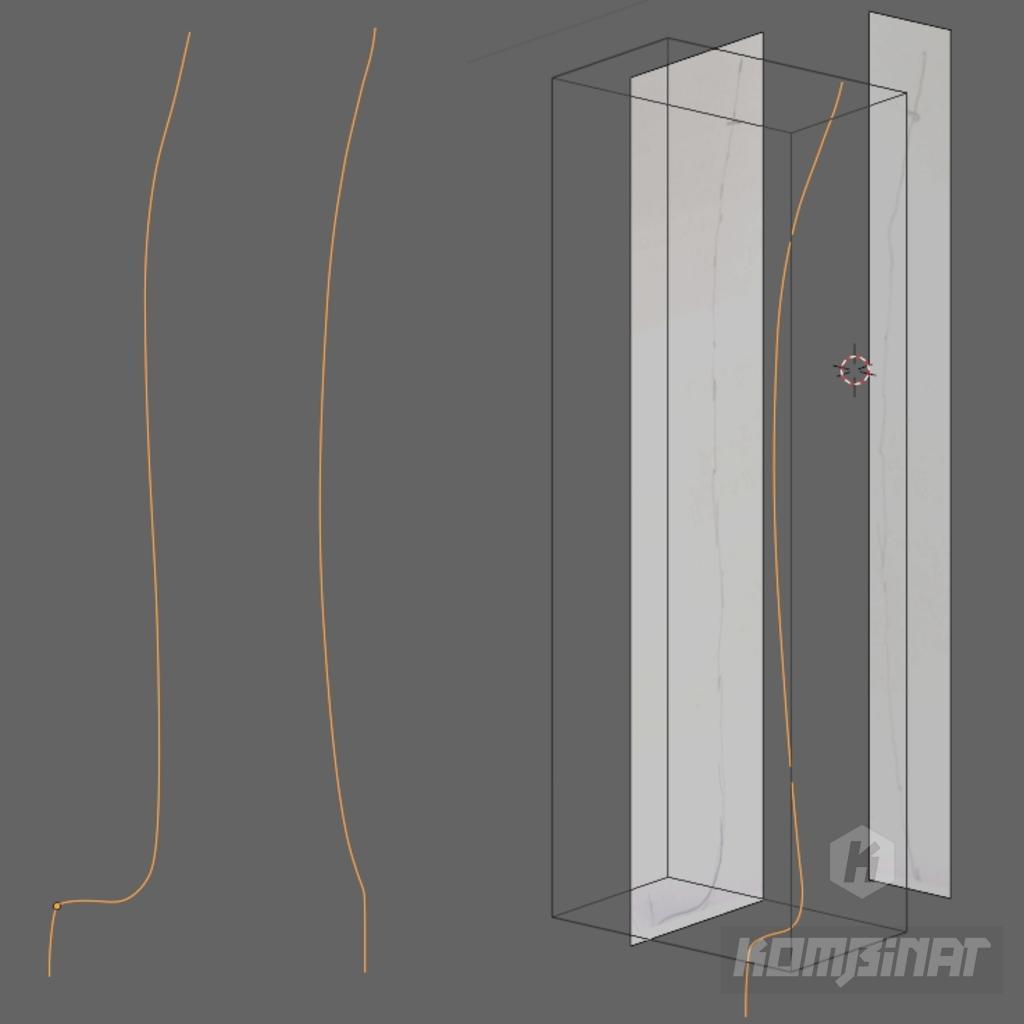
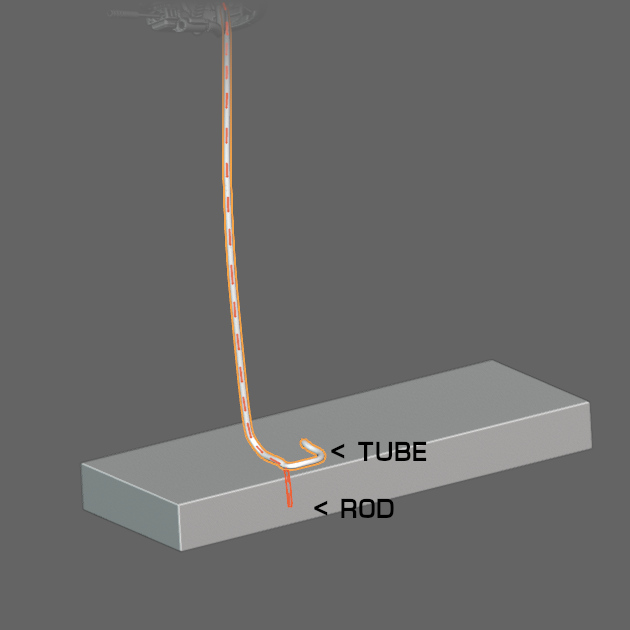
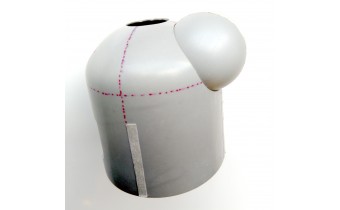
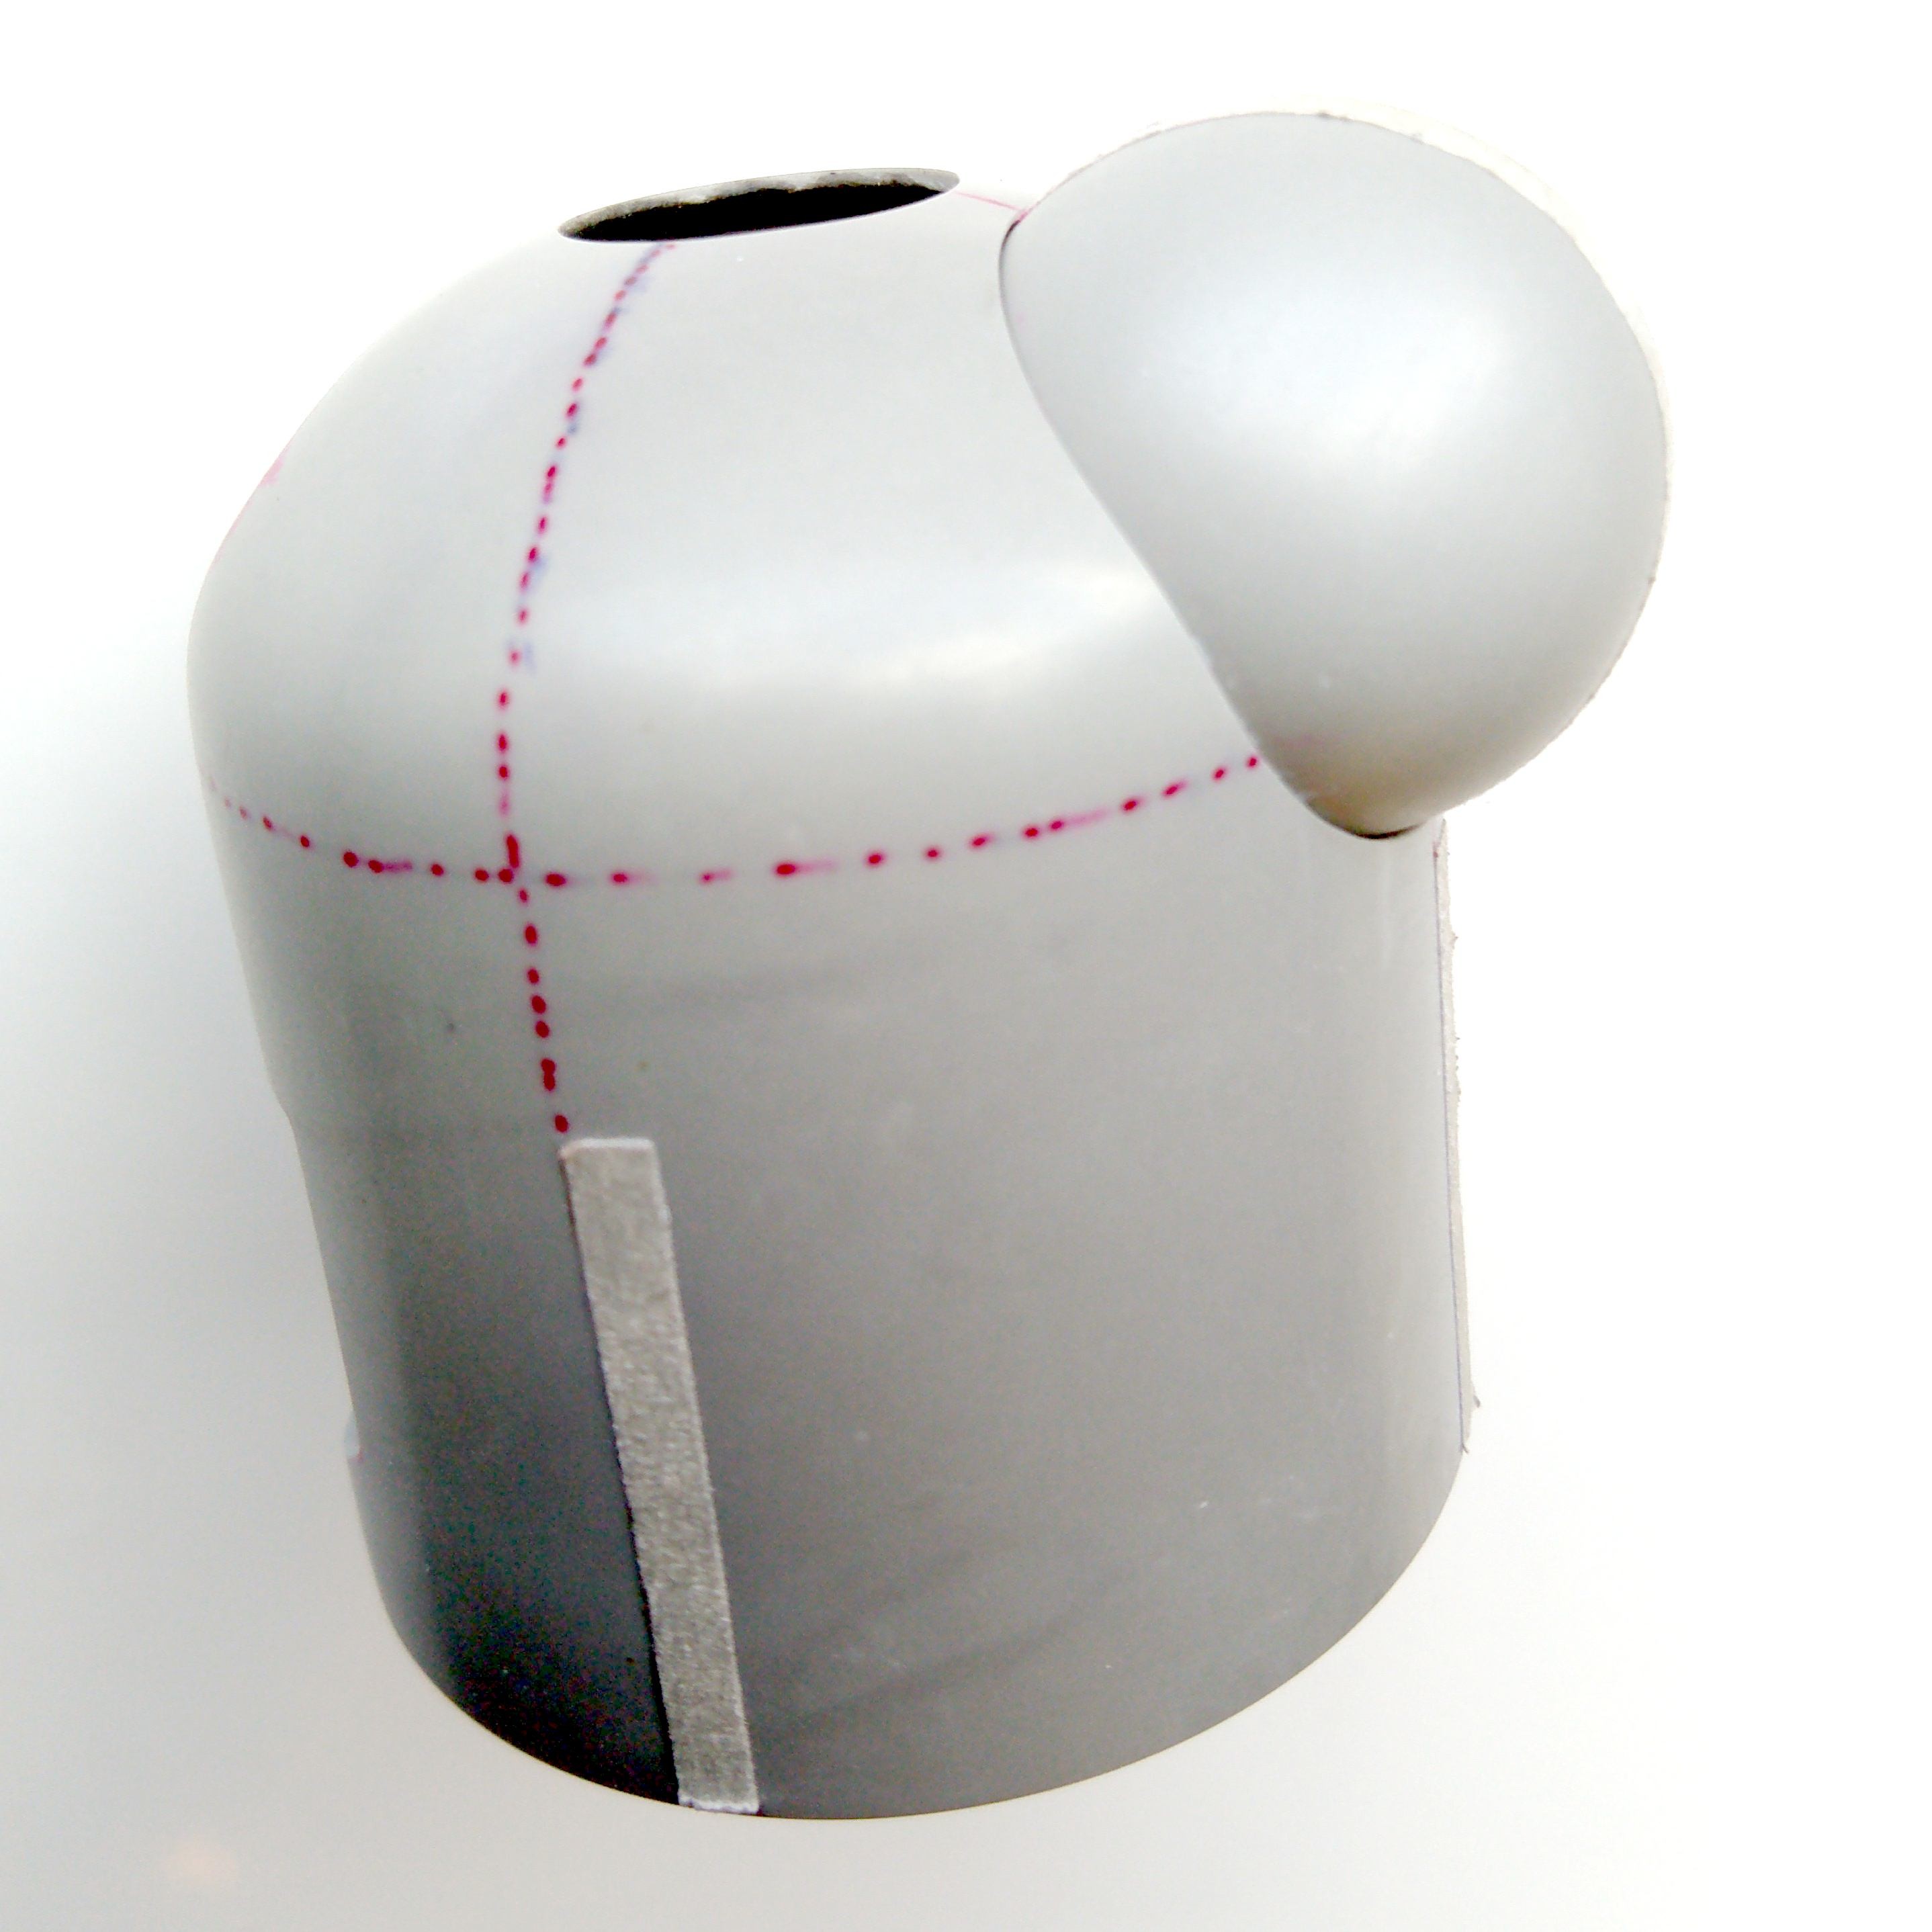
This is what the mount looks like on the side and front projections:
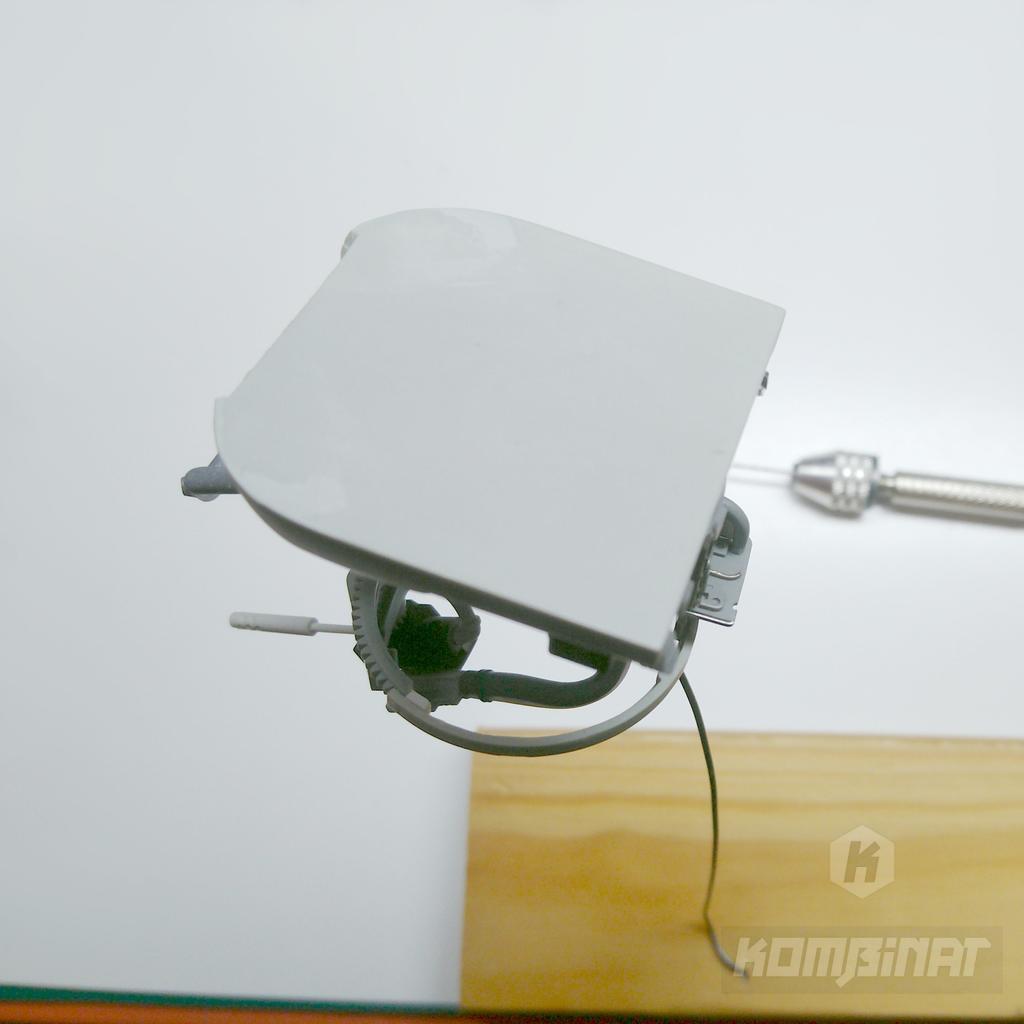
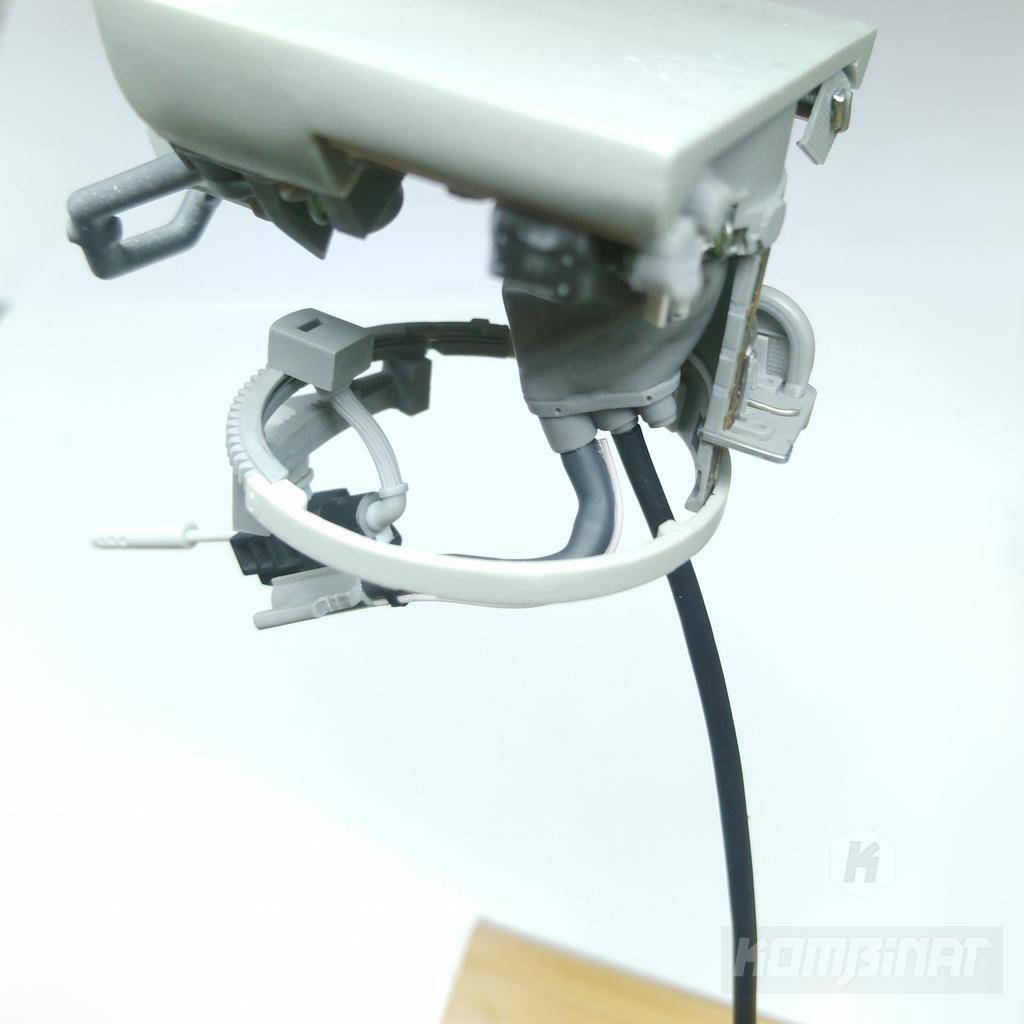
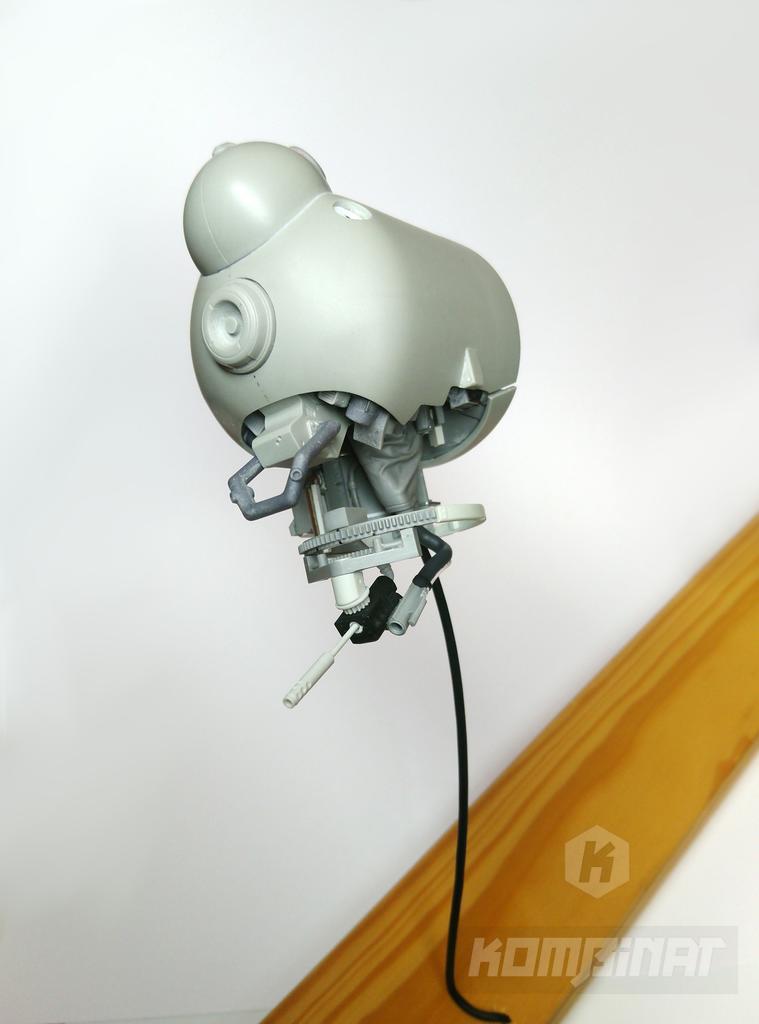
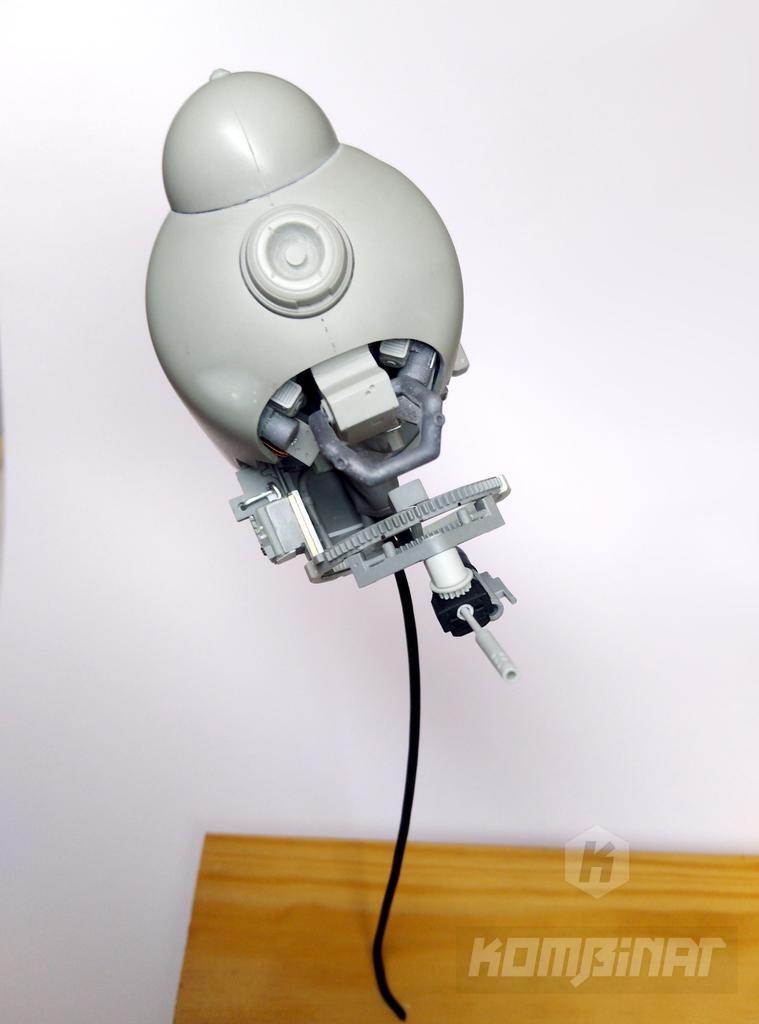
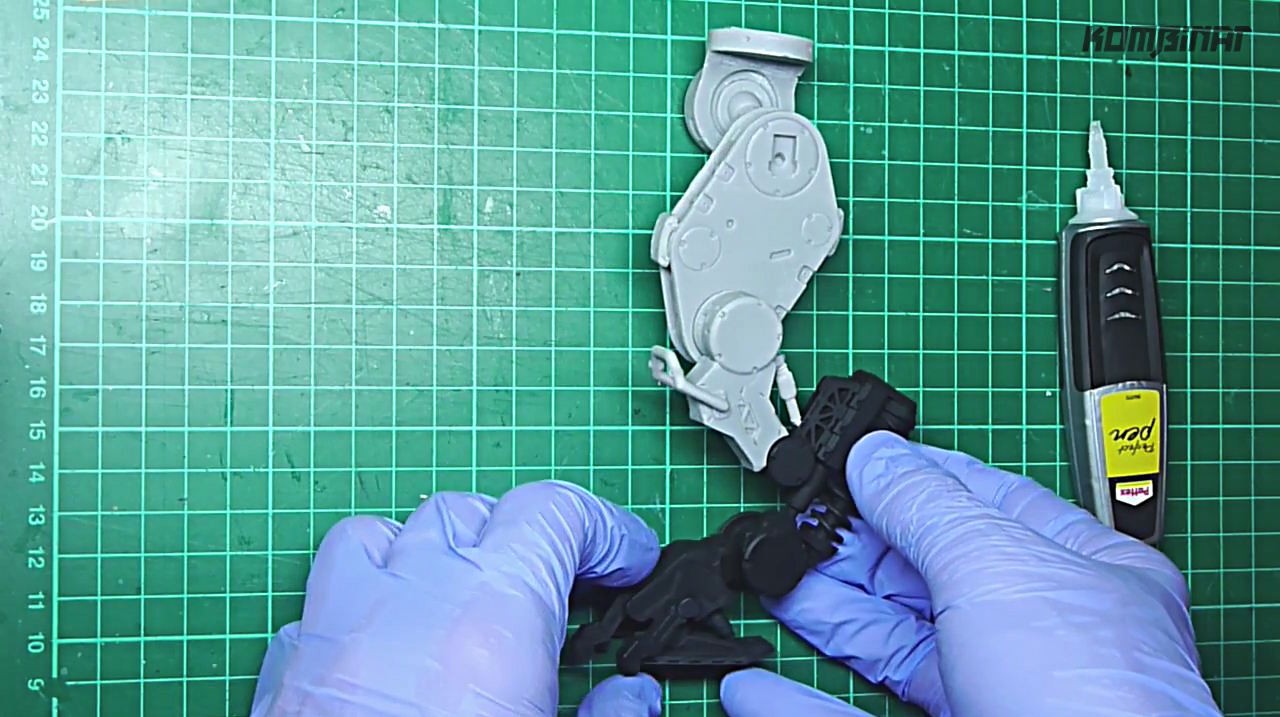
Test of the drone's chassis itself on the rod. If the hole in the model is not too wide, the rod has a chance to stick temporarily even without glue. However, it may then keep twisting.
As a base, it would be best to use a sufficiently heavy and thick wooden board with a perpendicularly drilled deep hole, so that the weight of the model, which may be slightly tilted, does not prevail.
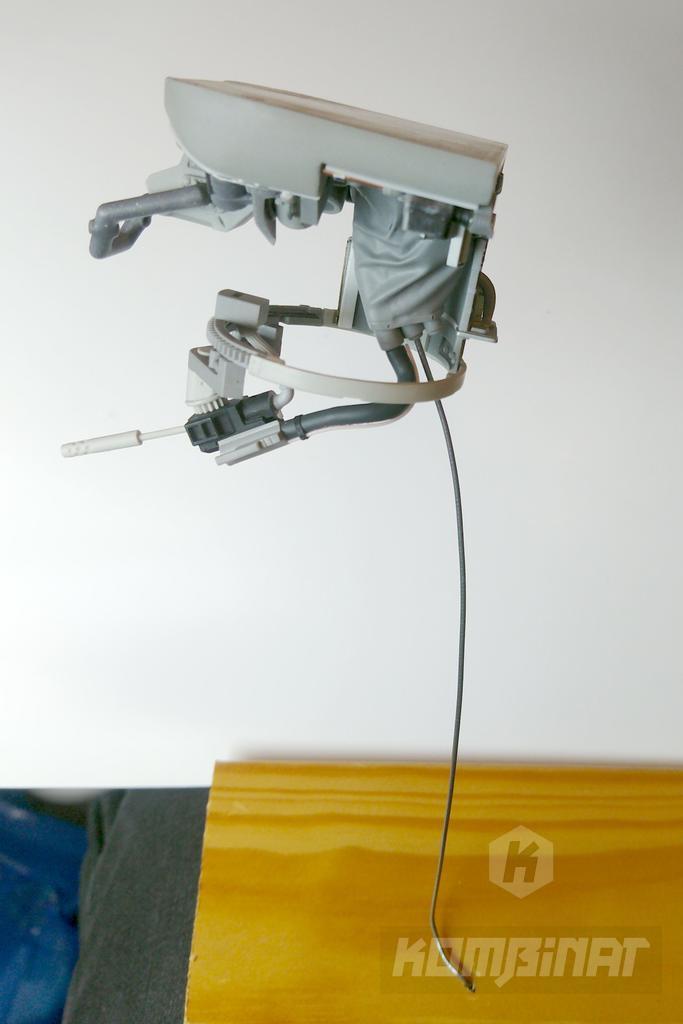
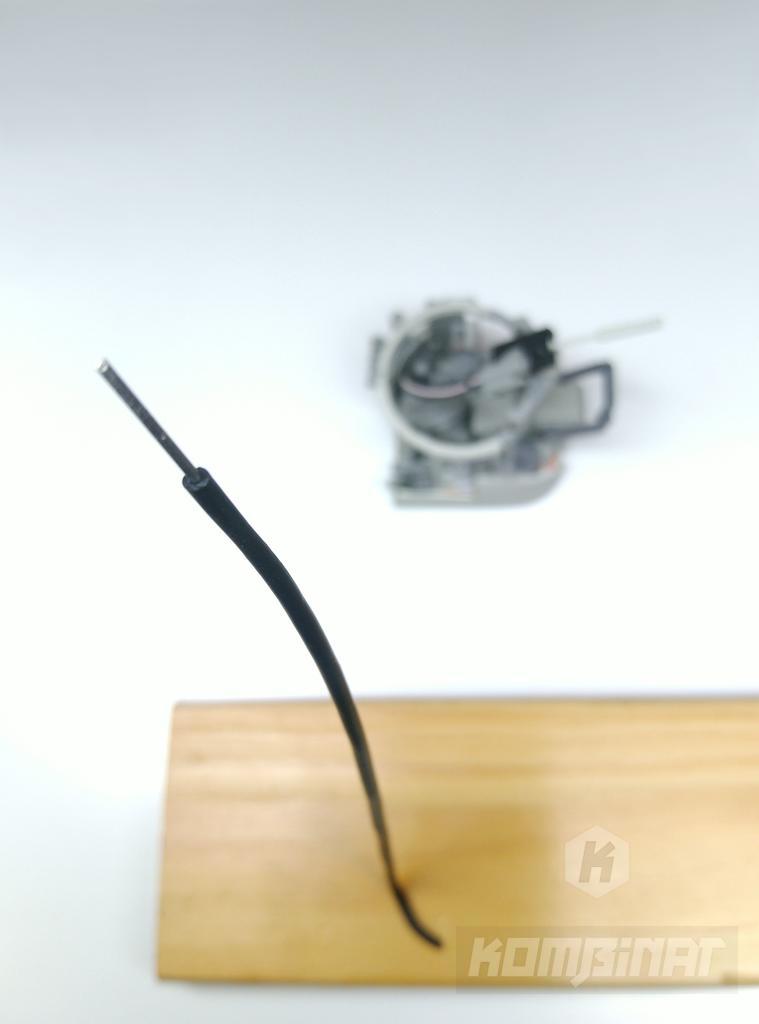
Rubber or PVC tubing around the rod will give us proper thickness and shape. This is how the mounting looks like after the insulation has been stretched. Do not stretch the insulation until you have finished shaping the rod, fitting the model to it, and making sure it is stable.
When stretching the insulation be careful not to damage the smooth insulation.
It is a good idea to bend the rod in contact with the base in a style like I have shown in the projections above.
This way it can look like a cable lying on the ground. A good idea in the future would be to glue additional insulation to make the whole thing "lay on the ground".
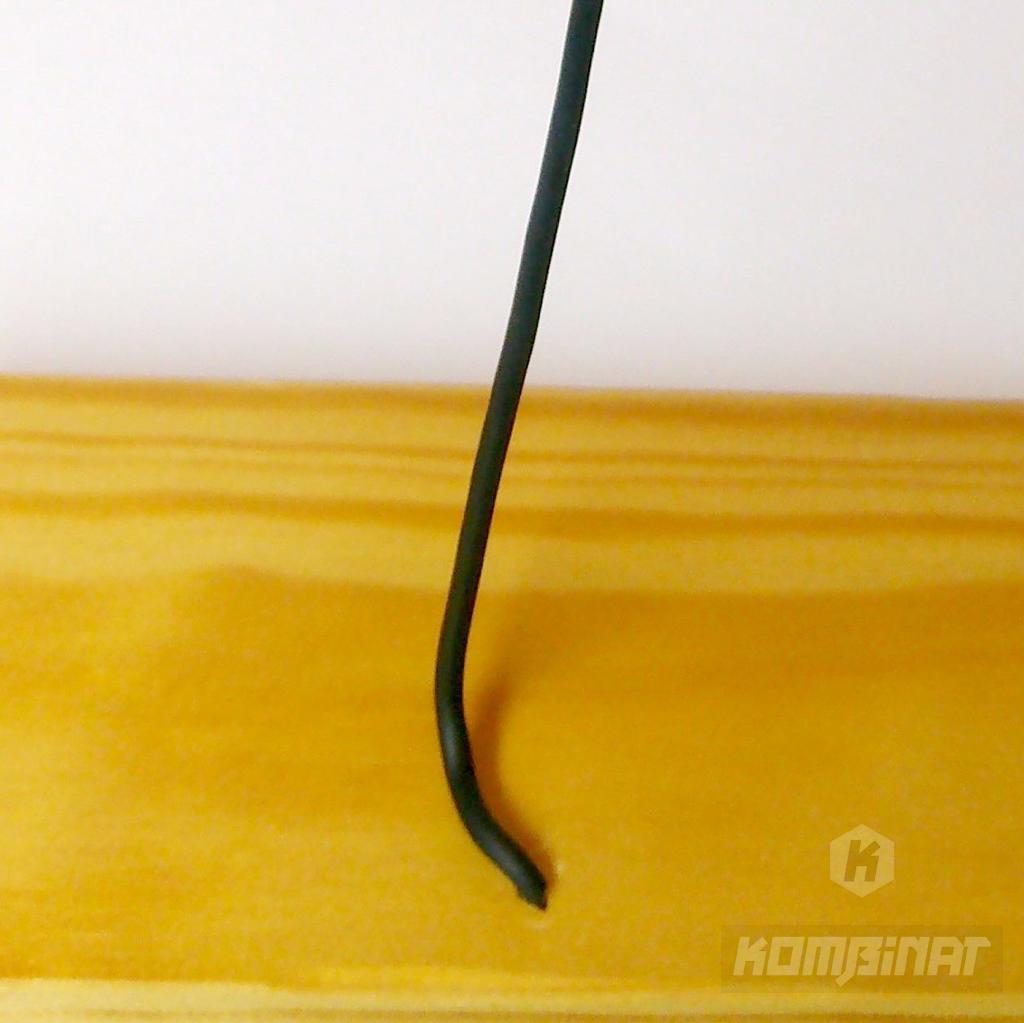
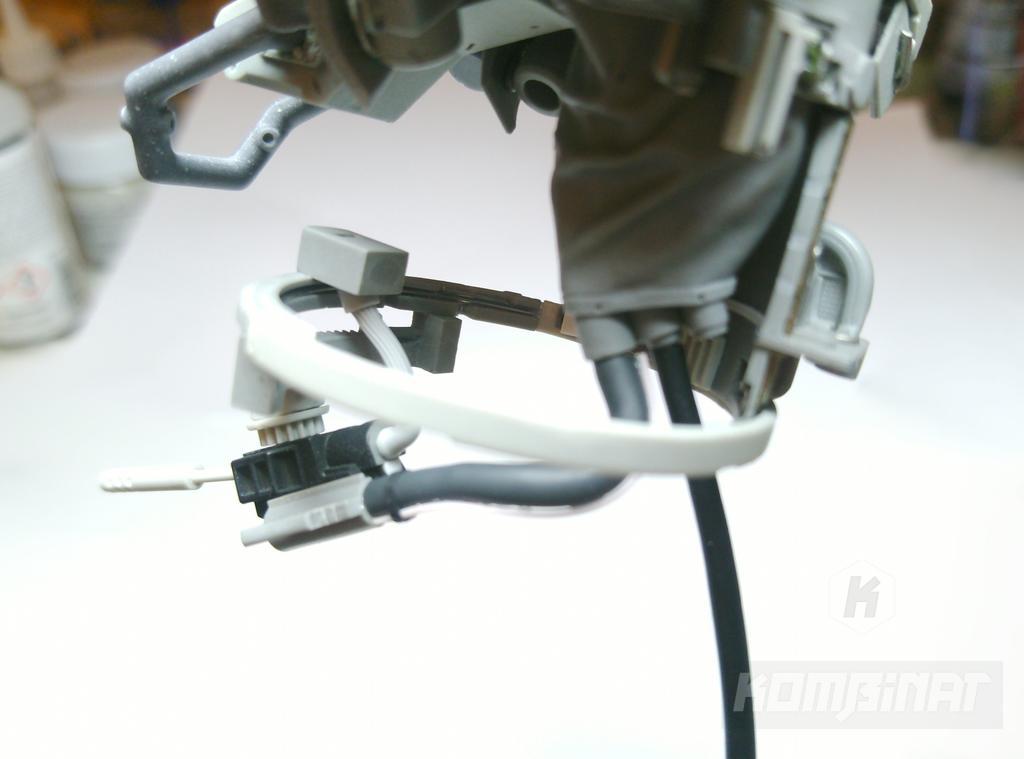
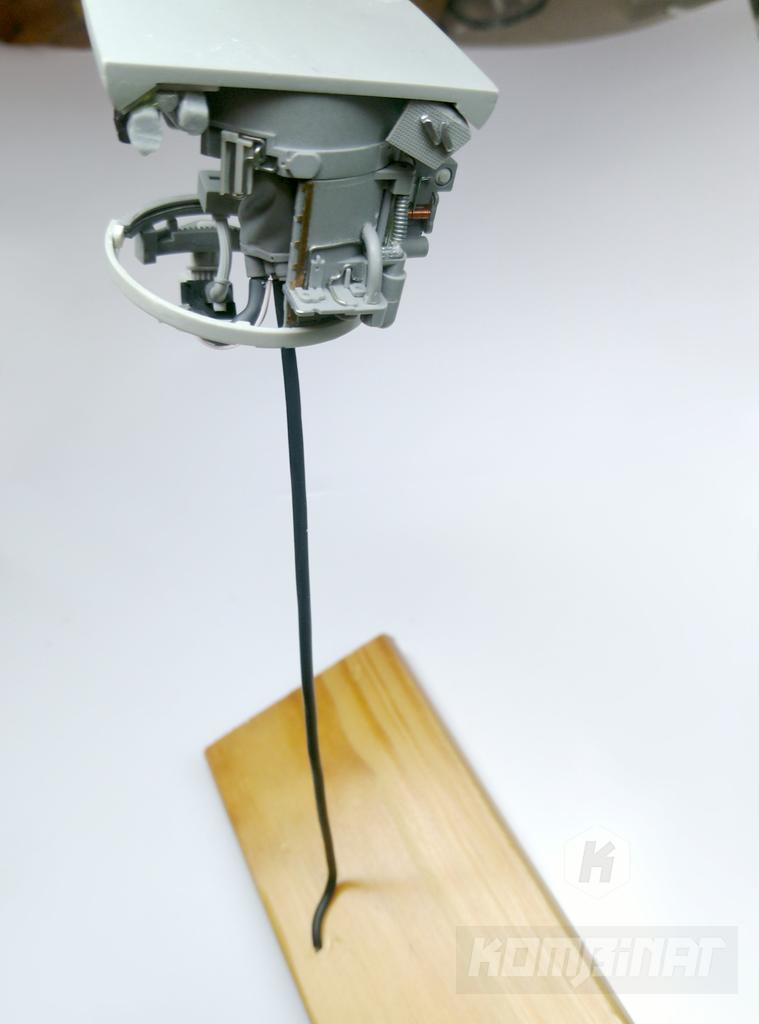
Once you are sure of the shape of the rod glue the wire to the base, otherwise, it can easily twist under load. Remember that the ends of the rod at the glue points should have no insulation. This will make the mount more rigid.
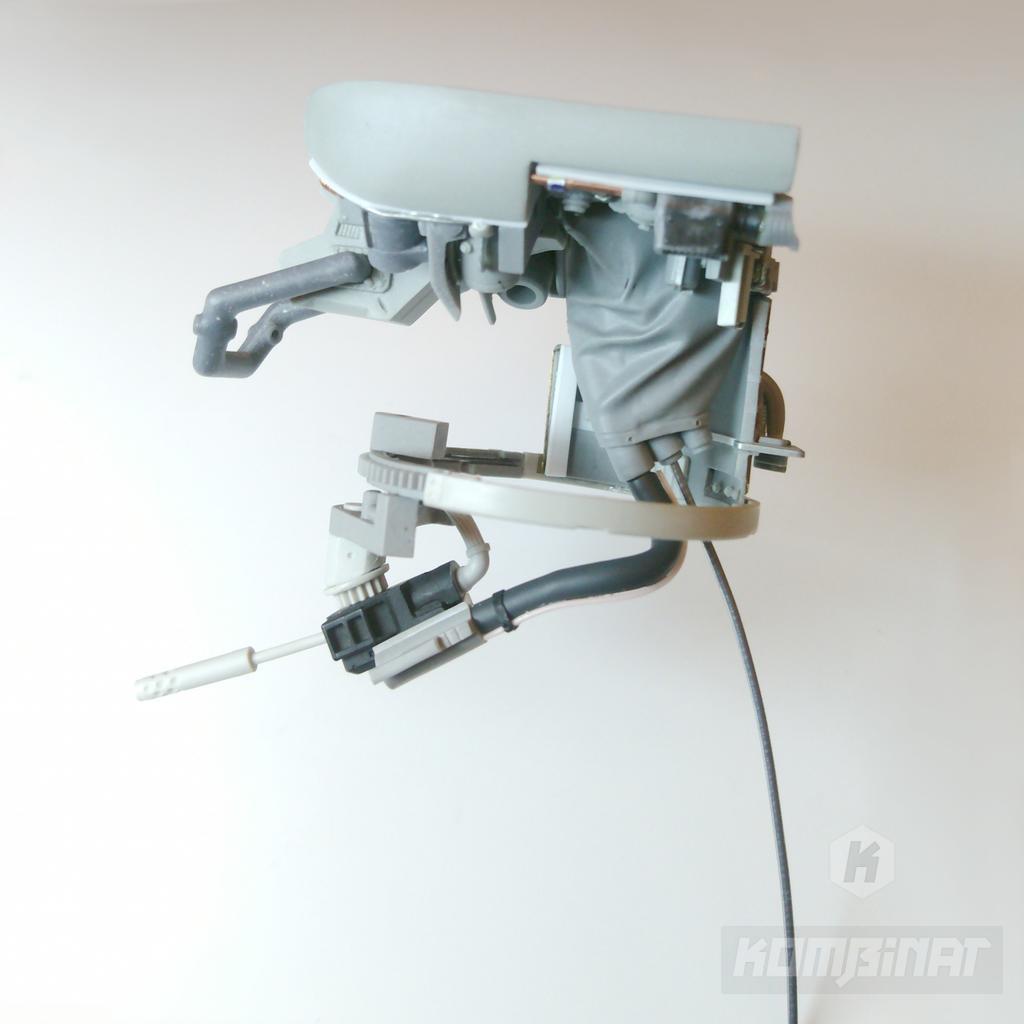
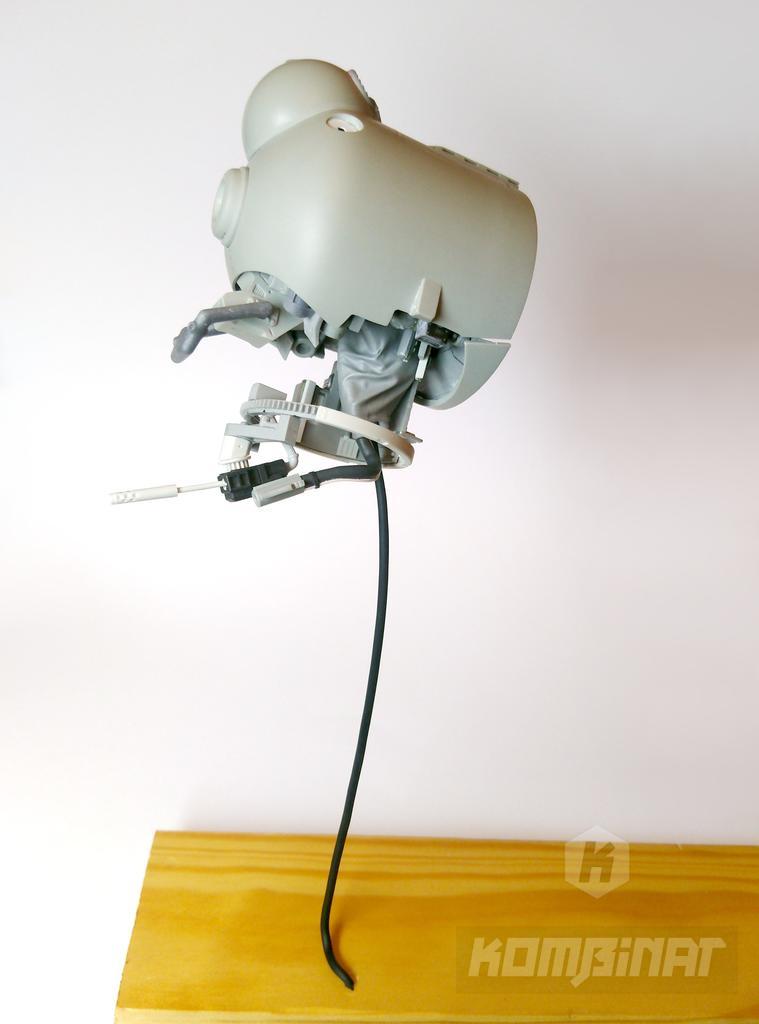
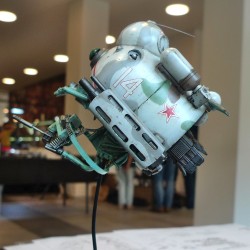
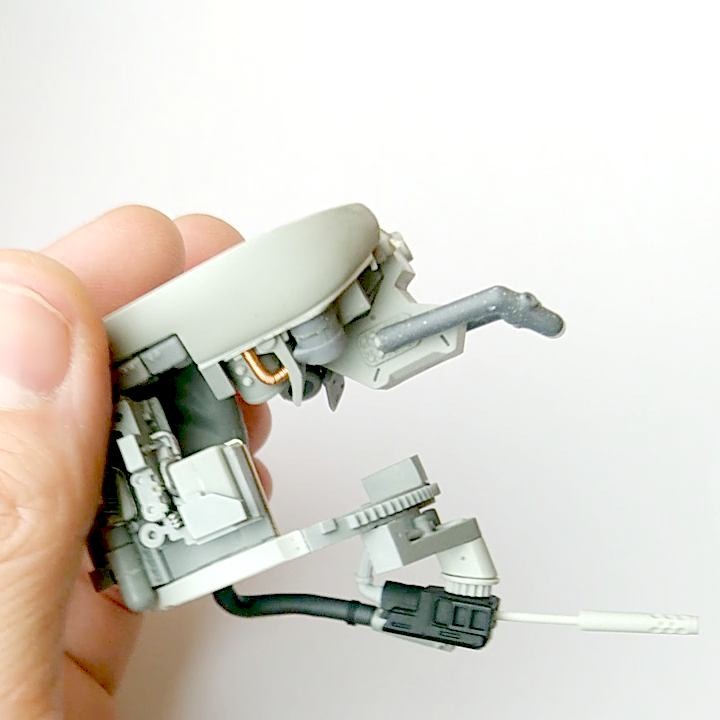
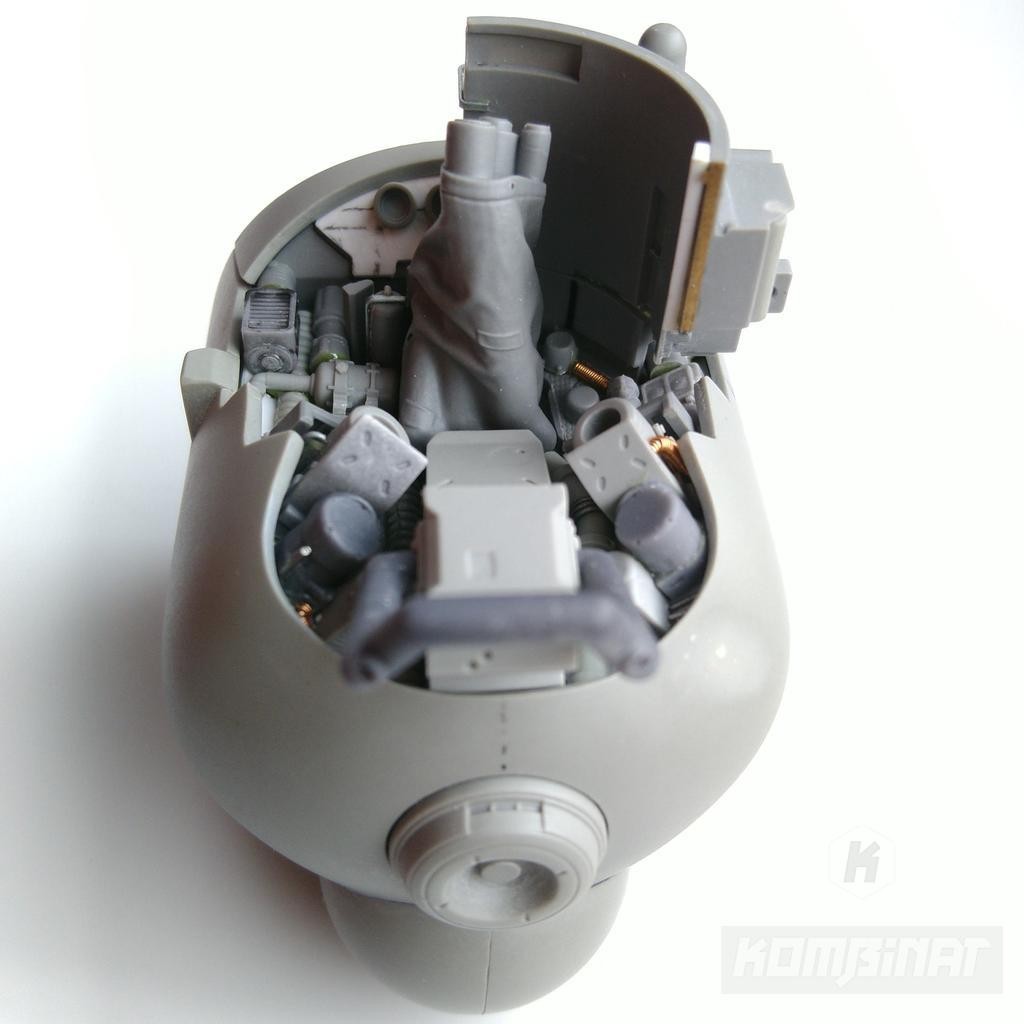
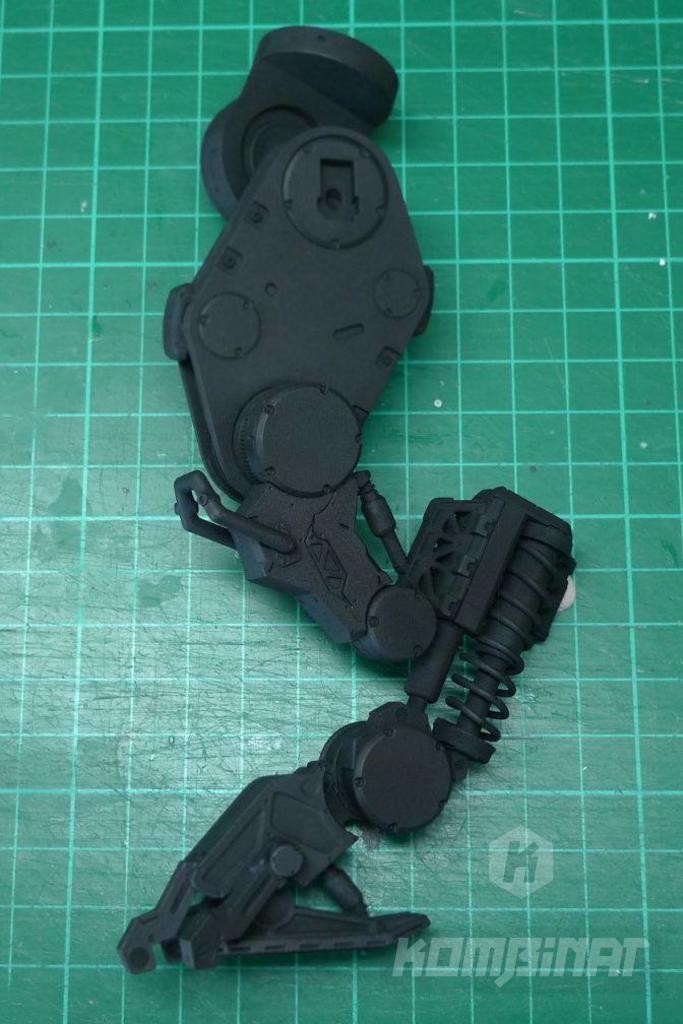
And now the whole fuselage, admittedly not fully equipped with armament. The mount is intentionally bent to the side to make the rich contents of our drone's bottom equipment visible. The bar is also quite long to make the model high up which will also improve the visibility of the details.
Both pieces, the rod, and tubing will be included in the kit. A template and assembly method will appear on the instructions.
Of course, you can experiment with the shapes and length of the cable or even use more cables. I hope you will have fun. Feel free to share results with me :)
Related Products

Related Posts
This time layers and layers of juicy details around the exhaust and rear of the flying vehicle.
Lots of new parts and design decisions for our assault drone: equipment & horizontal stabilizer.
Step by step designing the militia mecha drone resin kit's arm, sensor and more.


